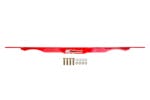


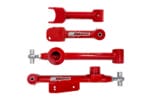


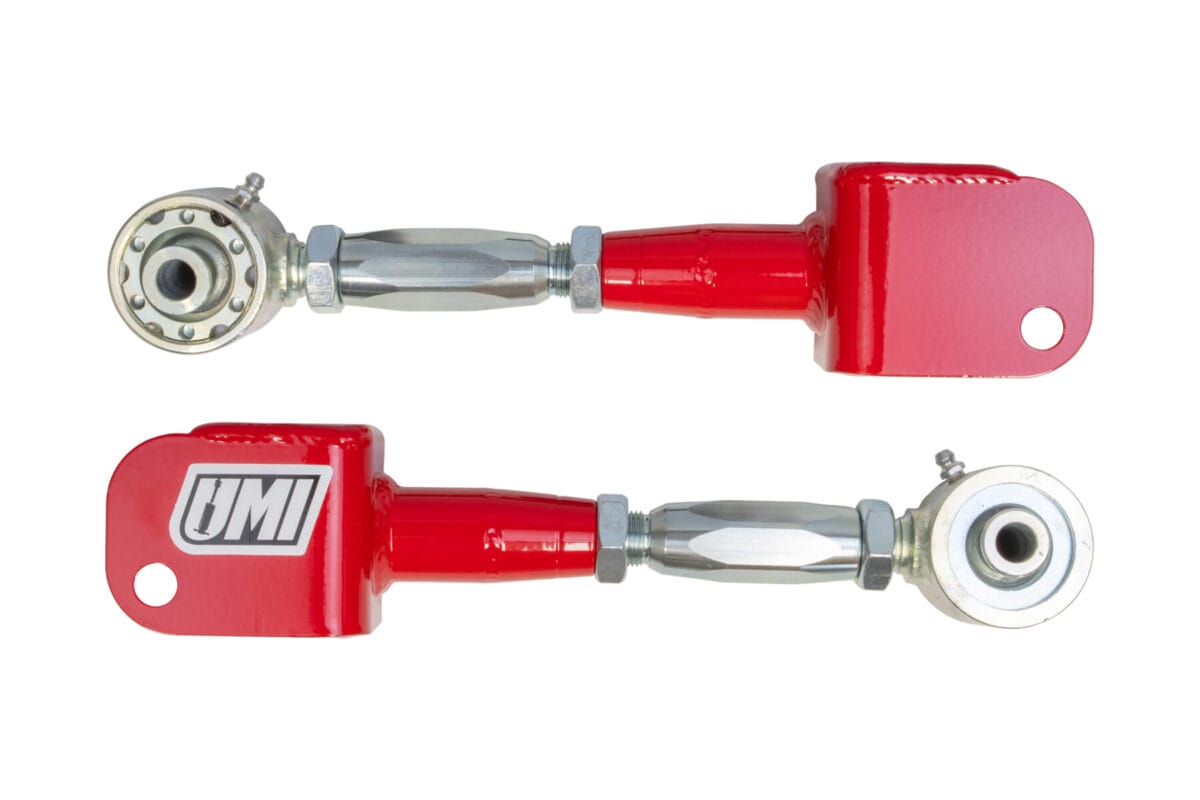
3037 – Rear Upper Control Arms, Adjustable, Roto-Joints
SKU:
3037
In stock
$299.99
Select options
This product has multiple variants. The options may be chosen on the product page
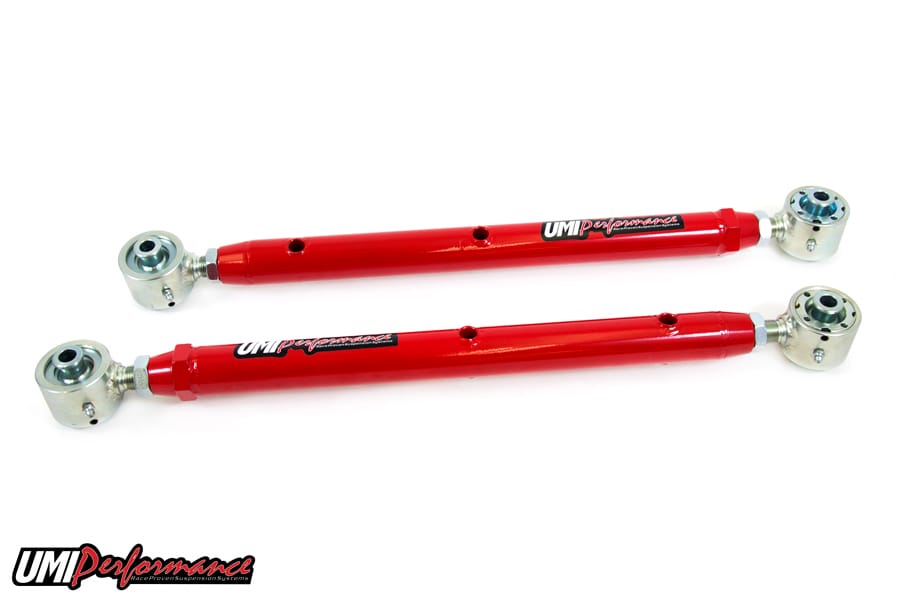
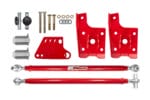
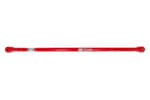
3043 – 1978-1988 G-Body Rear Lower Control Arms, Double-Adjustable, Roto-Joints
SKU:
3043
In stock
$399.99
Select options
This product has multiple variants. The options may be chosen on the product page
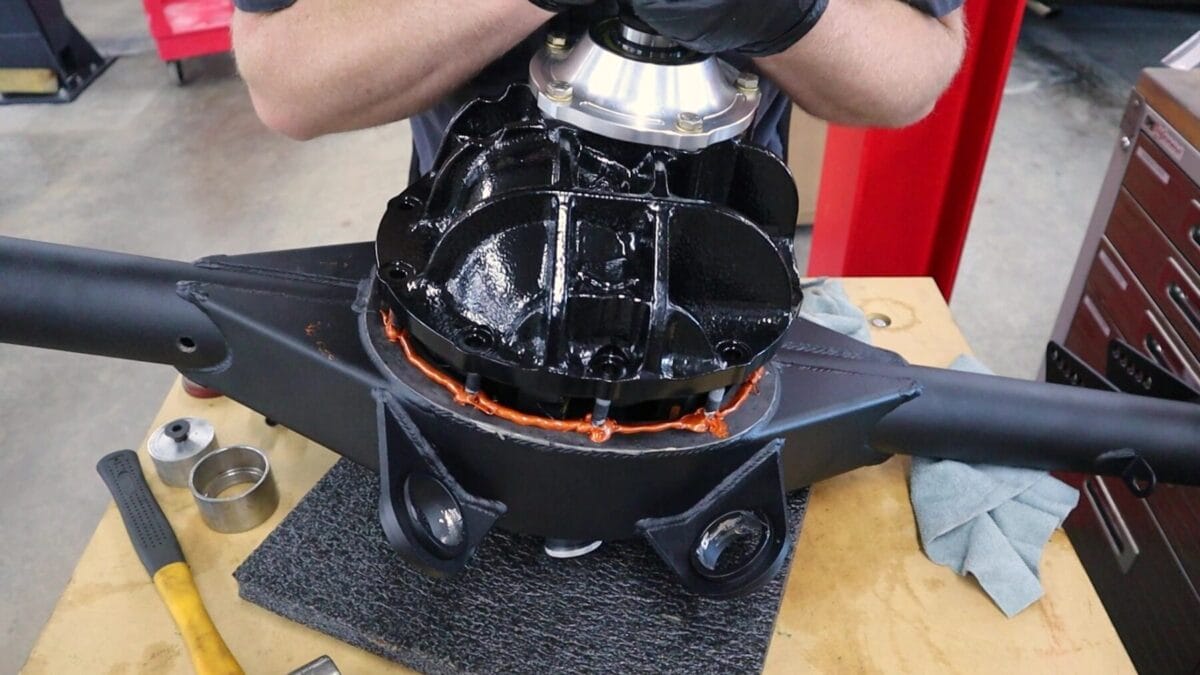
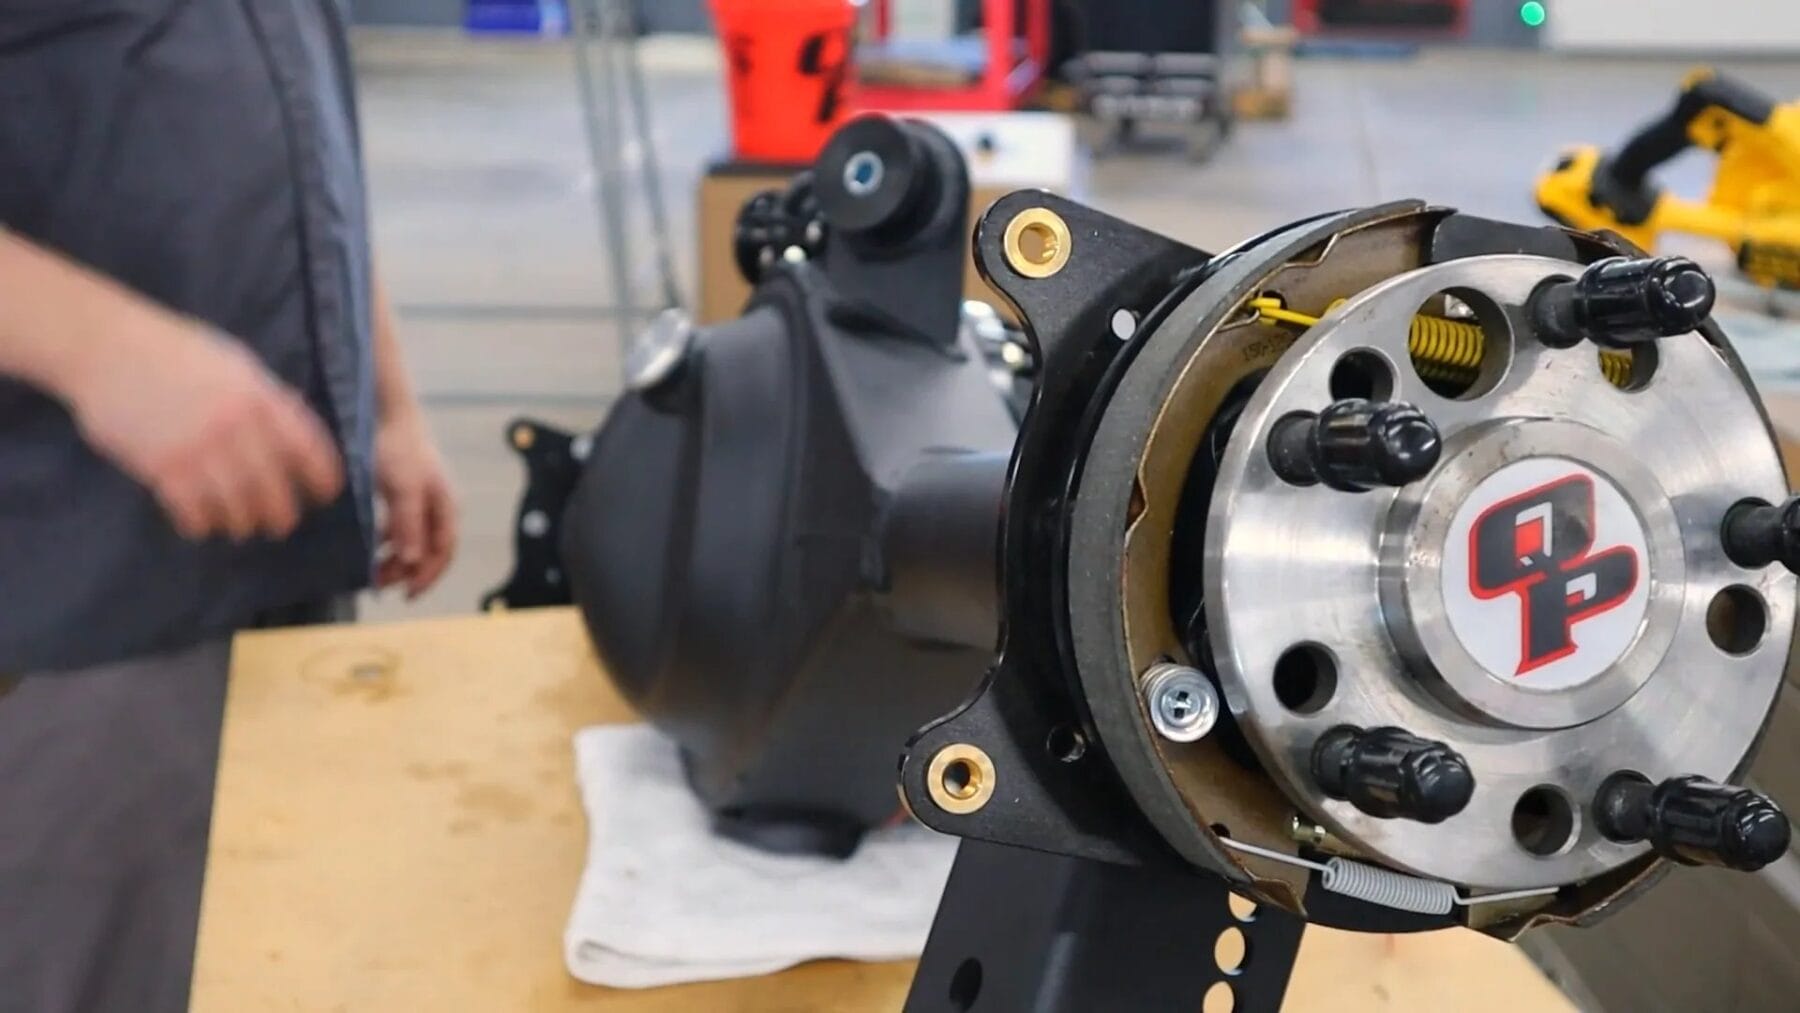

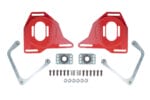
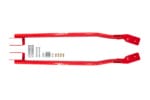
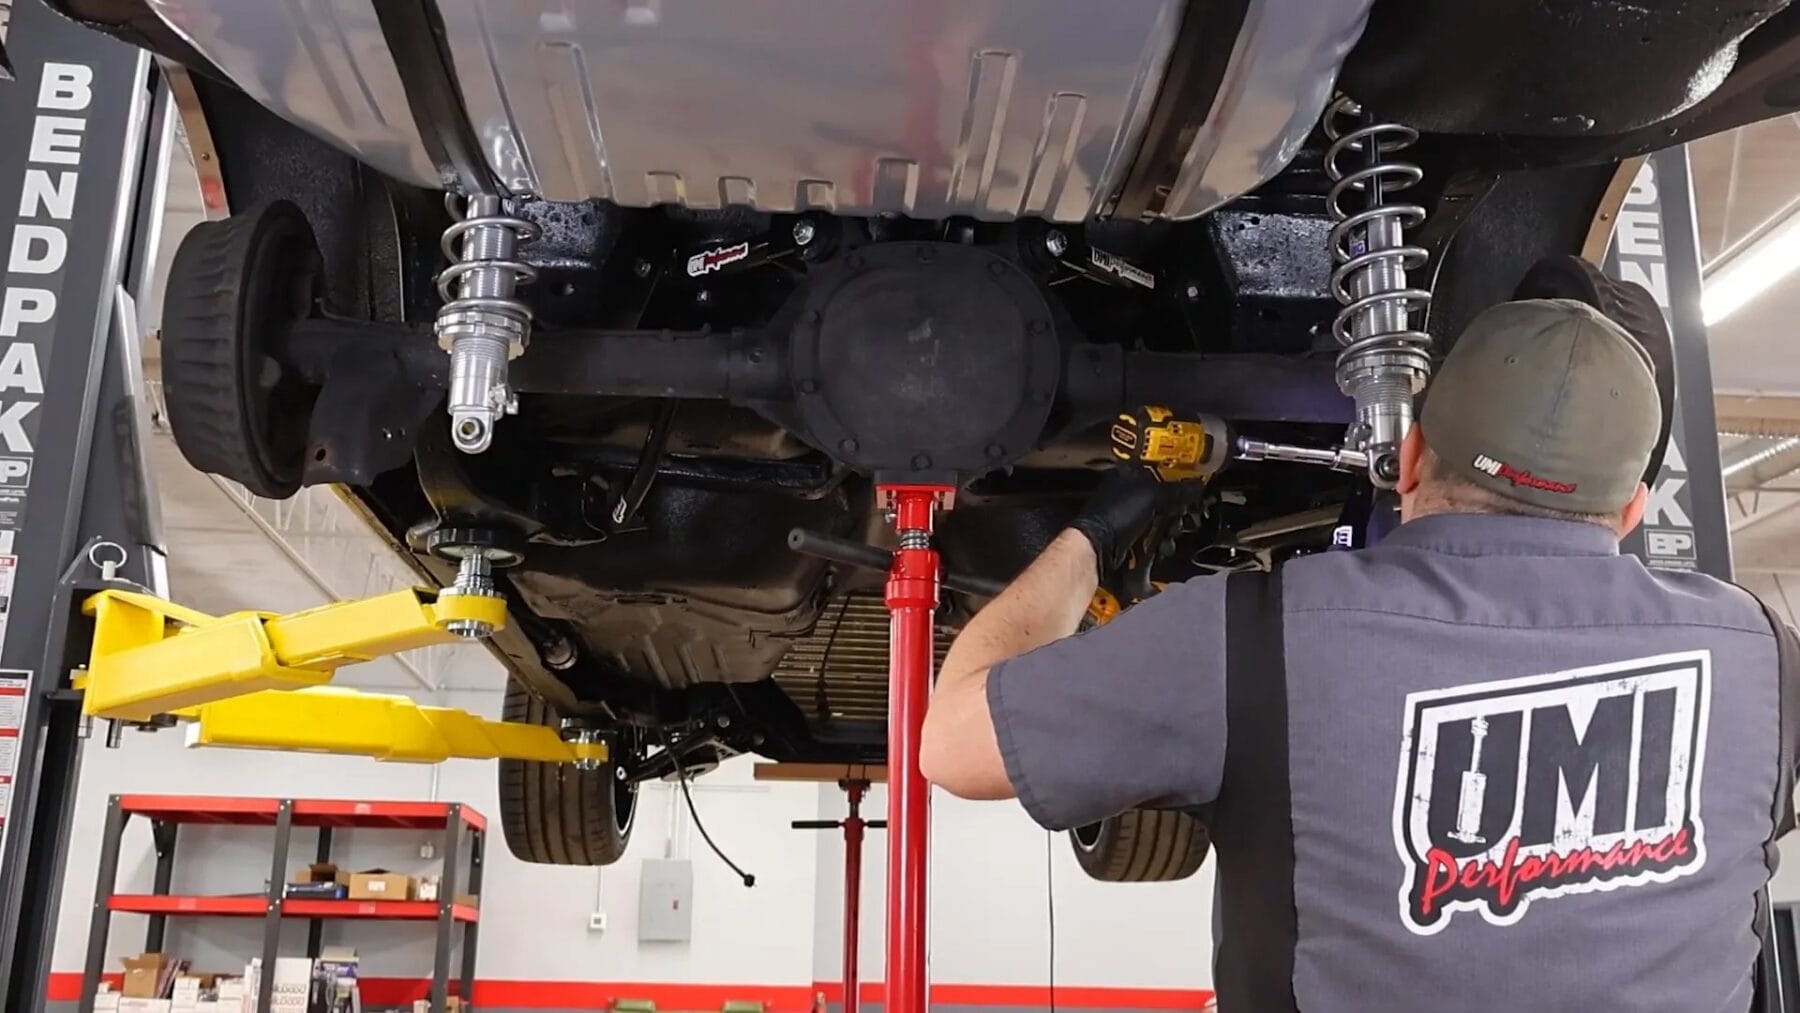
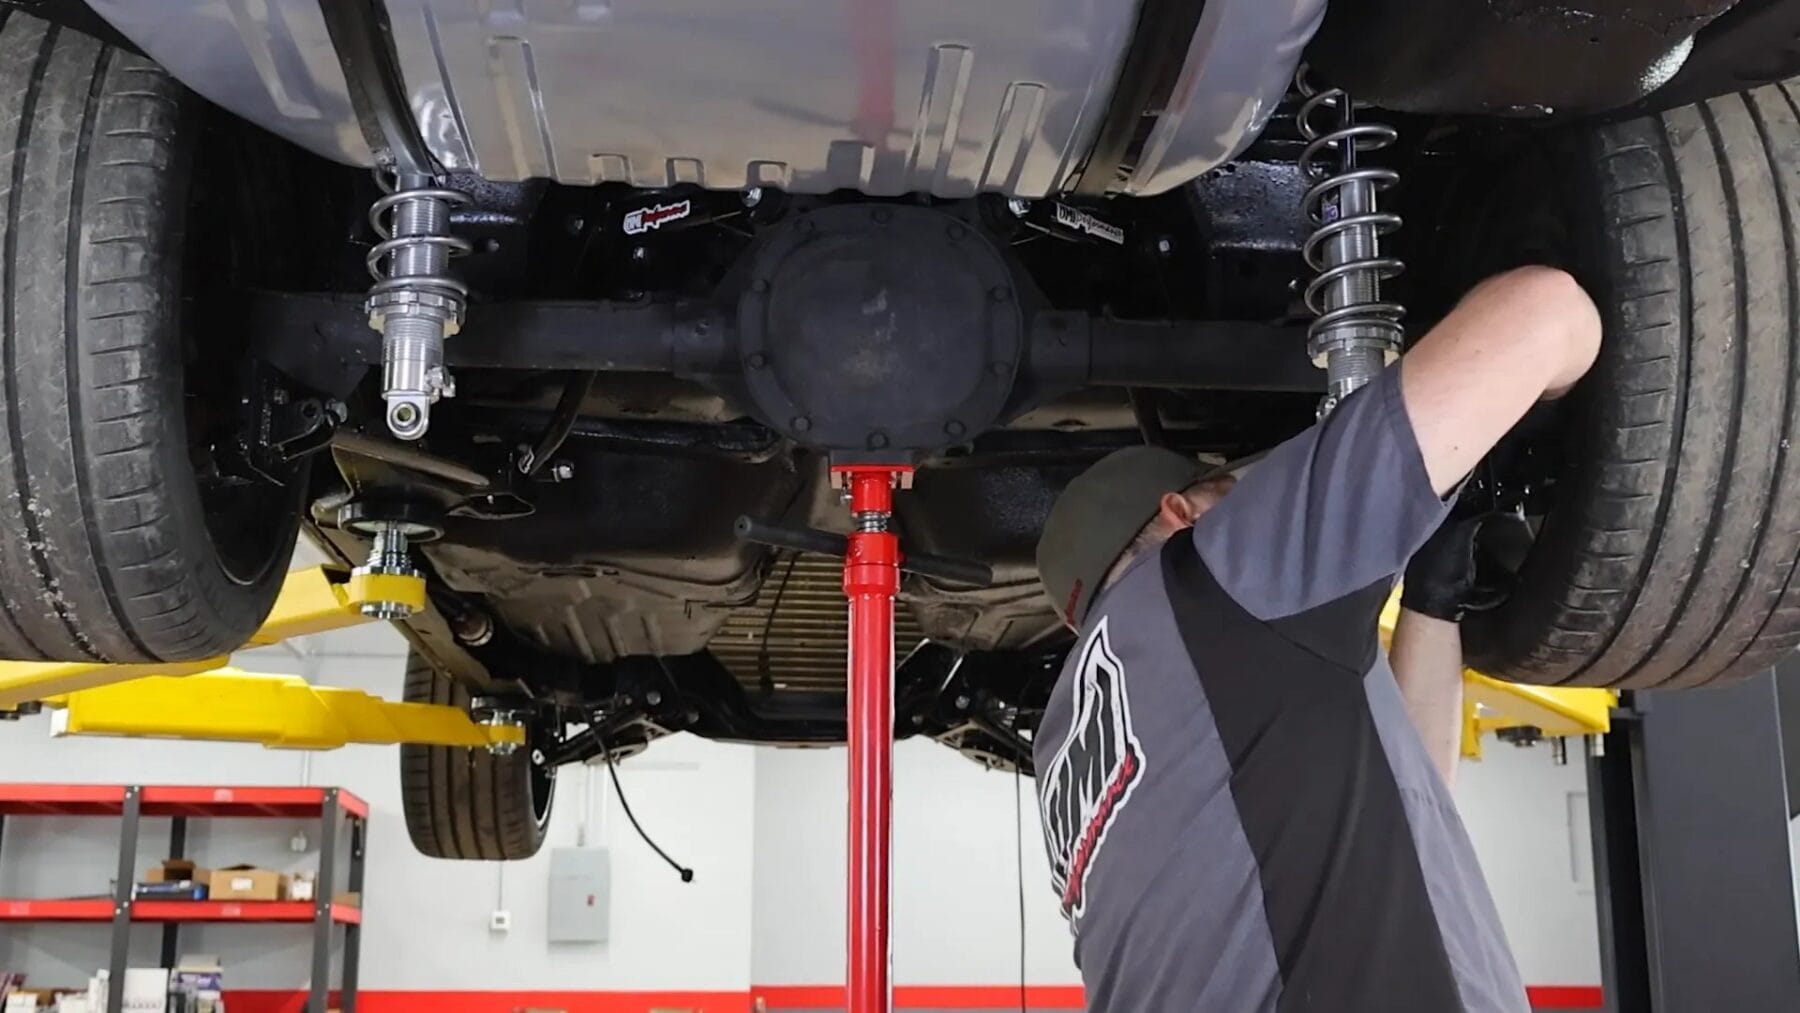
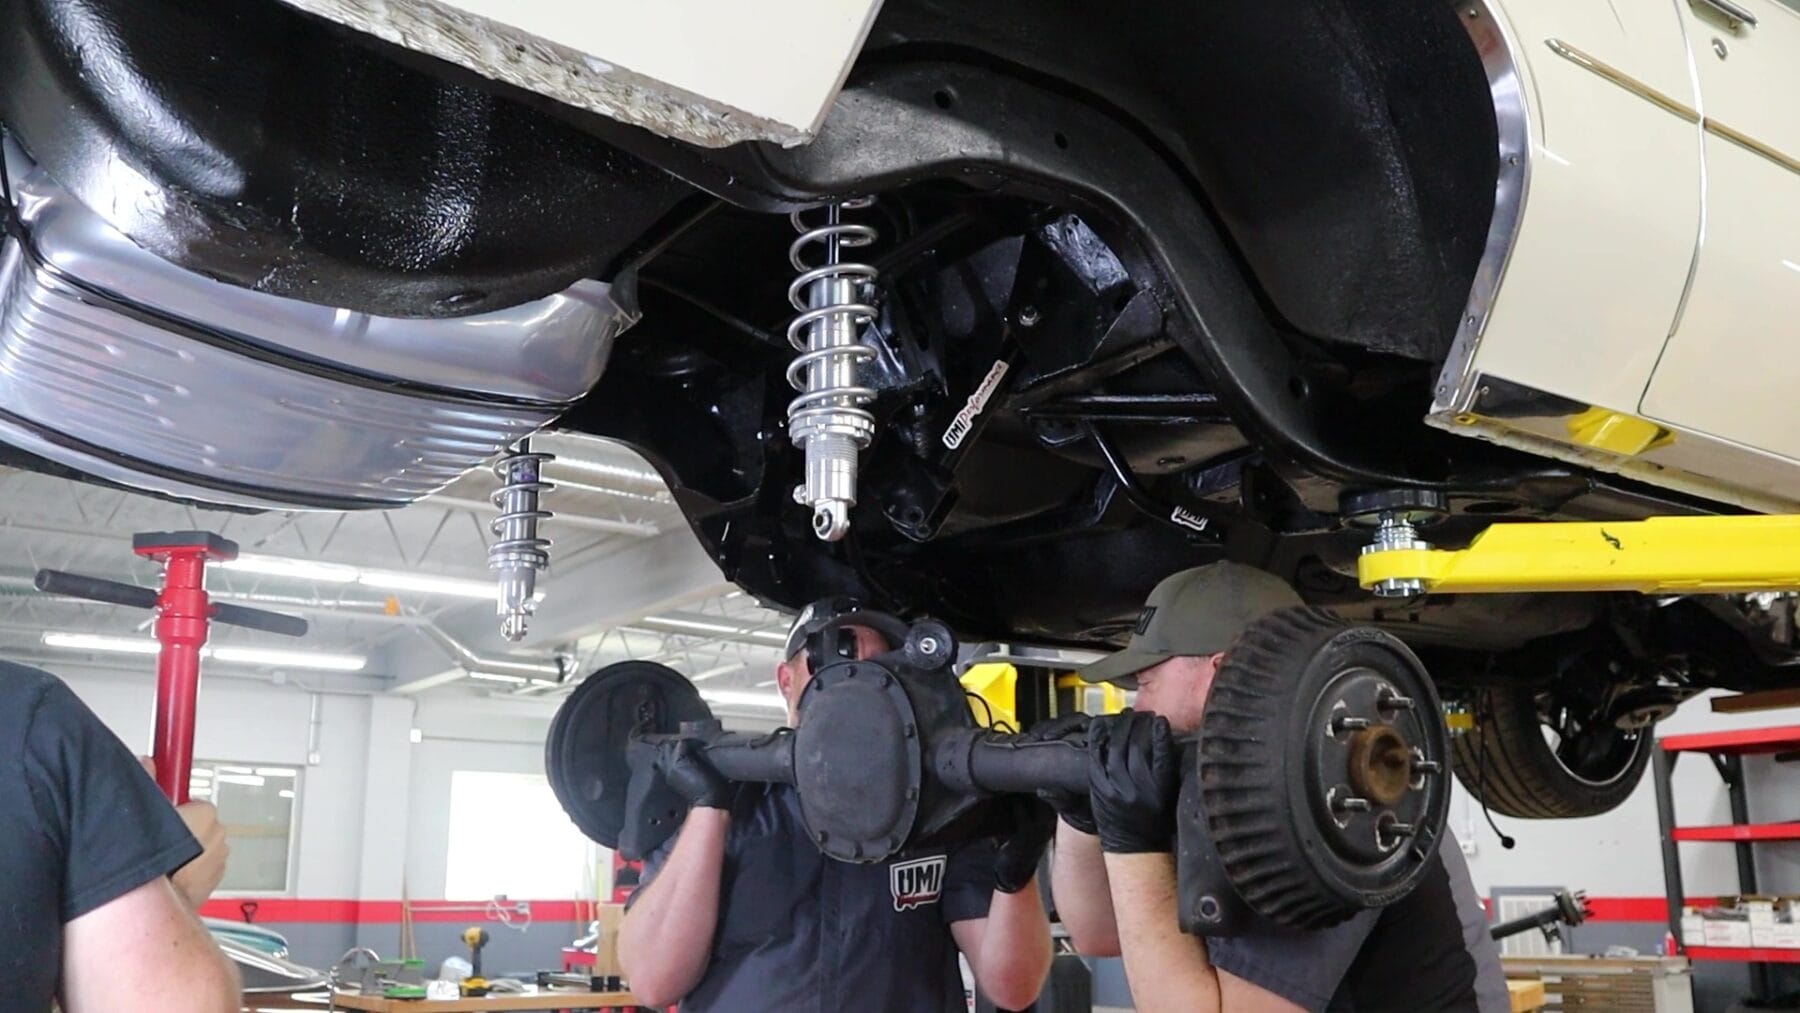
3054 – 1978-1988 GM G-Body Rear Coilover Conversion Brackets, Quick Performance
SKU:
3054
In stock
$199.99
3054-X – 1978-1988 GM G-Body Rear Coilover Conversion Kit, Quick Performance
SKU:
3054-X
In stock
$1,009.99
Select options
This product has multiple variants. The options may be chosen on the product page


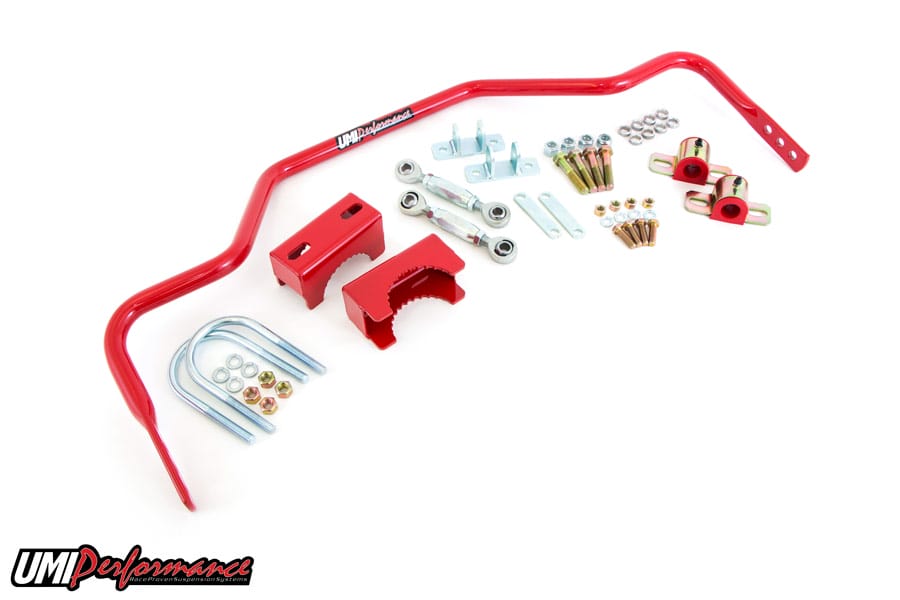
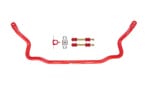
3044 – 1978-1988 GM G-Body Sway Bar, Rear, Tubular, 1″, Chassis Mounted, Pro-Tour
SKU:
3044
In stock
$519.99
Select options
This product has multiple variants. The options may be chosen on the product page