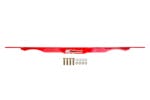


2200 – 1993-2002 GM F-Body Tunnel Mounted Torque Arm, Stock Exhaust, Kooks LT’s
SKU:
2200
In stock
Price range: $569.99 through $729.99
Select options
This product has multiple variants. The options may be chosen on the product page


In stock
Price range: $569.99 through $729.99
SKU:
2200

In stock
Price range: $599.99 through $759.99
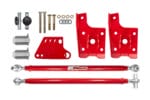
SKU:
2201

In stock
Price range: $569.99 through $729.99
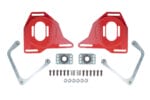
SKU:
2202

In stock
Price range: $599.99 through $759.99
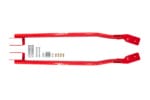
SKU:
2203

In stock
Price range: $339.99 through $529.99
SKU:
2205

In stock
$339.99
SKU:
2206

In stock
Price range: $569.99 through $699.99
SKU:
2236