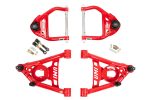
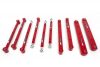
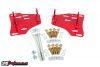
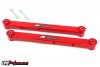
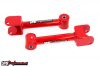
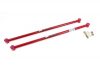
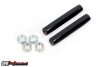
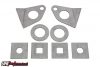
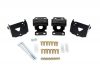
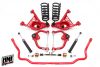
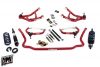
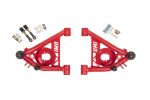
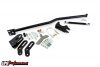
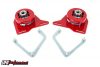
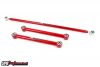
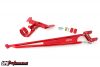
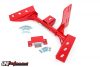
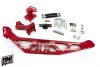
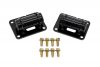
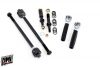
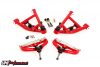
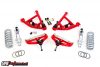
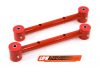
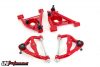
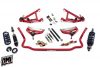
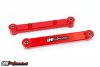
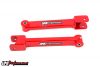
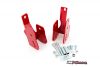
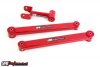
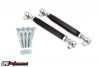
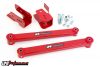
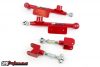
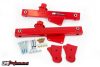
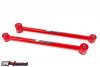
 A-ARMS
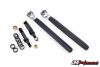
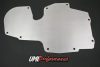
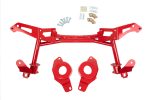
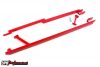
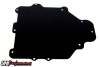
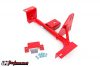
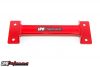
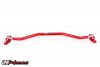
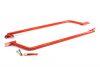
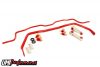
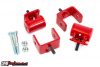
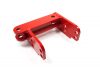
 CHASSIS REINFORCEMENT
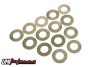


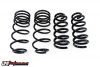
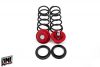
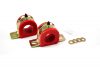
 SPRINGS & SPRING SPACERS
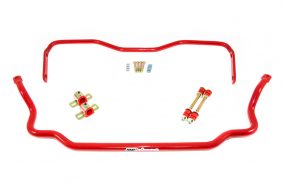

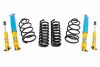
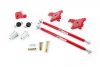
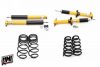
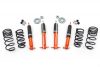
 SPRING & SHOCK KITS
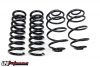


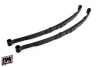 LEAF SPRINGS
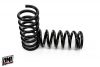

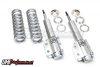
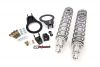


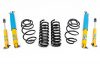
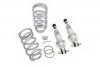
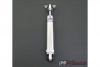
 SHOCKS & SPRINGS
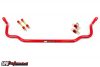
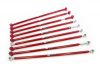
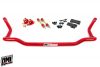
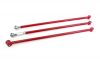
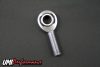
 STEERING
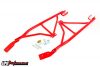


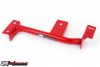

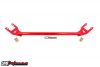

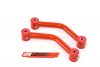


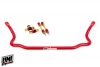
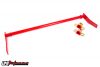
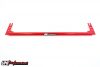
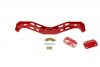
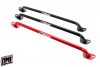
 TUNNEL BRACE


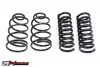
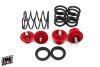
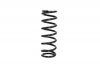 SPRINGS
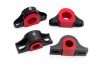

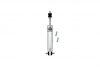
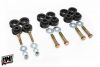
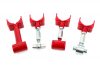
 ADJUSTERS
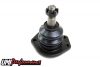


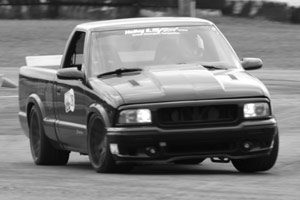
Do It Once, Do It Right
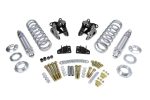
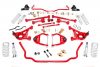
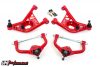
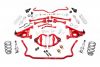
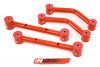
We’ve all done it – we tried to save a few bucks and cut a corner, only to have it come back and bite us in the butt. Such was the case with Andrew and his Second-Gen Camaro. When building the car, he opted to just rebuild the stock suspension with all new bushings and ball joints. After getting beat up while driving it for thousands of miles, he bit the bullet and upgraded to a set of tubular UMI Performance control arms and a set of Viking Performance coil overs. With more miles on the car, he couldn’t believe the difference. Read the full install from Lateral-G.net below!
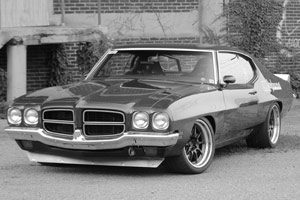
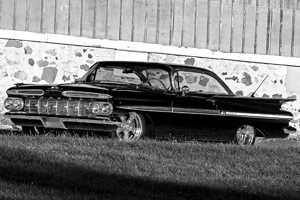
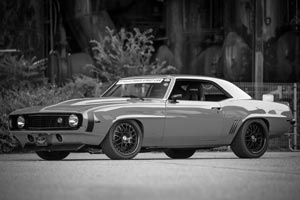
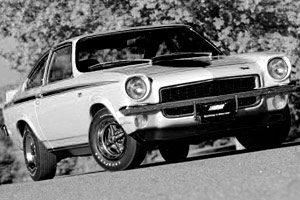
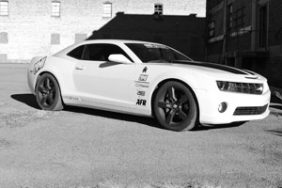
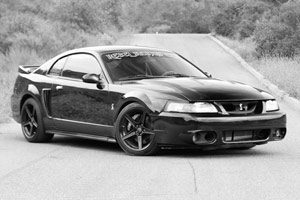
Second Gen Camaro Suspension Upgrade
We can all agree, nothing quite matches the feel of a classic muscle car. By now, we can also agree that the muscle rides of the 60’s and 70’s left a lot to be desired in the handling and ride quality department.
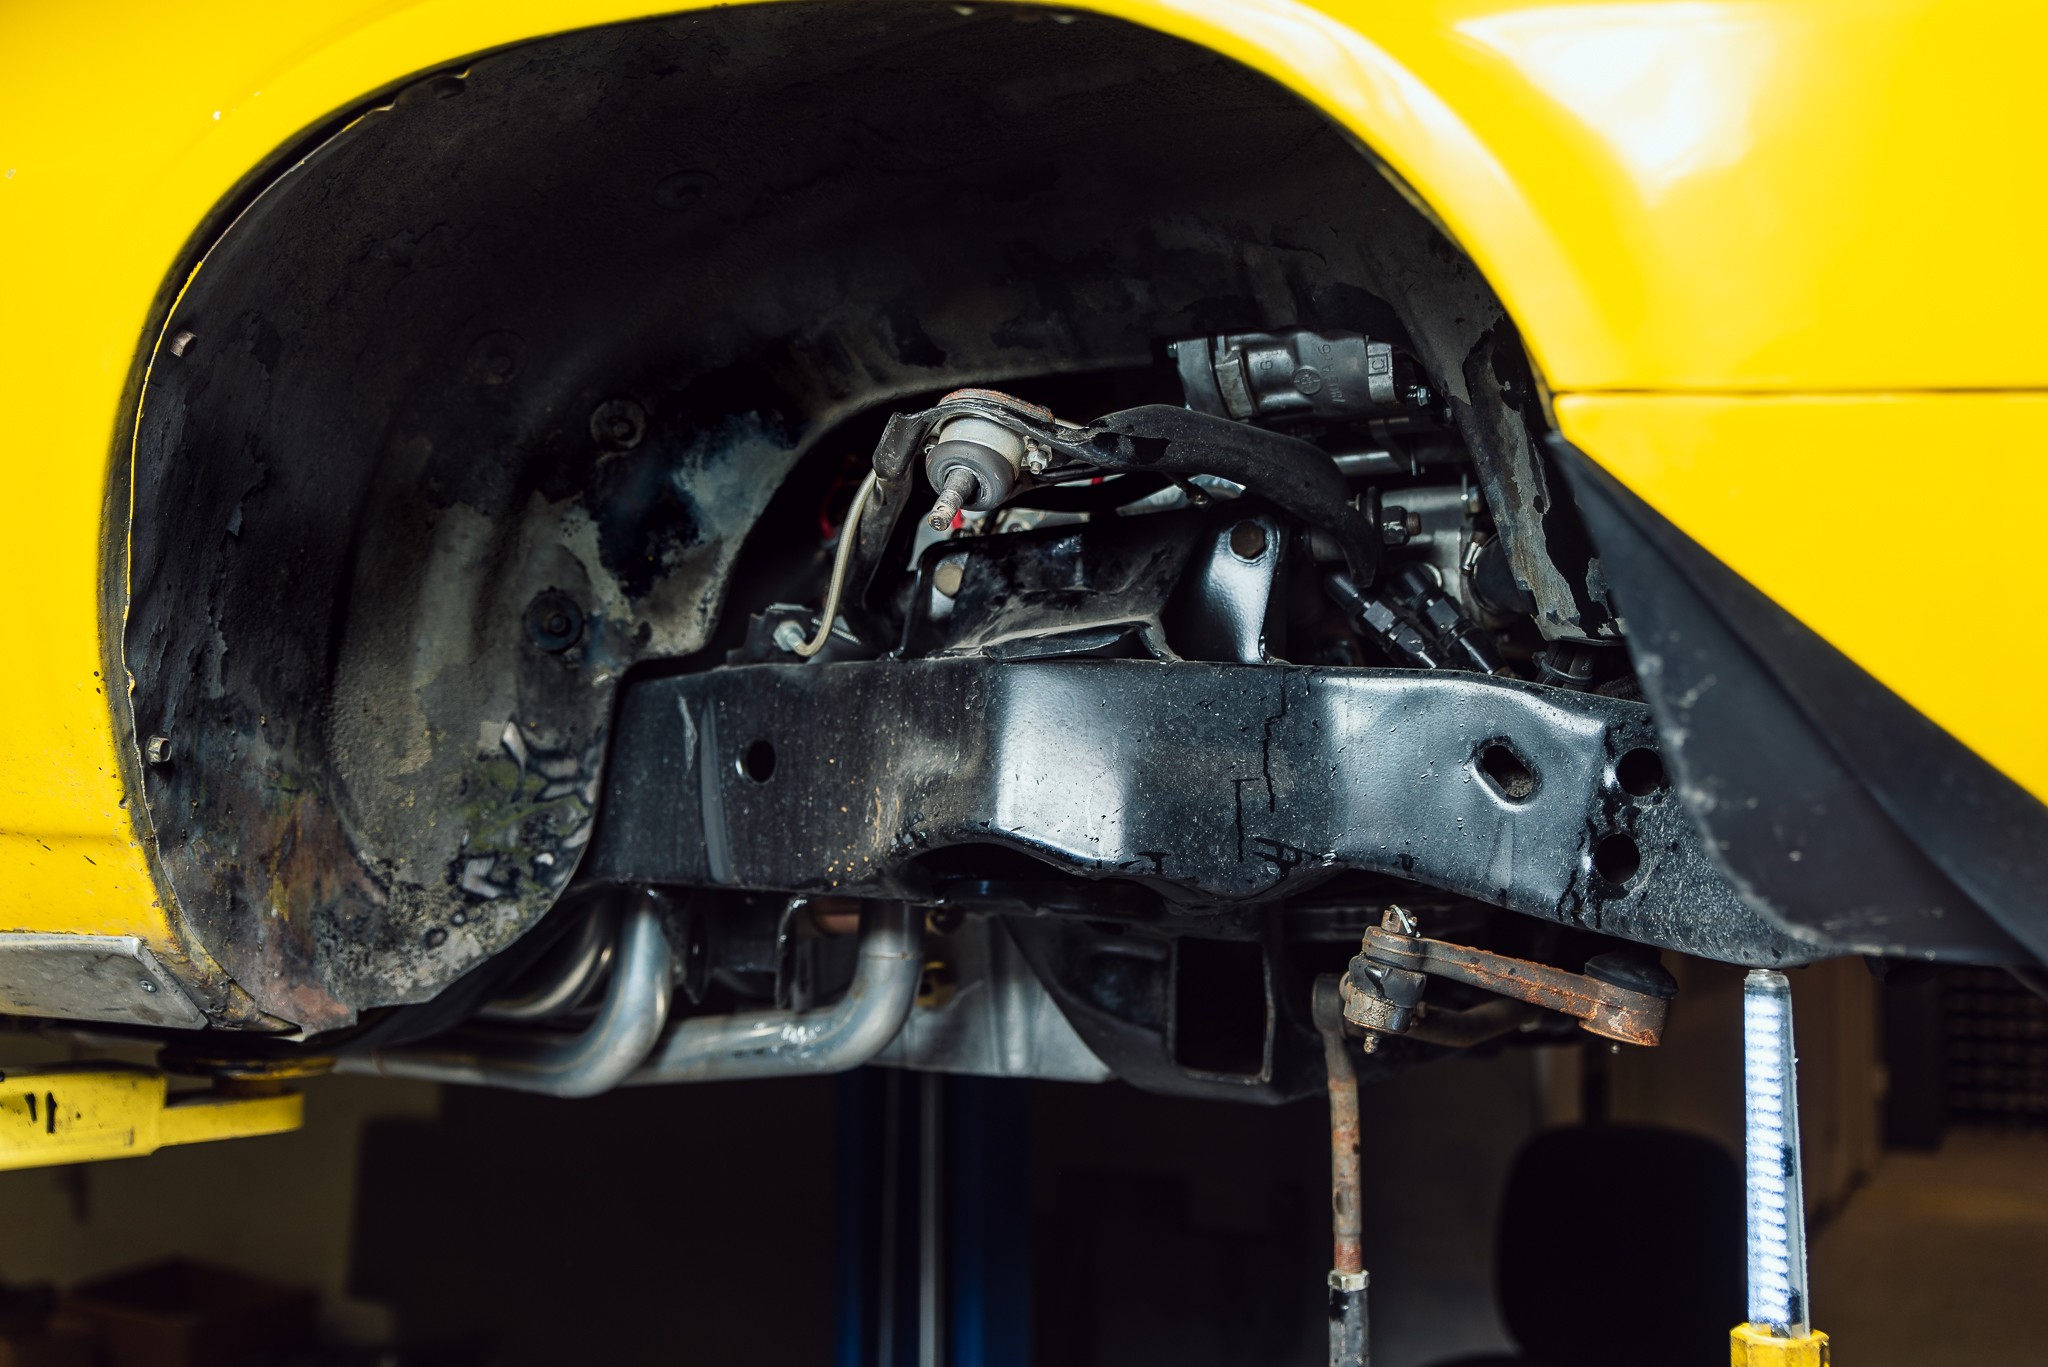
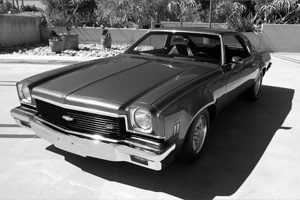
My ’71 Camaro had sat in the “hog house” on our farmland in Kansas from about 1992 until I pulled it out and brought it down to Texas in 2015 with one intention, to get it Power Tour ready. This gave me about 8 or 9 months until I had to hit the road, which not only meant a lot of work to be had, but a lot of expenses putting it together. Initially, the plan was just to get it running as it was a matching numbers Z28 car, but that quickly changed to an LQ4, 4L80, Strange 9”, etc. The one thing that didn’t “snowball” was the suspension, which I rebuilt the factory stuff to save a few bucks.

Author: Andrew Erichsen
Photos: Jason Dittberner
This meant pressing out the factory bushings, having the arms soda blasted, coating them with Chassis Saver, pressing in new bushings, and reinstalling with a set of cheap “performance shocks”. For all this giant pain in the ass, I was rewarded with a Camaro that rode like a skateboard at best.
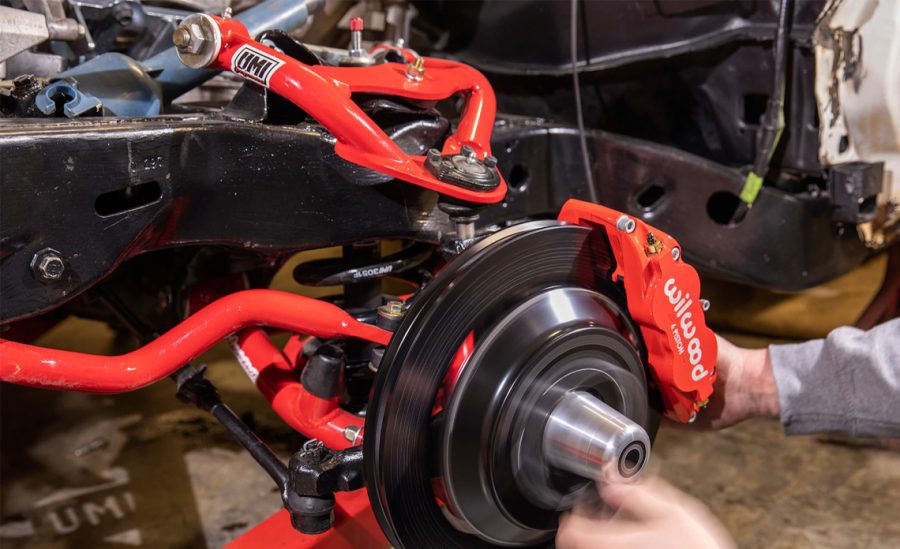
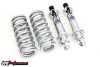
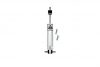
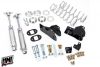
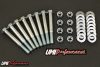
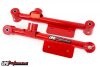
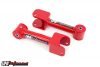
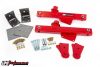
8,500 miles and possible back damage later, I was tired of the ride and ready to upgrade to what I should have done in the first place. UMI Performance was a name I was very familiar with in my 4th gen Camaro days, and once I saw they recently released 2nd gen products, I knew what choice I was going to make. To compliment the “street” oriented UMI control arms (they also offer a more radical race version), Viking Performance double adjustable coilovers were used on the front, along with their double adjustable rear shocks.
The Fun Begins
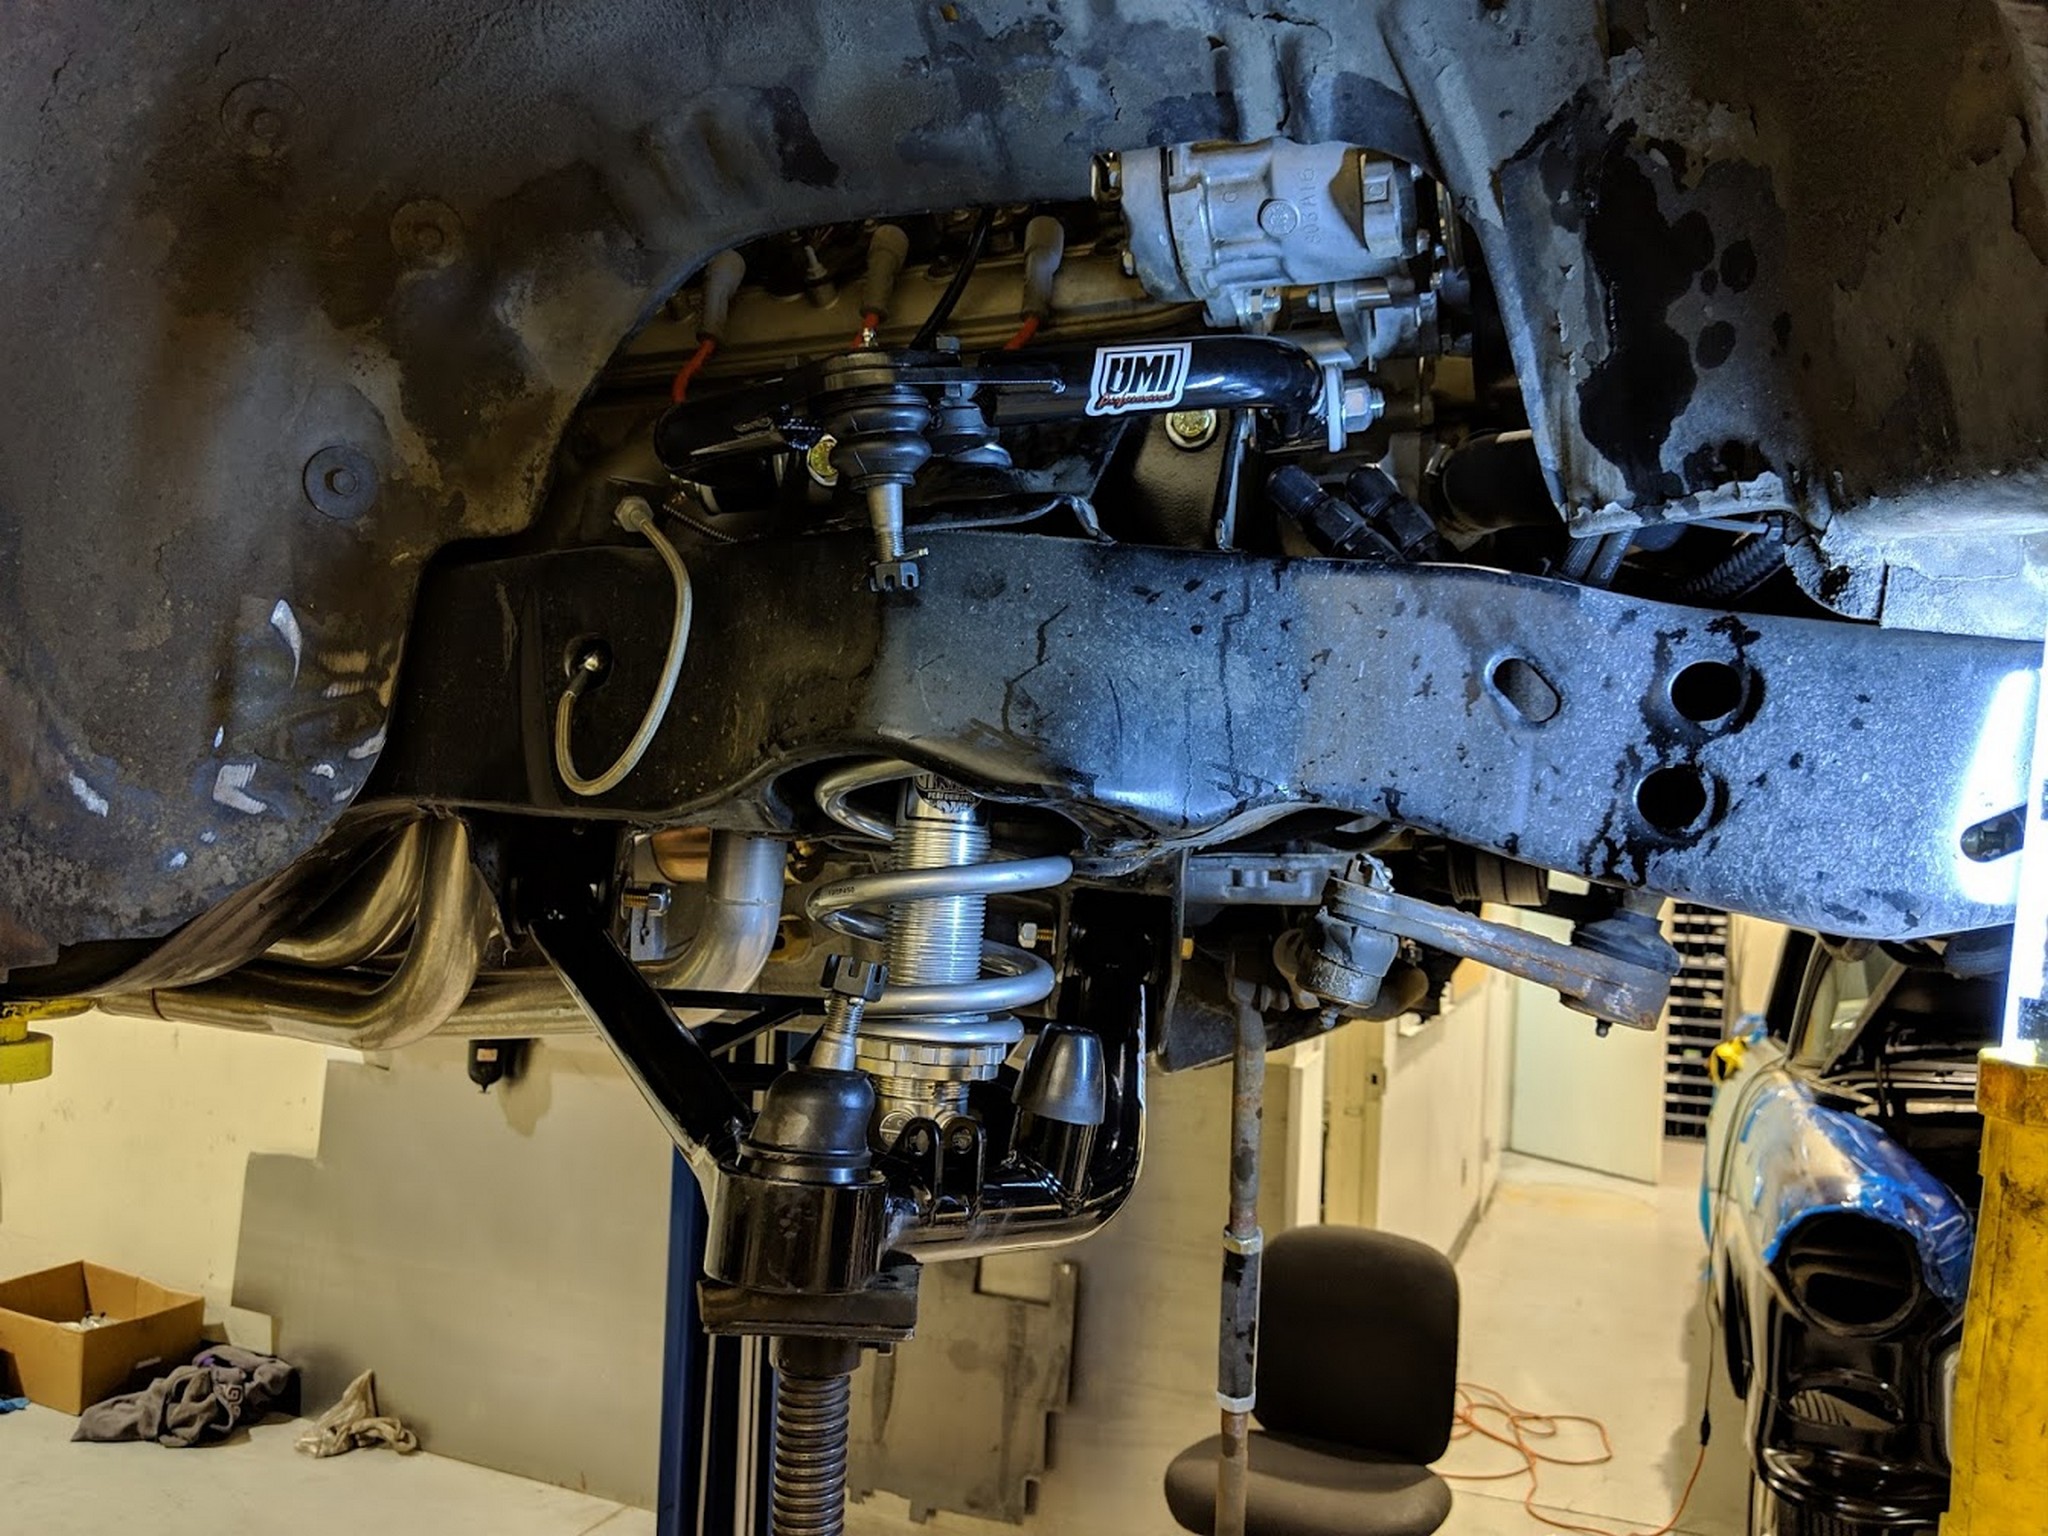
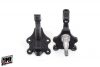
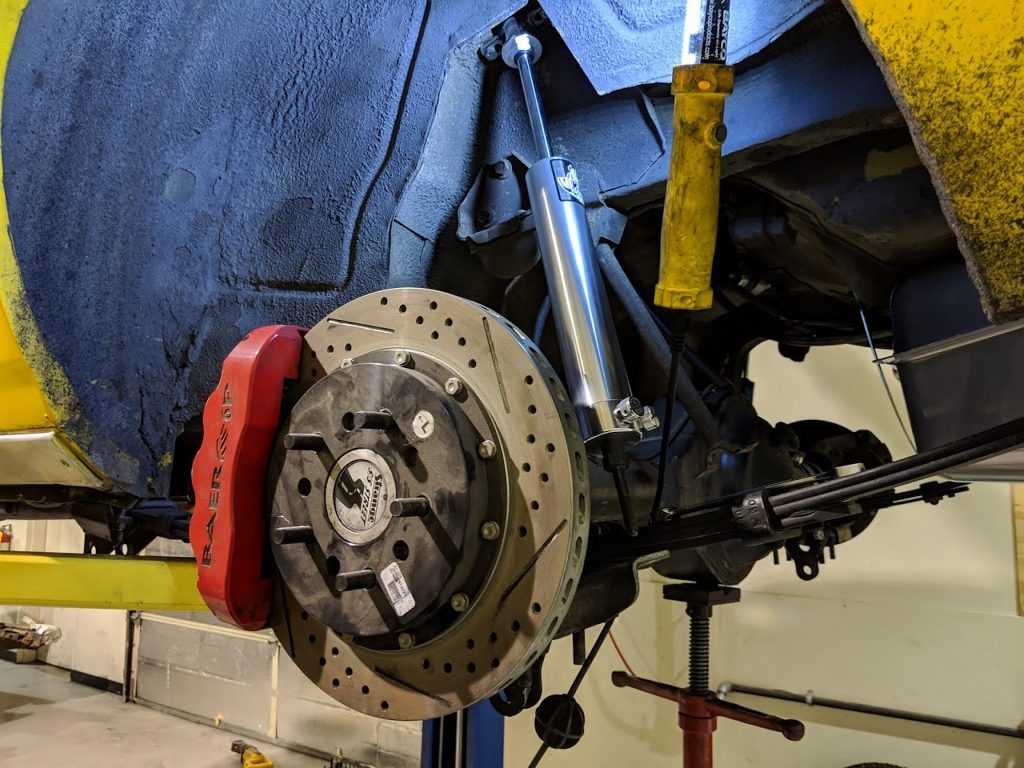
Installation began with where I was 2 years ago, removing the factory stuff yet again, which was a simple process. First removing the cotter pins from the ball joints and tie-rod ends, then using a hammer and picklefork to knock the spindle loose. As always, use caution when knocking the spindle loose and make sure you have a jack supporting the control arm. Since brakes were also being upgraded at this time, the brake line was removed from the factory caliper and the spindle and brakes were removed in one piece.
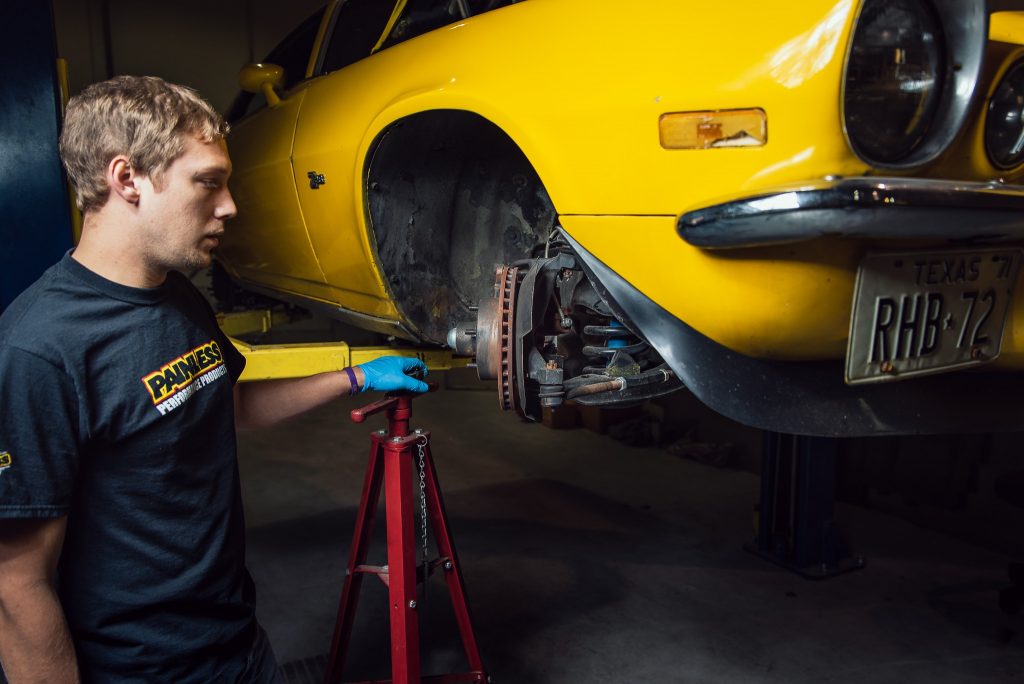
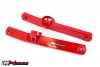
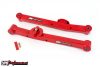
Once the spindle is out of the way, it is time to remove the factory arms. I started with the lower first, simply unbolting and knocking the bolts through with a punch. The lower arm actually gave up a fight to come out, almost as if the factory stamped steel lower arm had tried to “twist,” an issue that won’t exist with the tubular UMI arms. After using a large pry bar, the lower arm was out and I moved to the top, which unbolted easily and was tossed to the side.

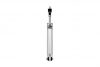
With the factory control arms out of the way, it was time to move to the work bench to prep the new setup. The UMI arms give you the ability to install or remove the coilover from the bottom without removing the control arm. However, I decided to go ahead and install the coilover to the lower control arm on the bench.

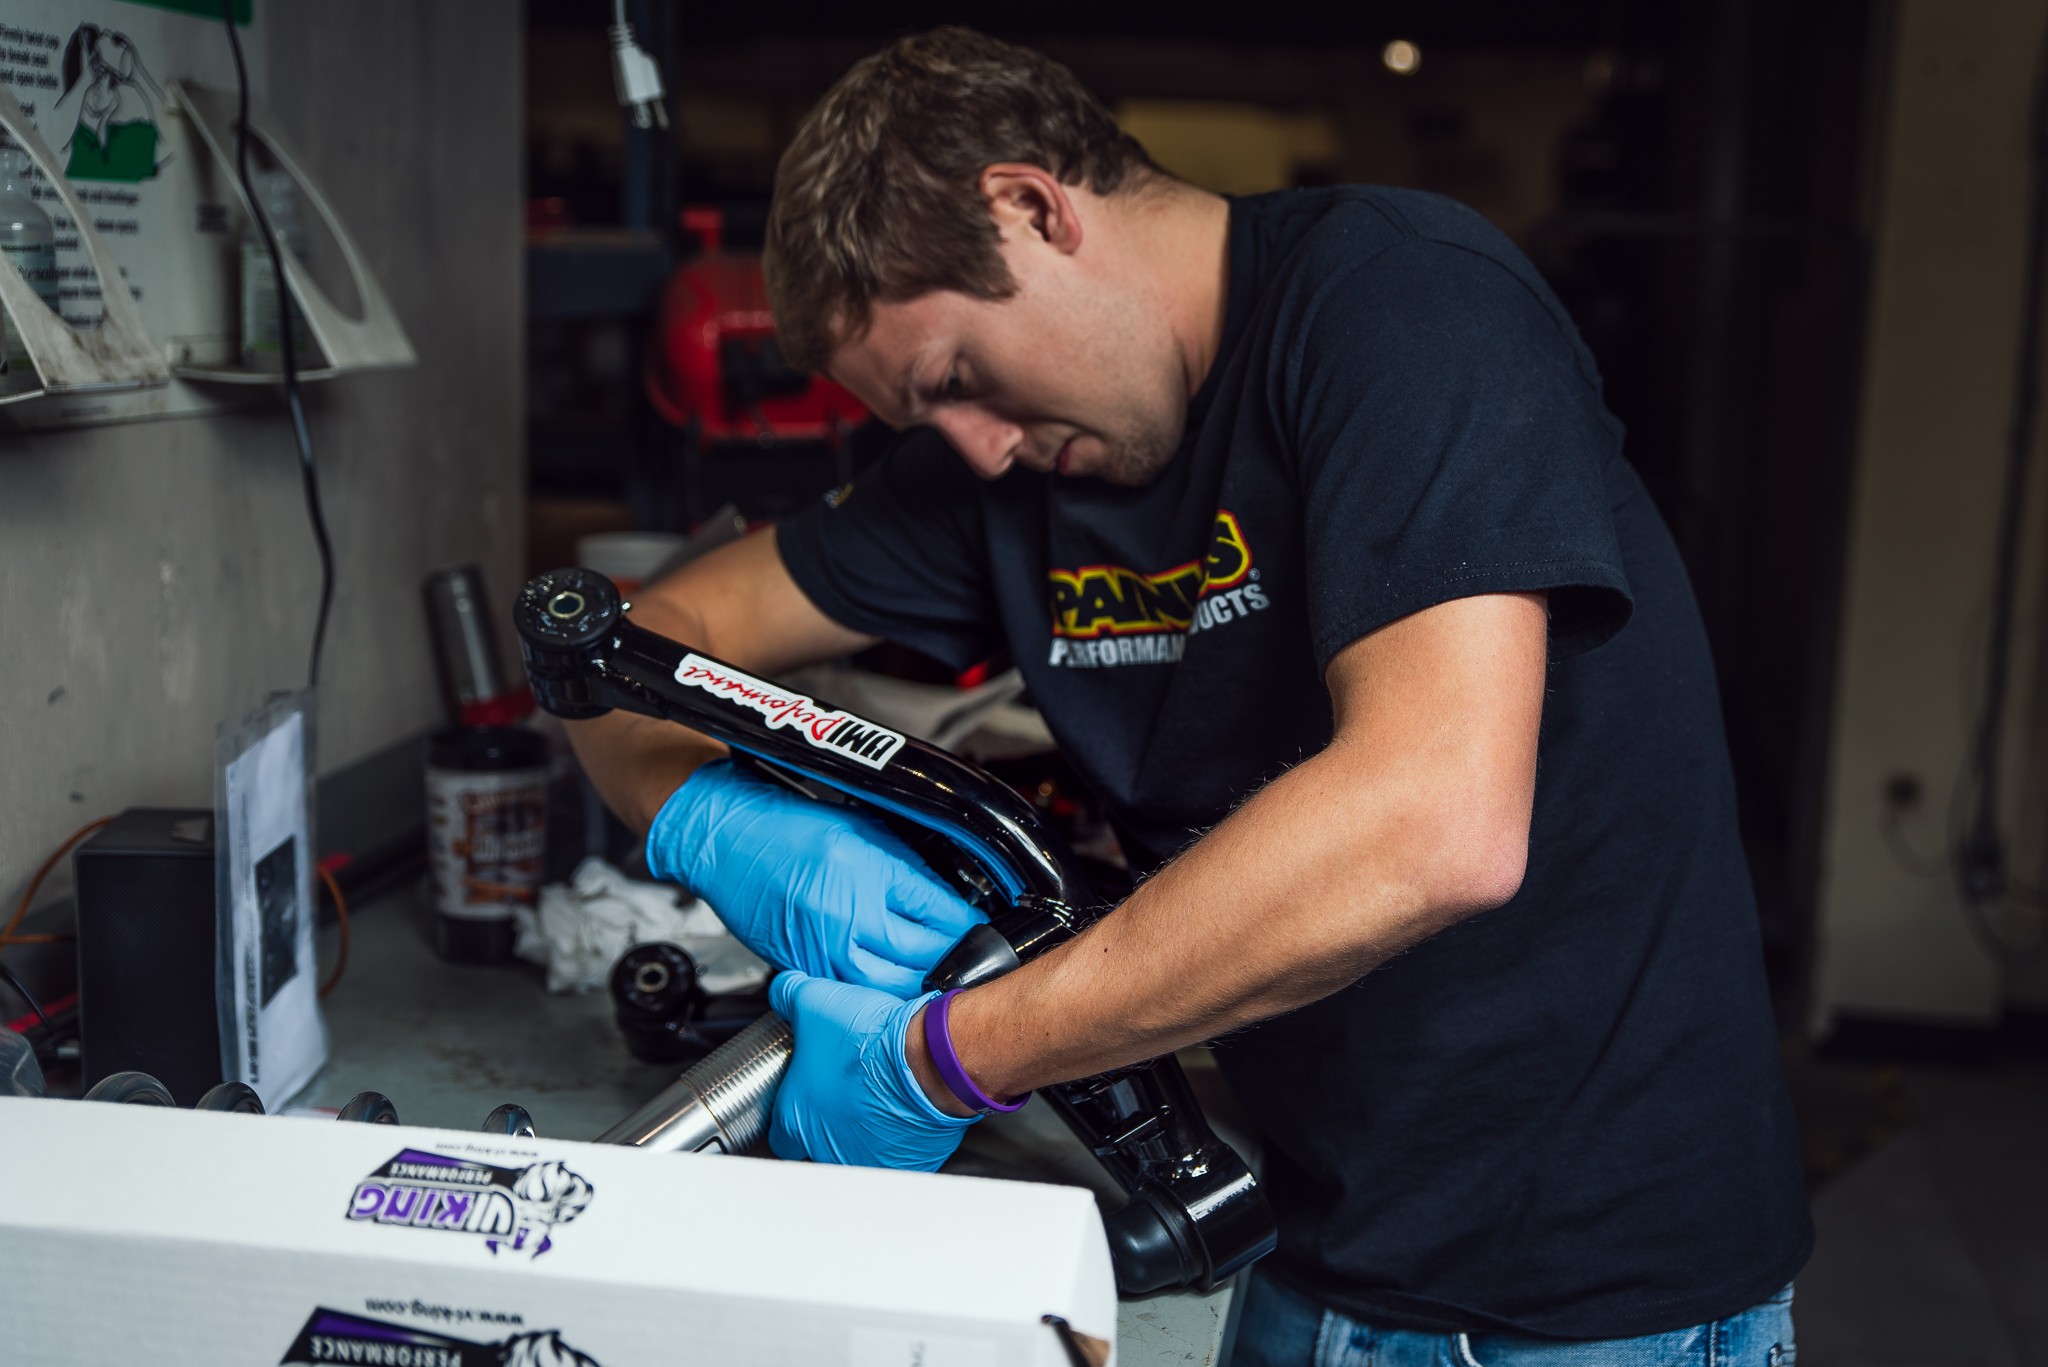
Installation Ensues
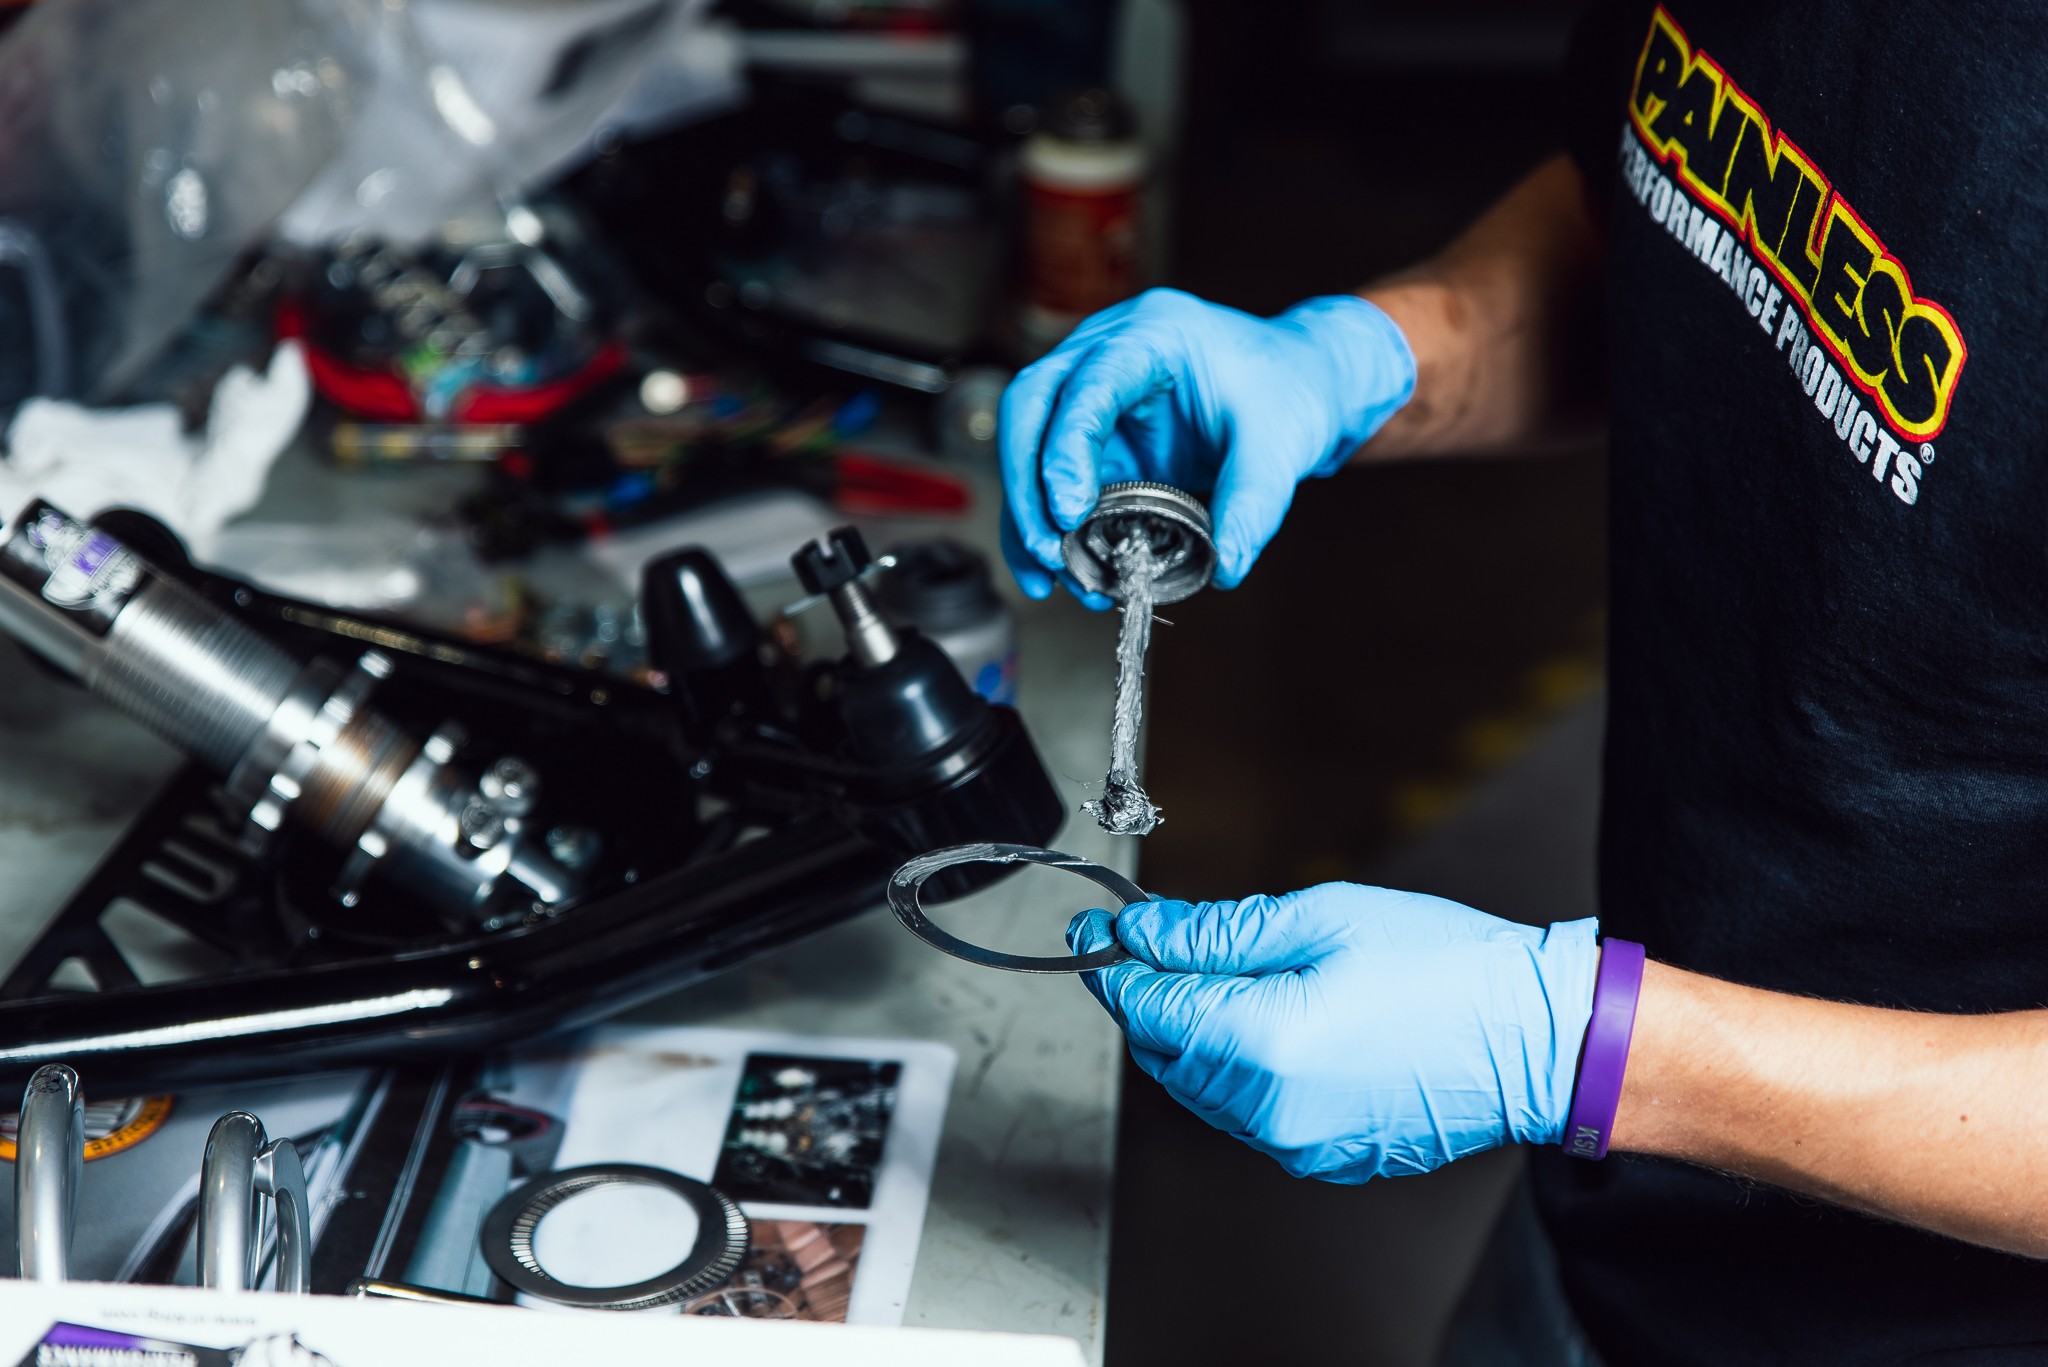
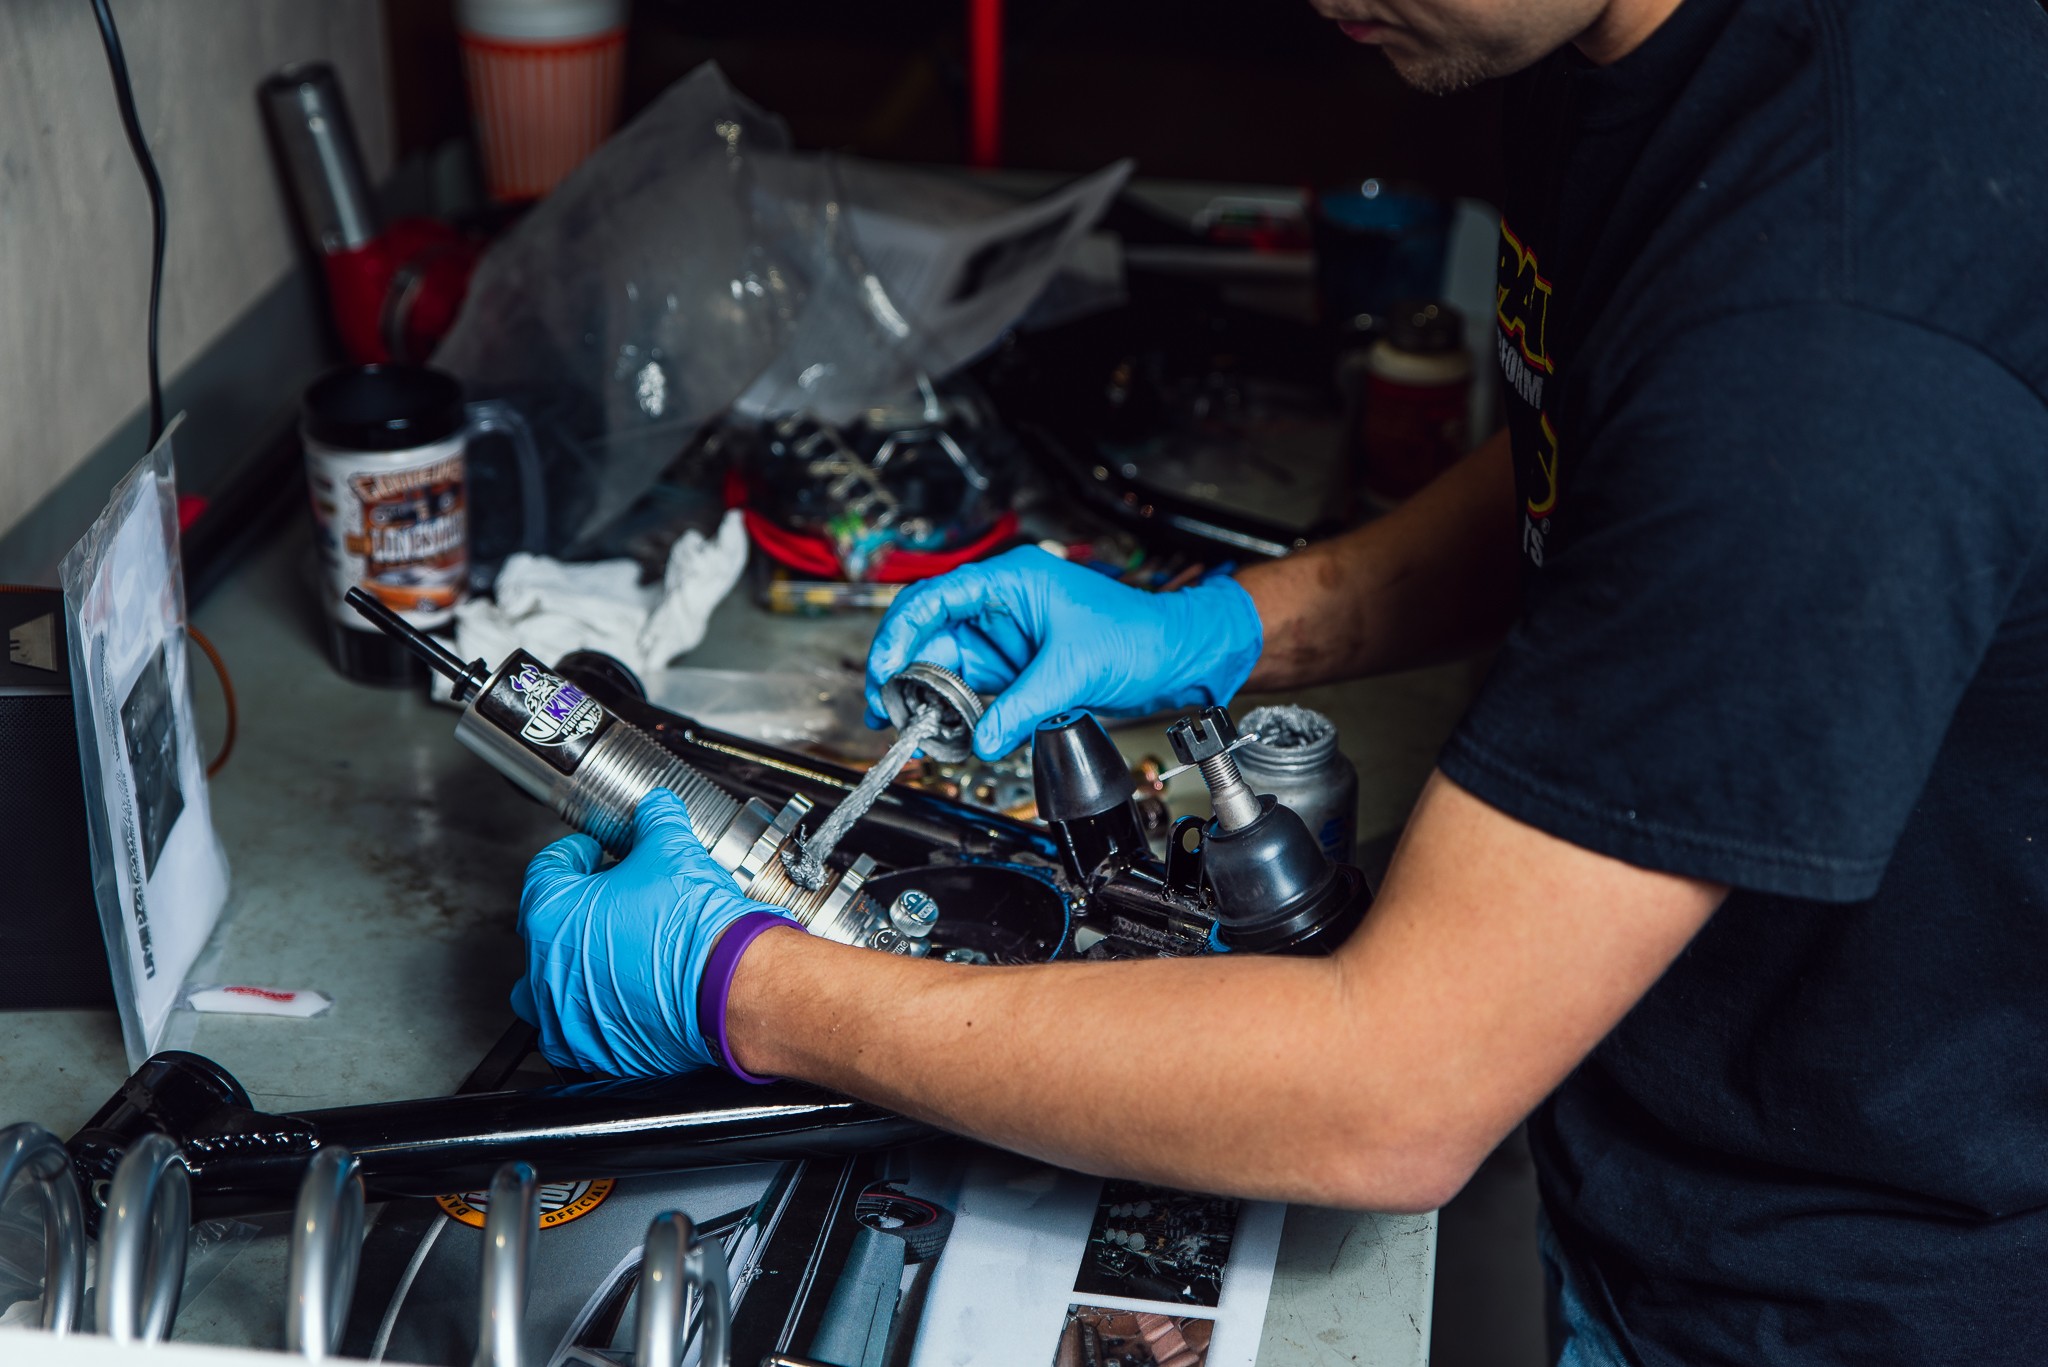
Once the coilover was bolted and tightened to the lower control arm, it was time for anti-seize. This is an absolute MUST for coilovers. As always in an attempt to avoid looking like the Tin Man from the Wizard of Oz, I suggest wearing gloves and being careful during this step.
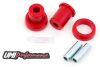
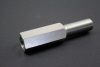
 While it is an optional upgrade, I would highly suggest the thrust bearing kit offered by Viking. Not only will it take strain off of you when you go to raise or lower the car, it also takes strain off of the shock threads themselves. Once again, don’t be shy of anti-seize and make sure you coat the thrust bearing well before installation.

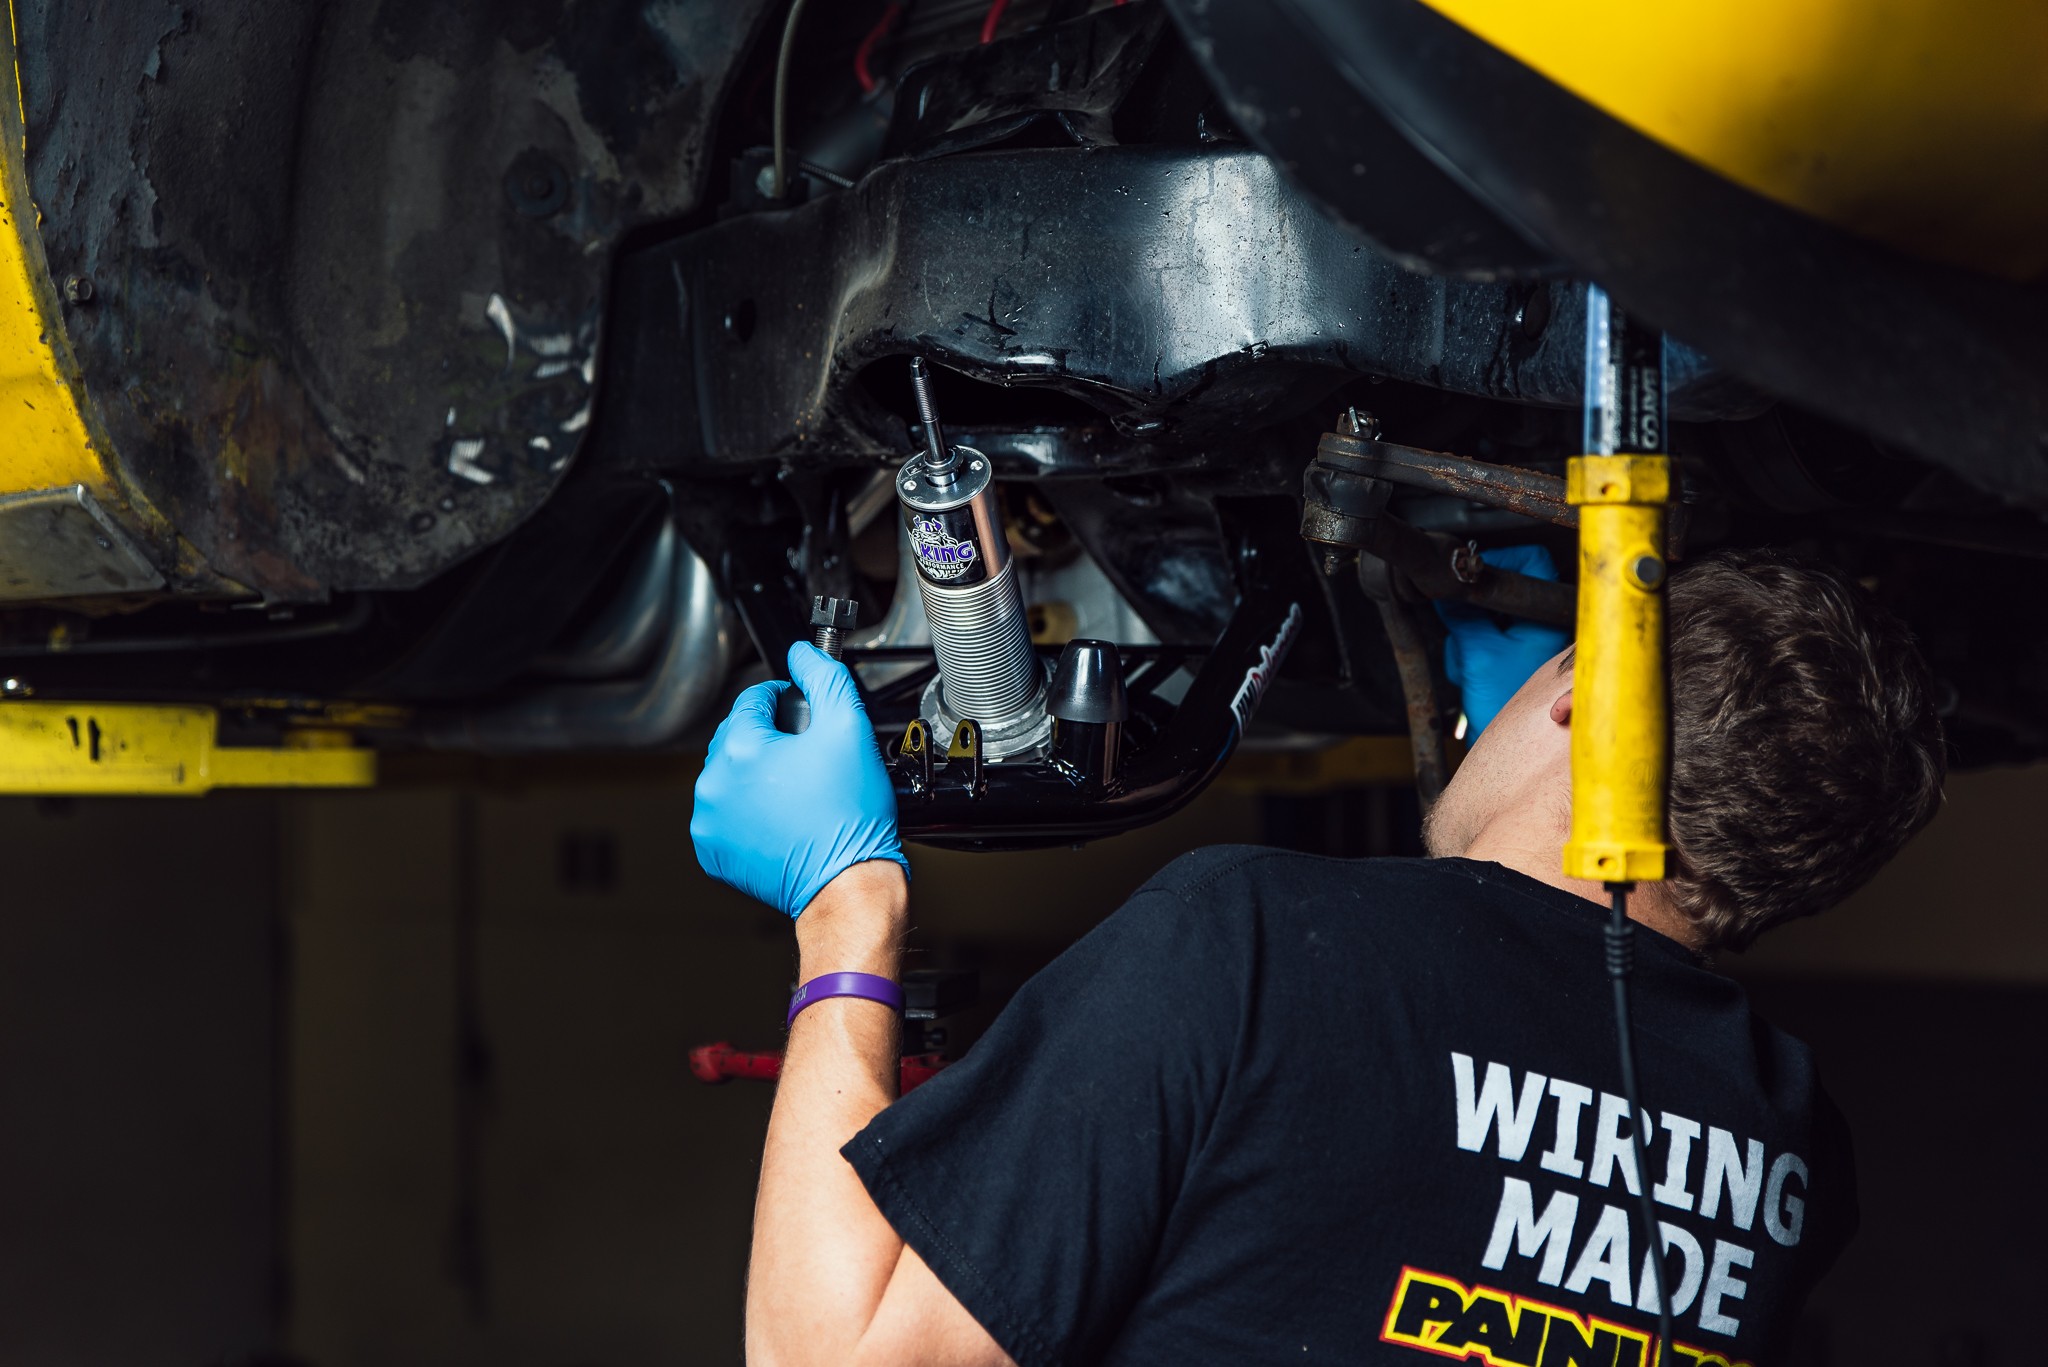
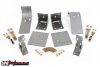
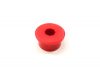
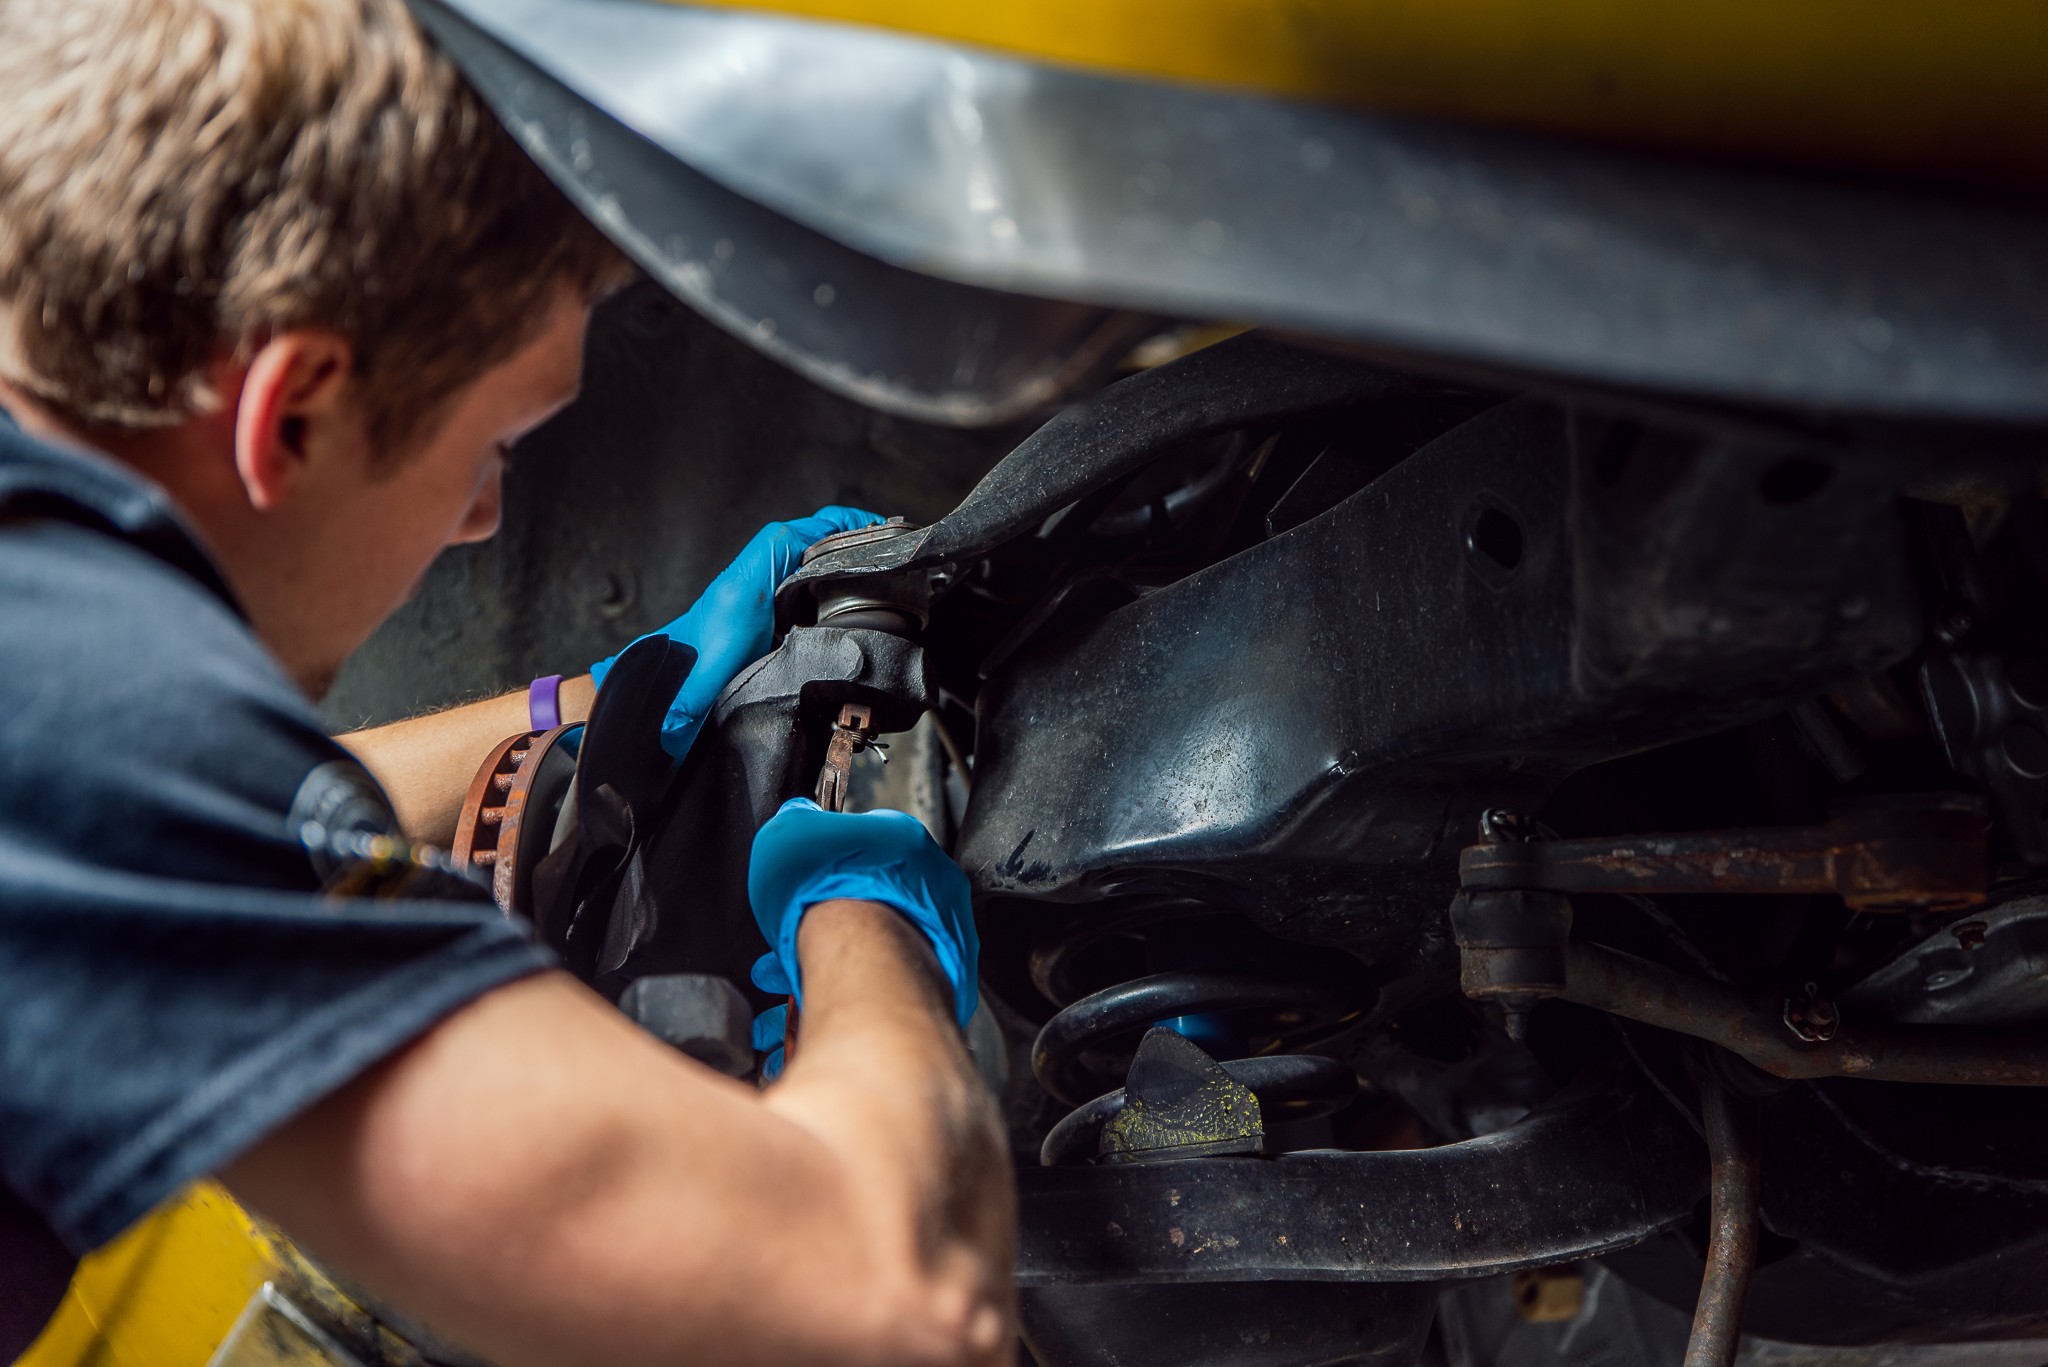
With the coilover installed to the lower arm, it was time to bolt the arm to the car. Provided in the kit is a grease tube for the new urethane control arm bushings, simply apply the grease on the bushings to make sliding the bushing into the subframe a ton easier.
You will want to have a jack handy to support the control arm while bolting it in place. To help ease the install, I went ahead and moved the spring and lock nut all the way to the bottom of the shock.

After placing the spring over the coilover, I slowly raised the lower arm with the jack, making sure to guide the spring into its pocket, along with the upper stud into its rightful place on the subframe.
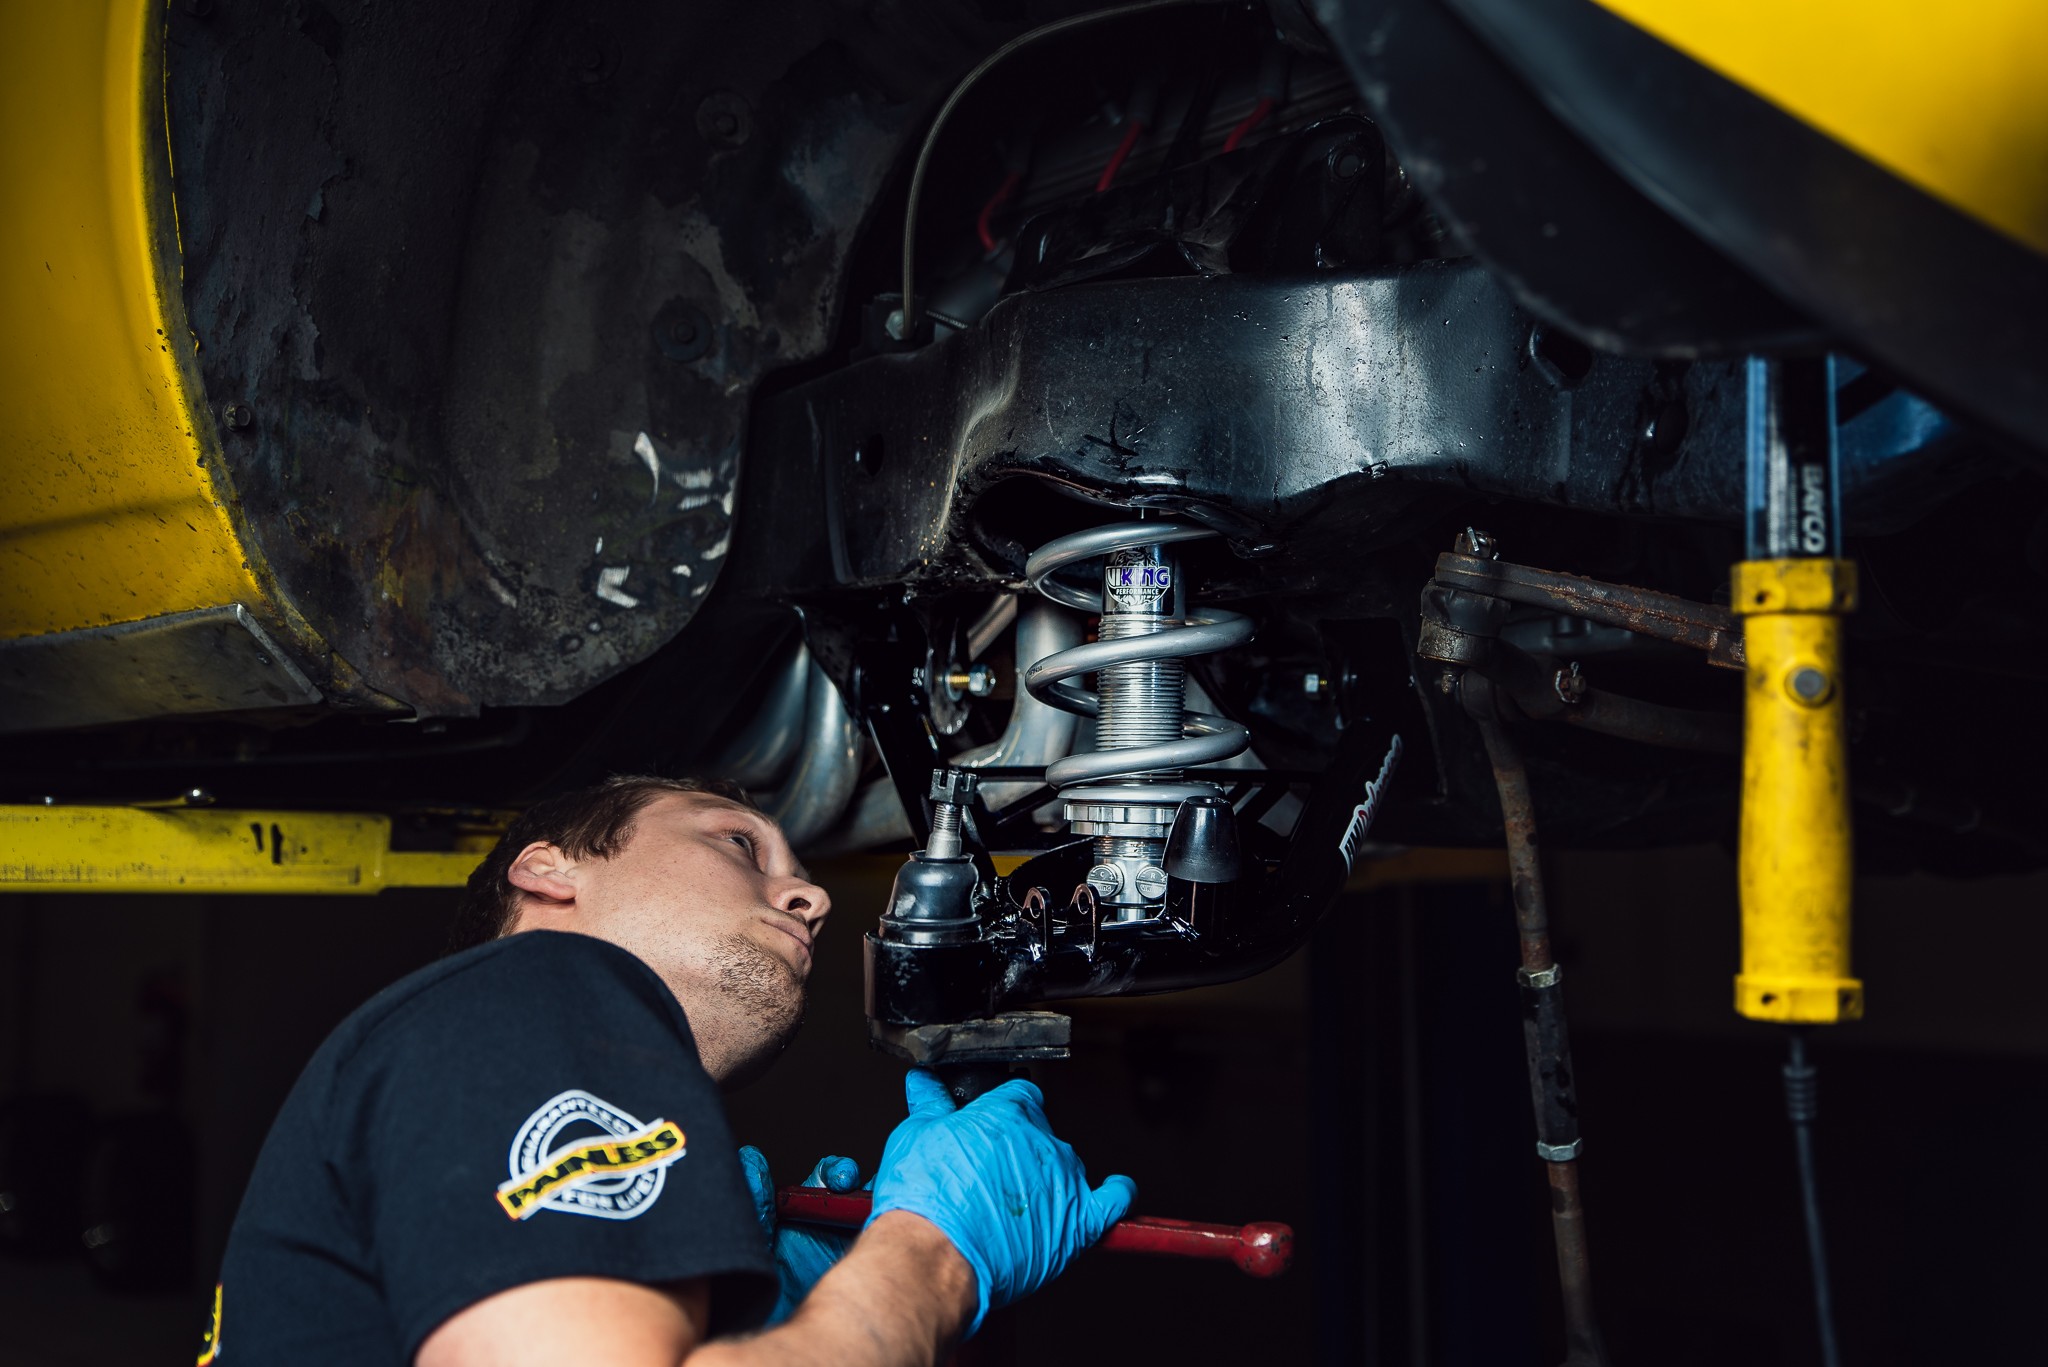

After verifying that the spring is sitting where it needs to in the subframe, you can add the upper stud nut and lock nut to the shock. Make sure you apply the stud bushing and washer first, then you will tighten the nut until the bushing OD exceeds the washer by roughly .20”. This allows the bushing to be tight enough to keep from excess movement, while avoiding over compressing the bushing and causing it to fail early.
As with any project, account for how long you think it should take and double it. It was at this time my photographer friend had to go, and I had to switch to self-shooting with my camera phone.
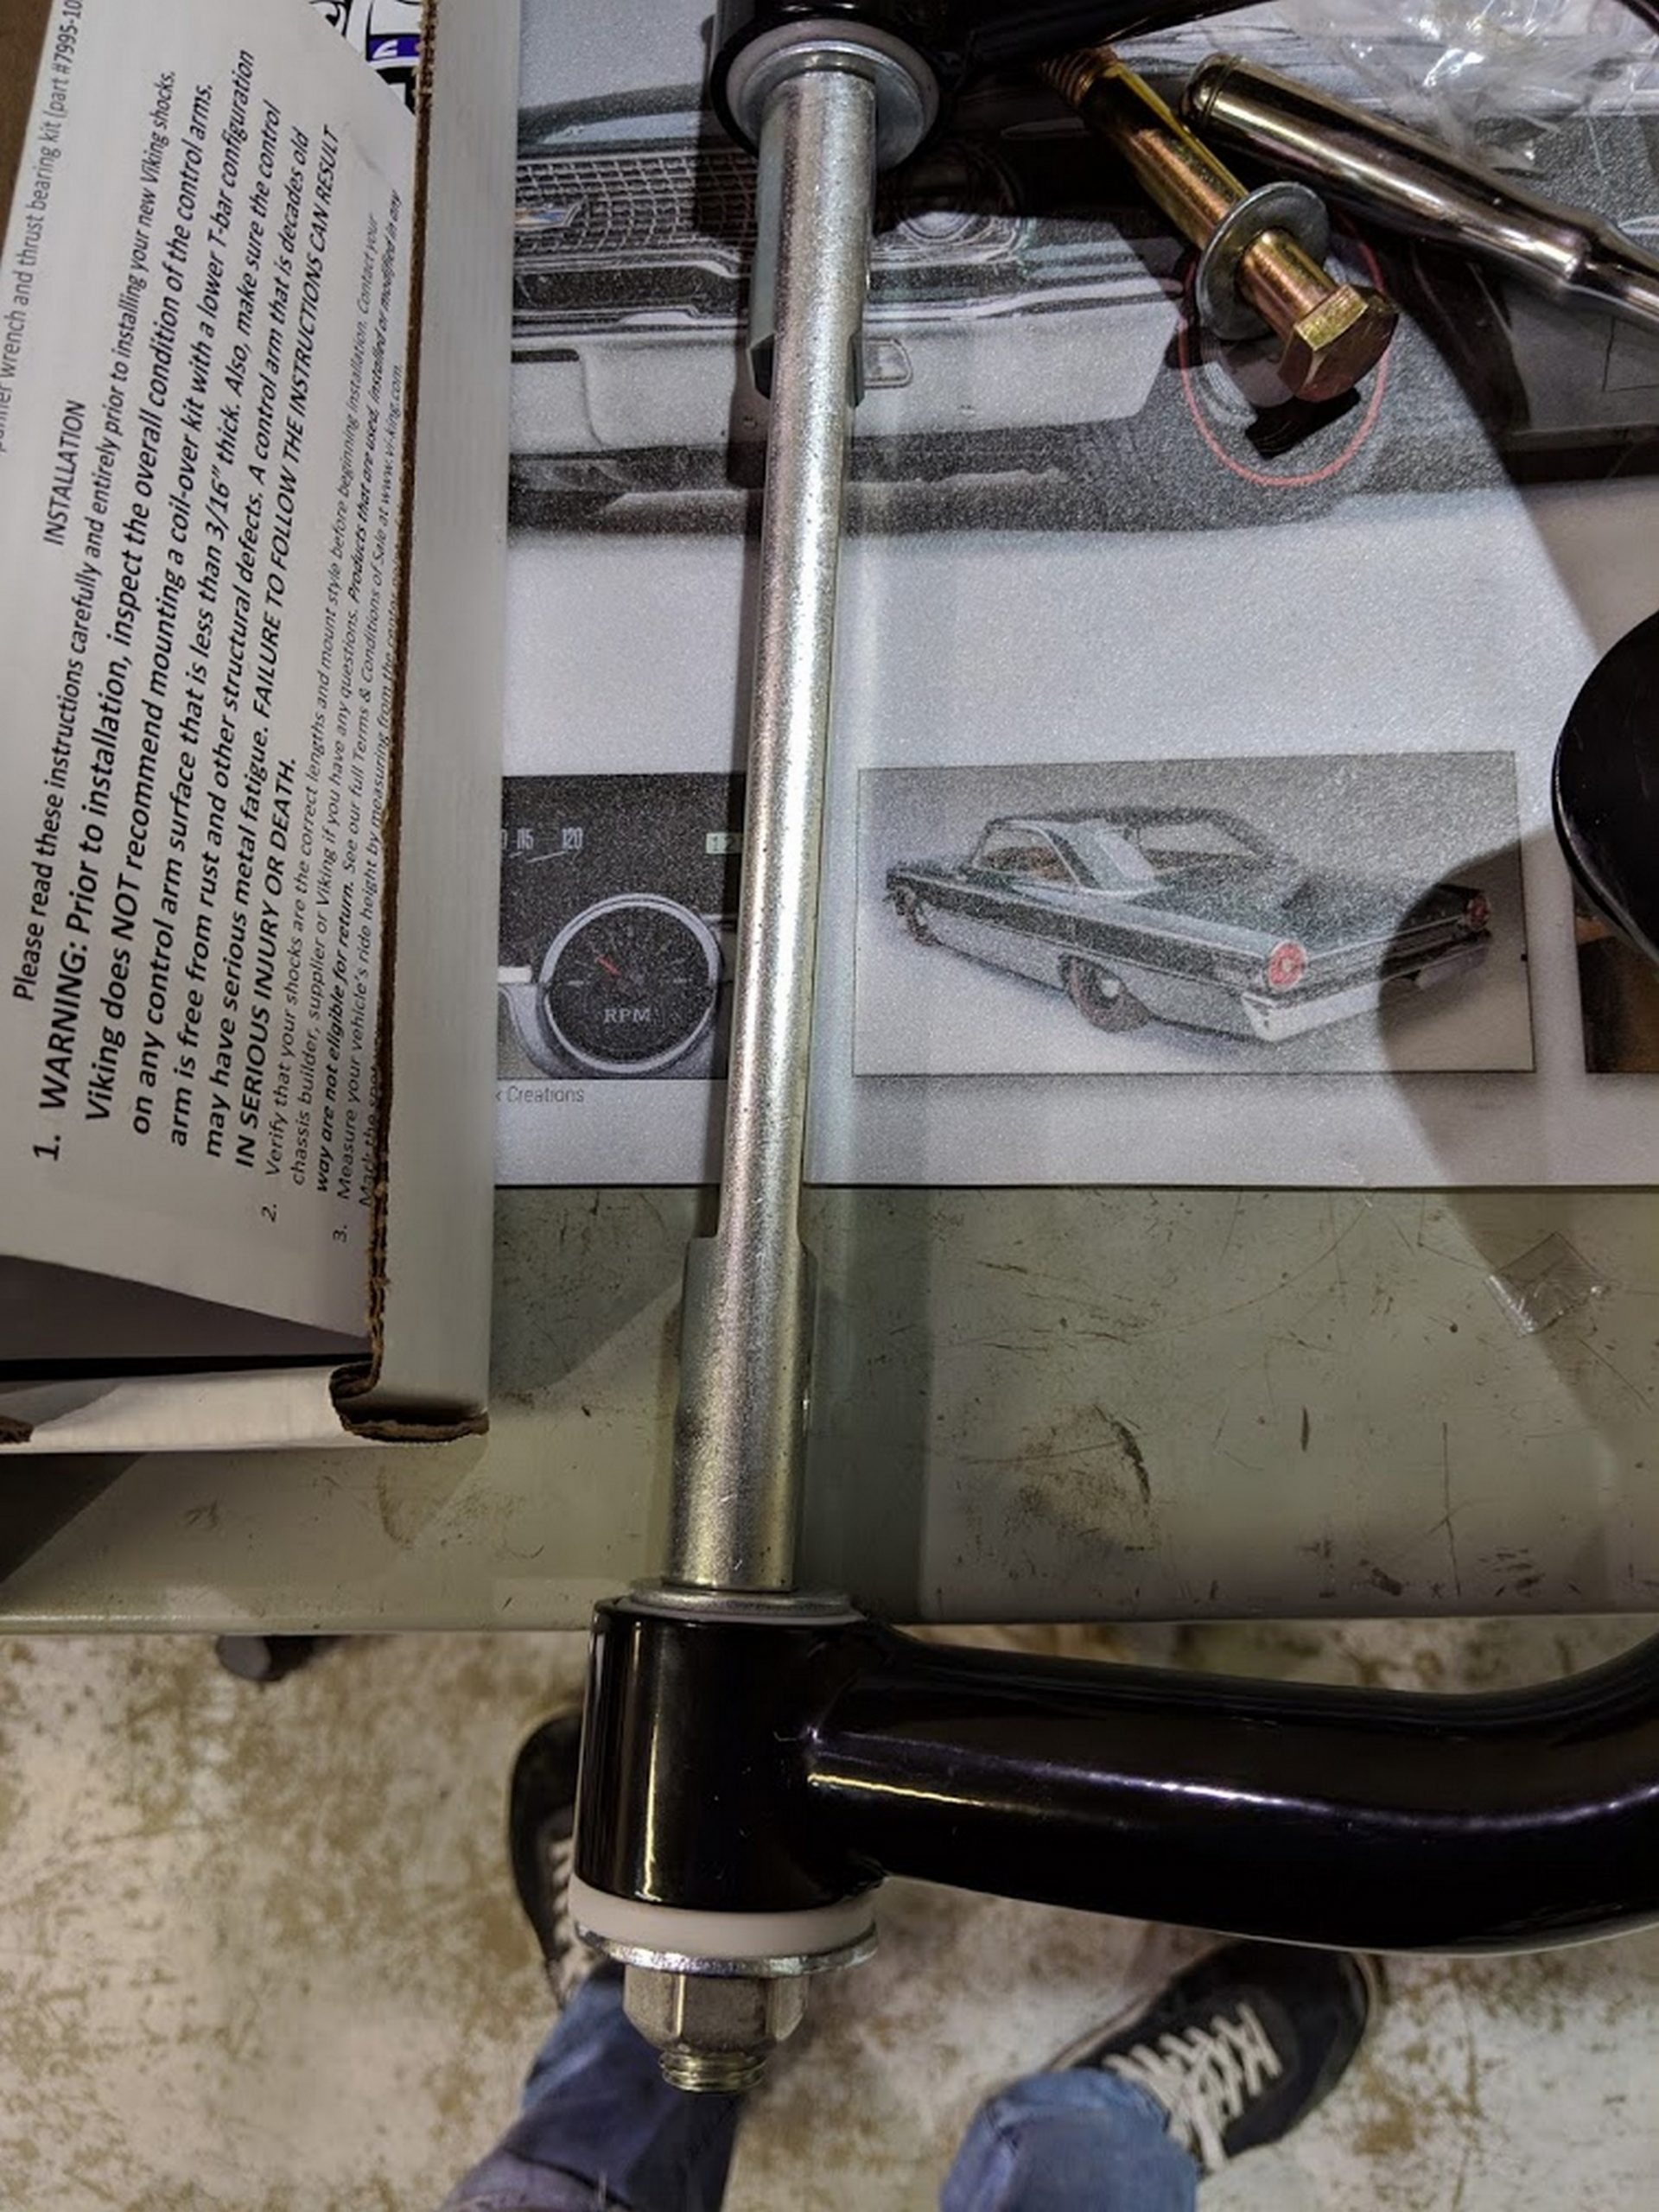
The UMI control arms come with an offset cross shaft, requiring less shimming if you decide. I personally kept the stock offset and eye-balled shims to get to my alignment shop. The shop did loosen and decide to utilize the offset, which resulted in practically no shimming.
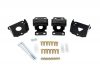
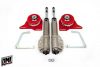
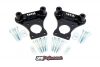
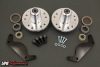
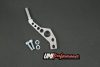
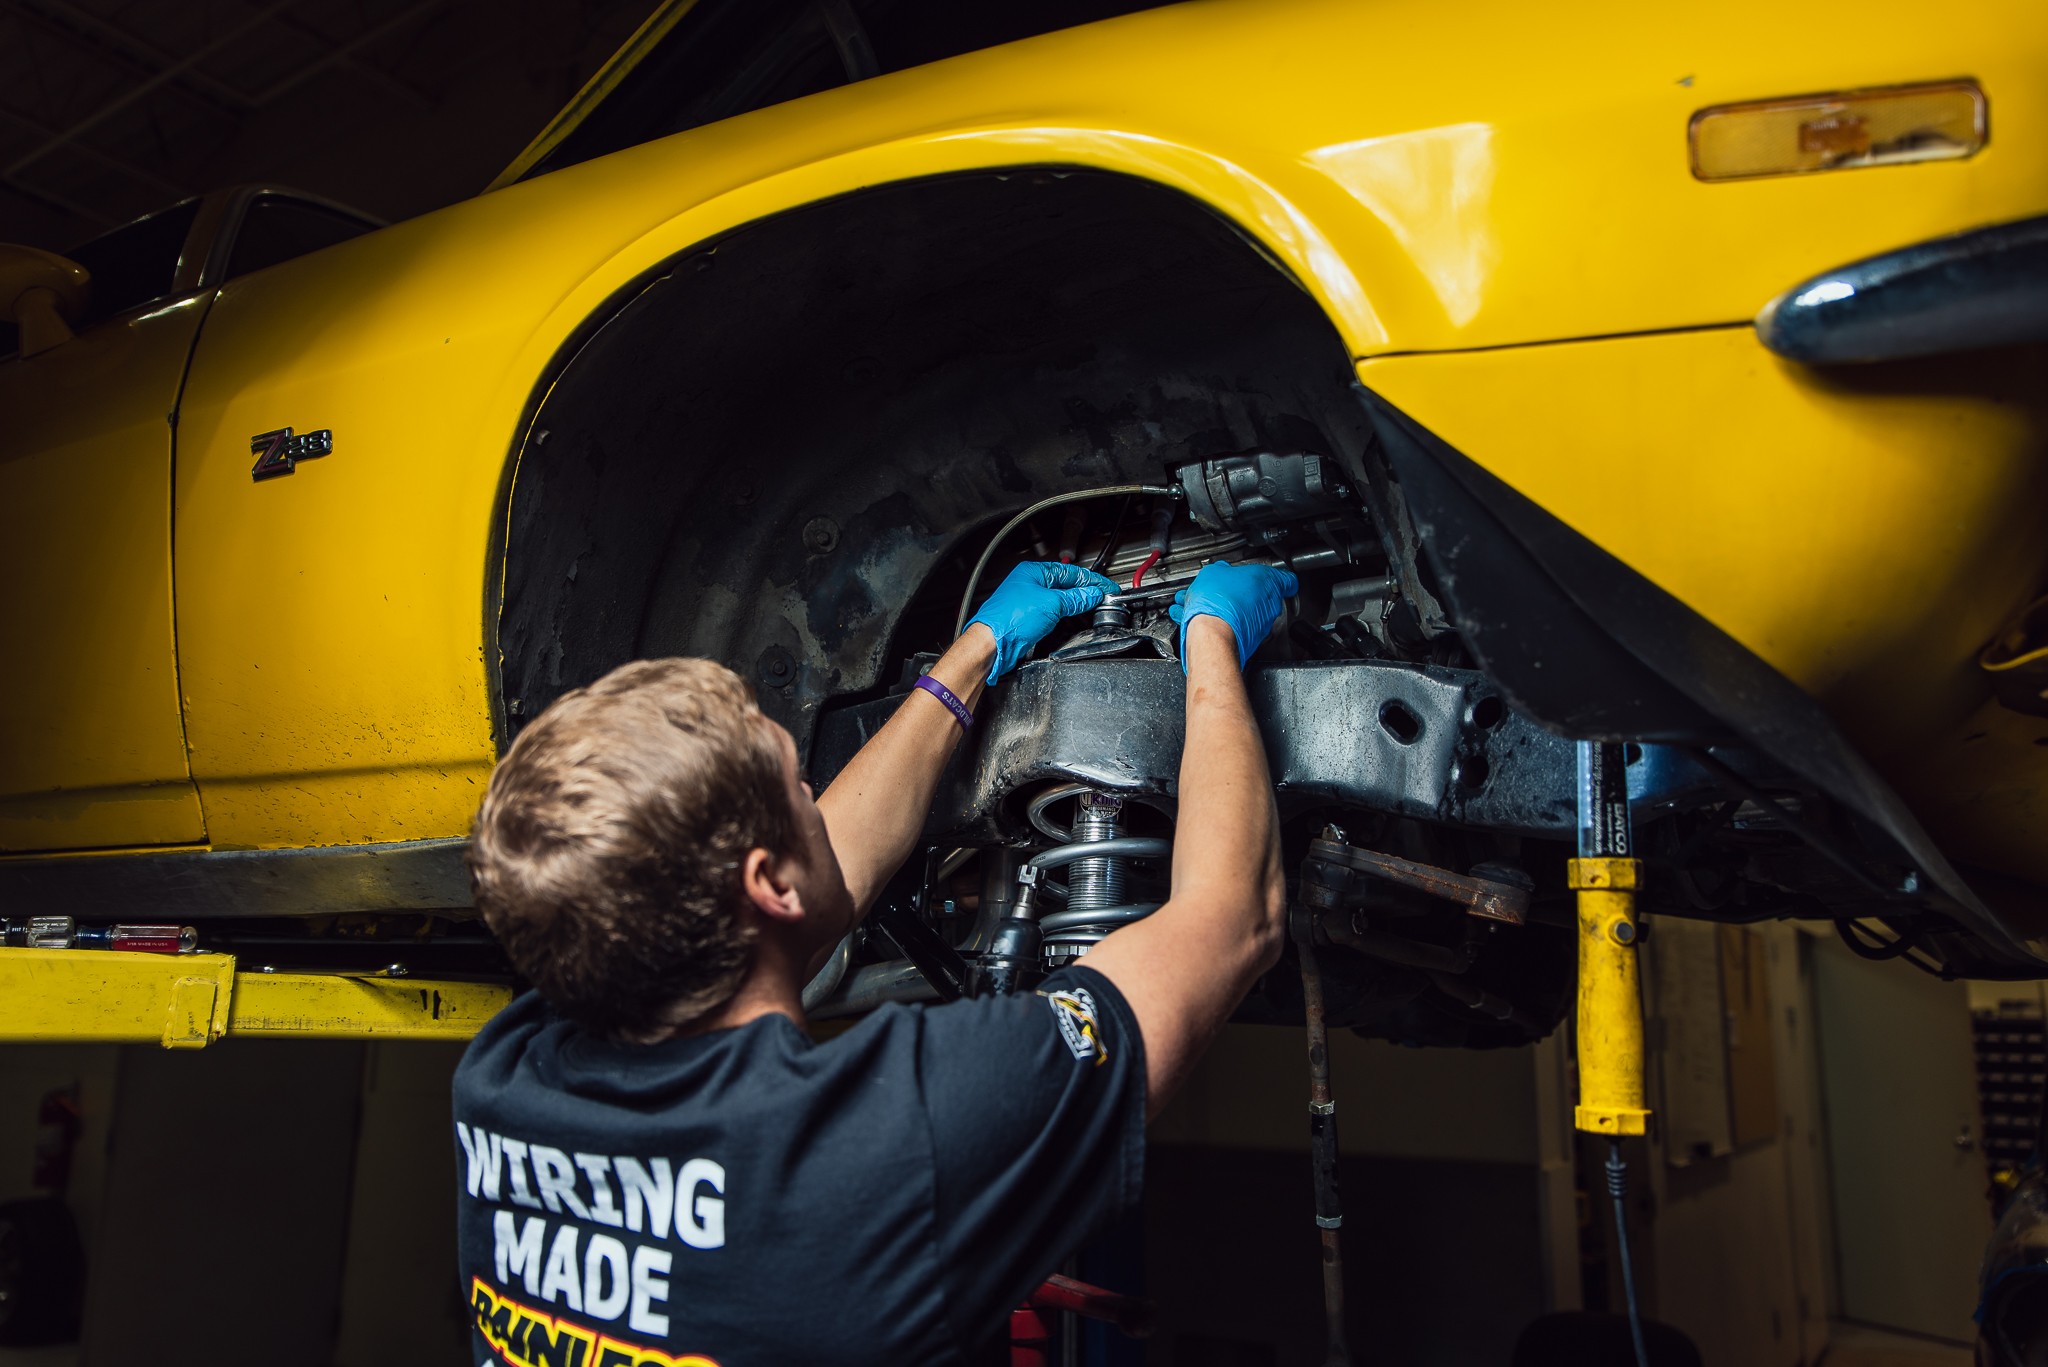
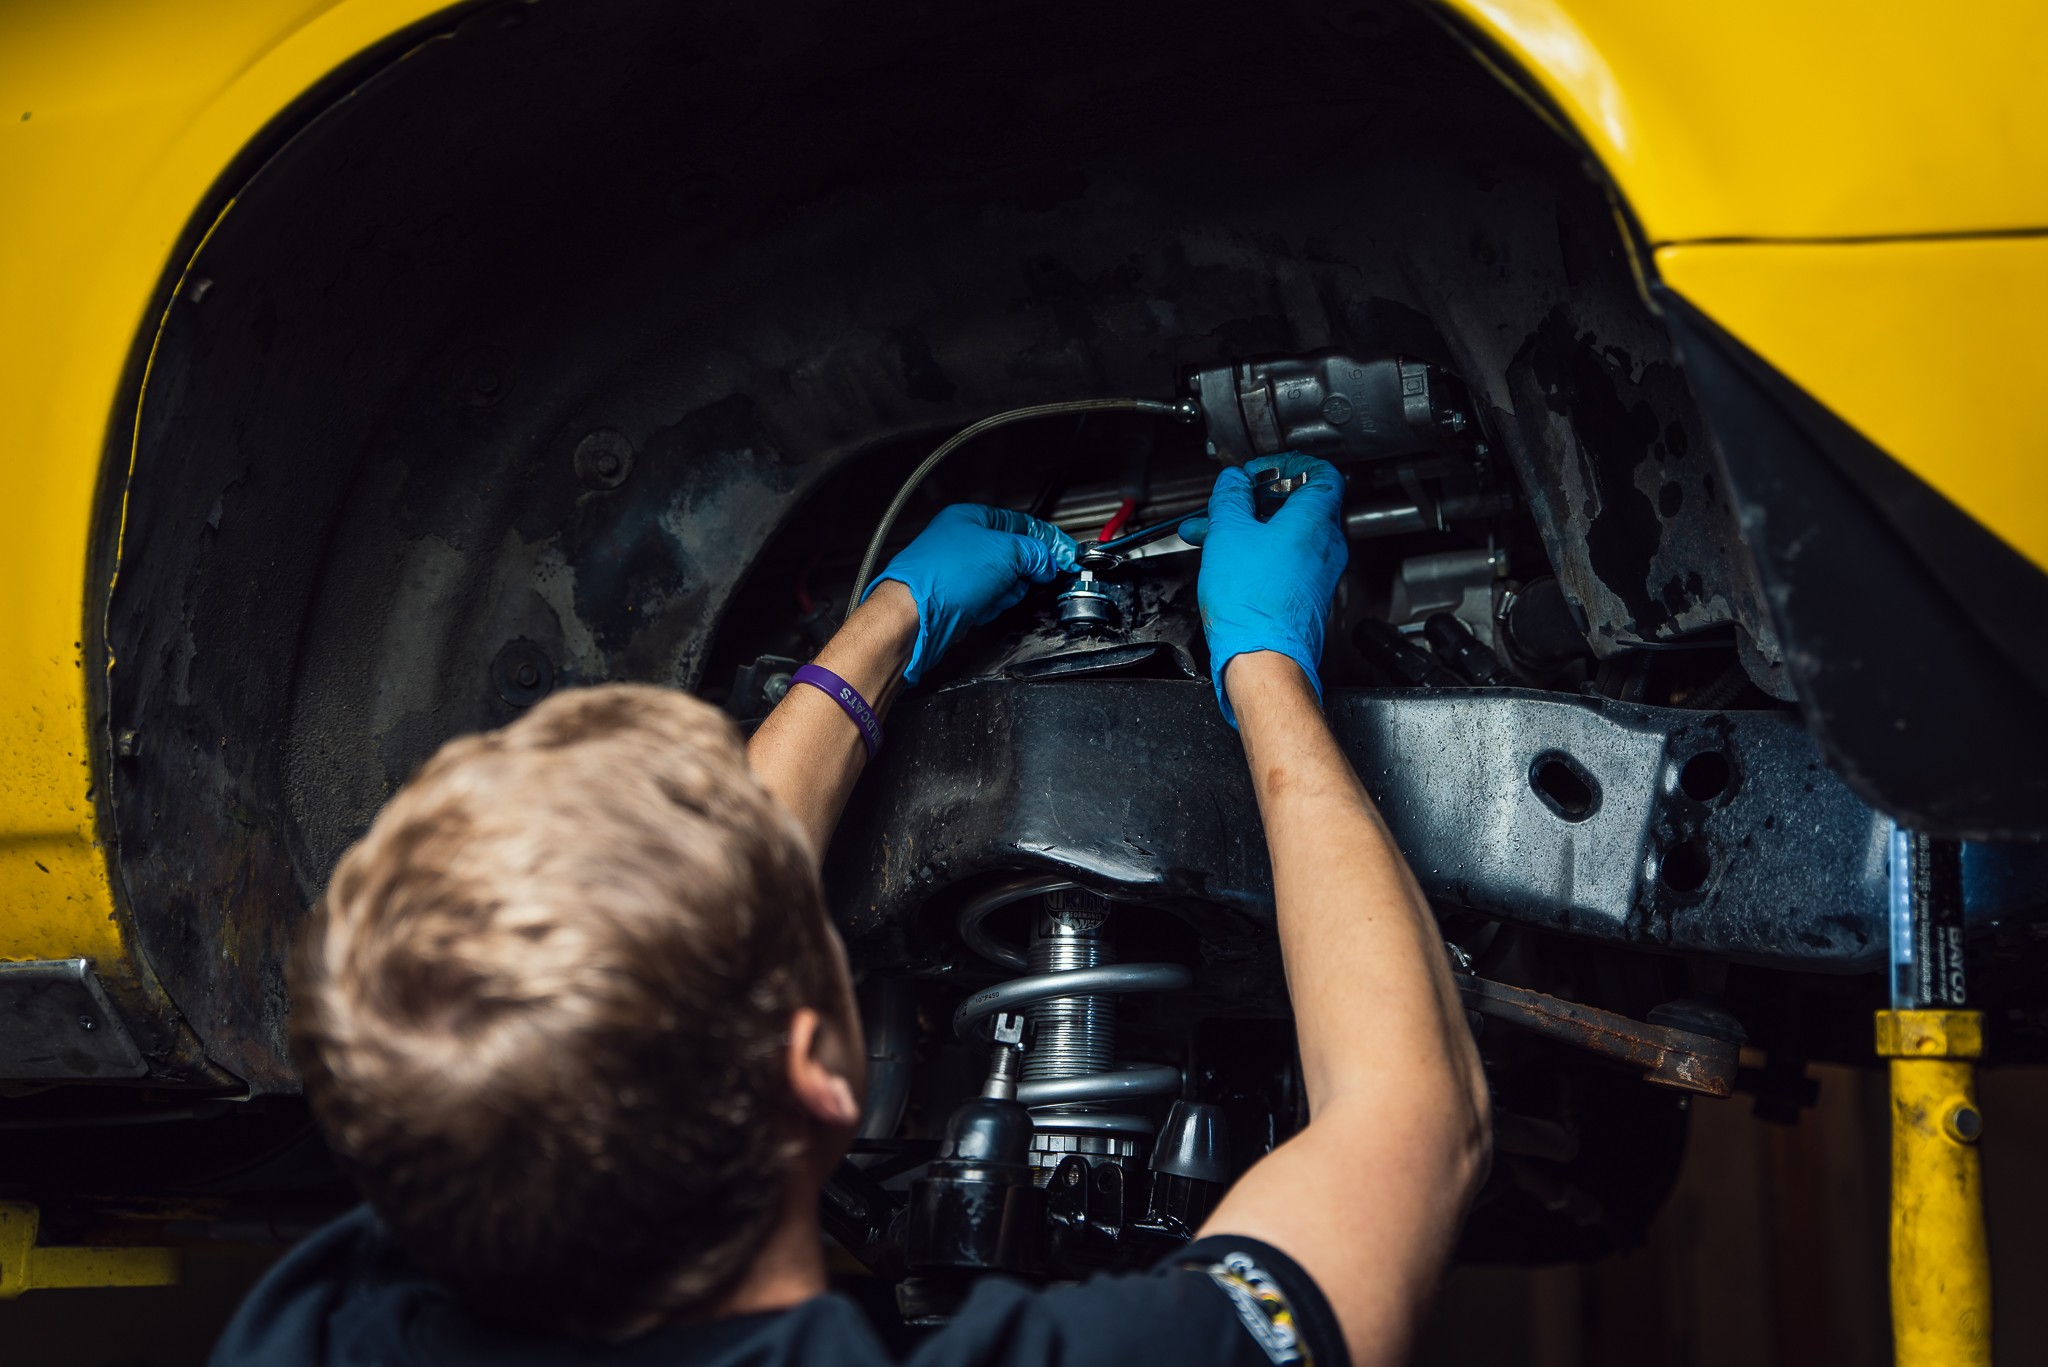
 The upper arms simply bolt to the subframe just as the factory arms did, utilizing new hardware included in the kit. Taller ball joints are offered as an option, which help improve camber and traction during cornering.
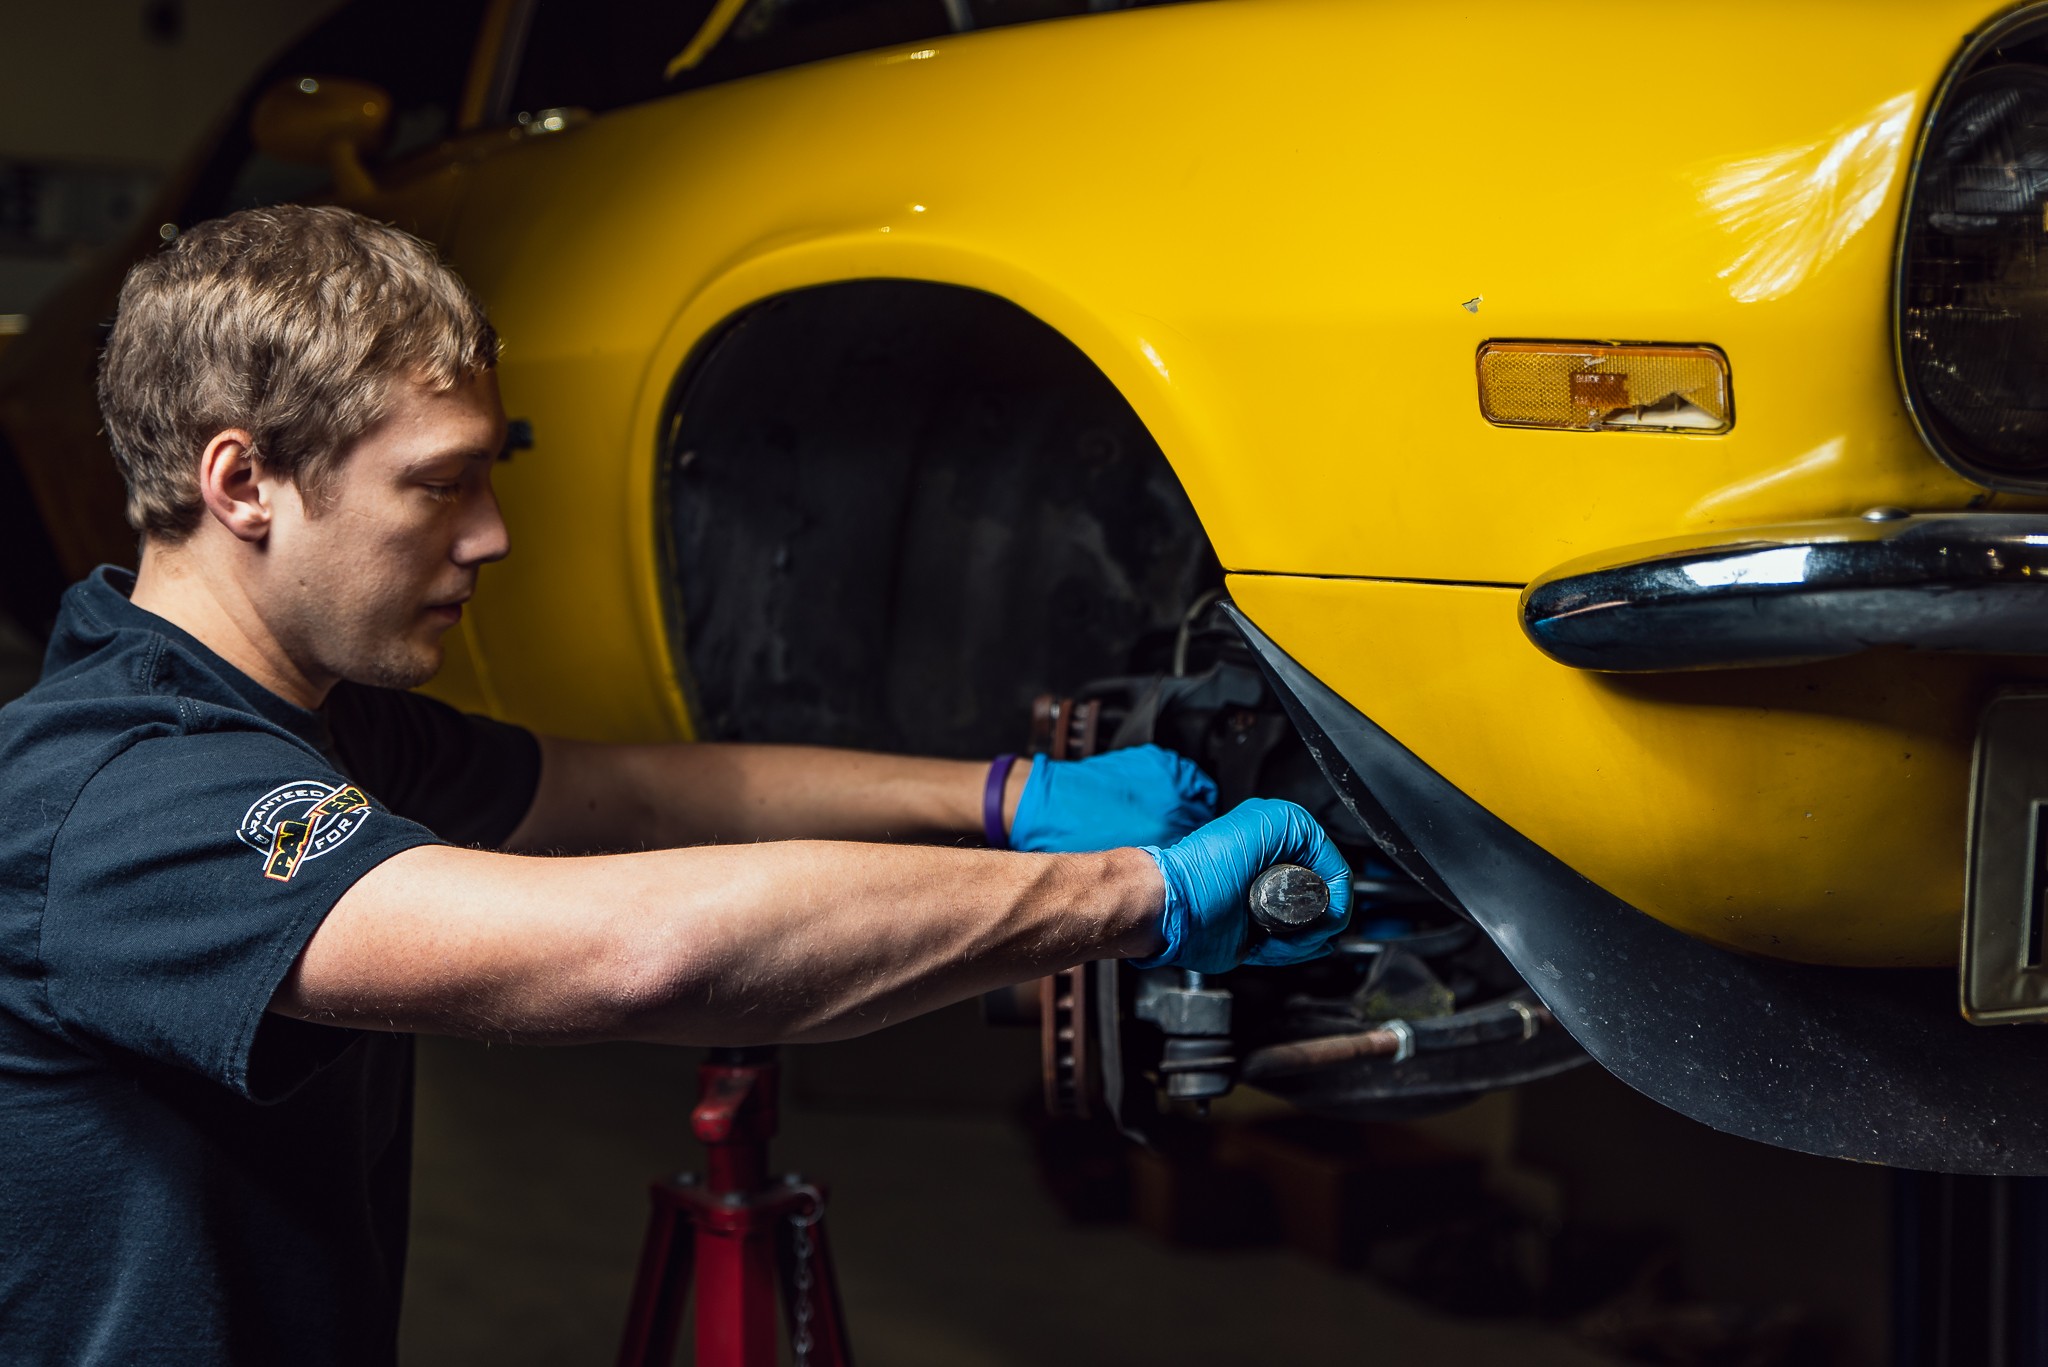
 With both control arms in place, it was time to bolt the spindle in place. At this time, I was upgrading to a lightly used set of Baer 6P 13” brakes, which we already mounted on modified stock spindles. You will want to make sure to use a torque wrench when tightening the ball joints to the spindle – lower joints called for 85 ft lbs, and uppers 60 ft lbs. You may have to slightly tighten or loosen to get the castle nut to align for the new cotter pin. I now chose this time to eyeball and adjust the coilover height, bringing the spring nut on the coilover up about 1/3rd of the shock as a starting point.
 With the front complete, I moved onto the rear shocks. These were, at most, a 15 minute job of unbolting the cheap shocks I had (and throwing them to the trash bin as quickly as I could), and bolting the new Viking double adjustable in its place.
 With everything bolted and torqued, the only thing left was to bleed the new Baer 6P setup and adjust the new shocks. Viking gives a few baseline adjustment ranges, with street, street performance, and race settings. I chose to go towards the more stiff side of the “street performance” range to start.
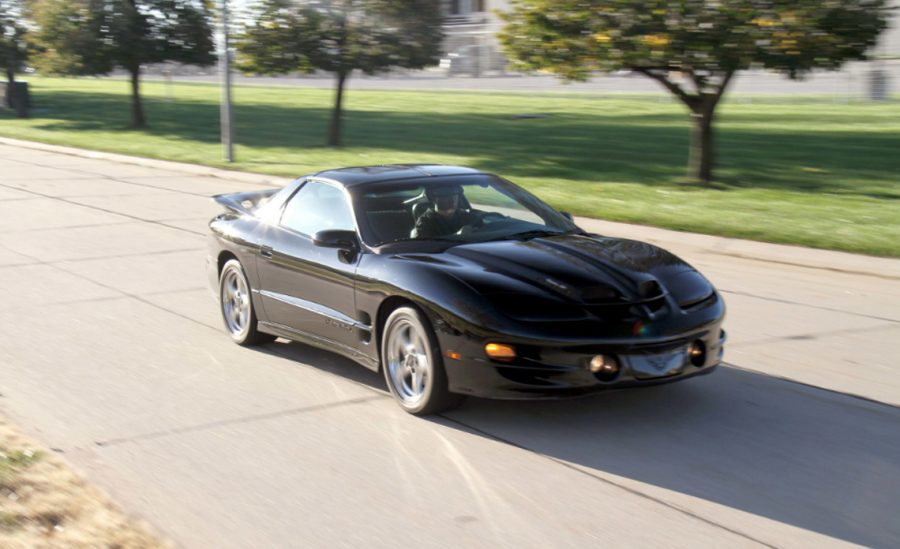
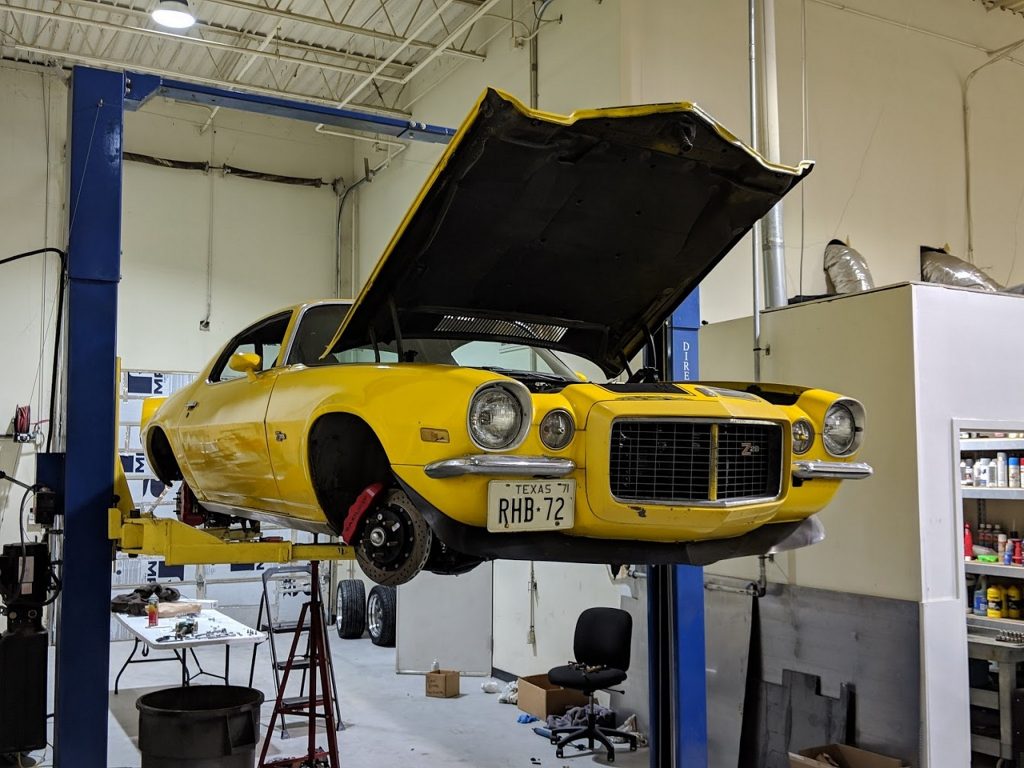 With the new US Mags wheels bolted on, it was time to lower the car and see it on the ground.
 After adjusting the coilovers to a height that seemed good, I drove the car around the block and allowed the suspension to settle. You want to make sure you have the height exactly where you want it prior to getting your alignment, as any adjustments made to height are going to require realigning.
 Final Results
 Final Results
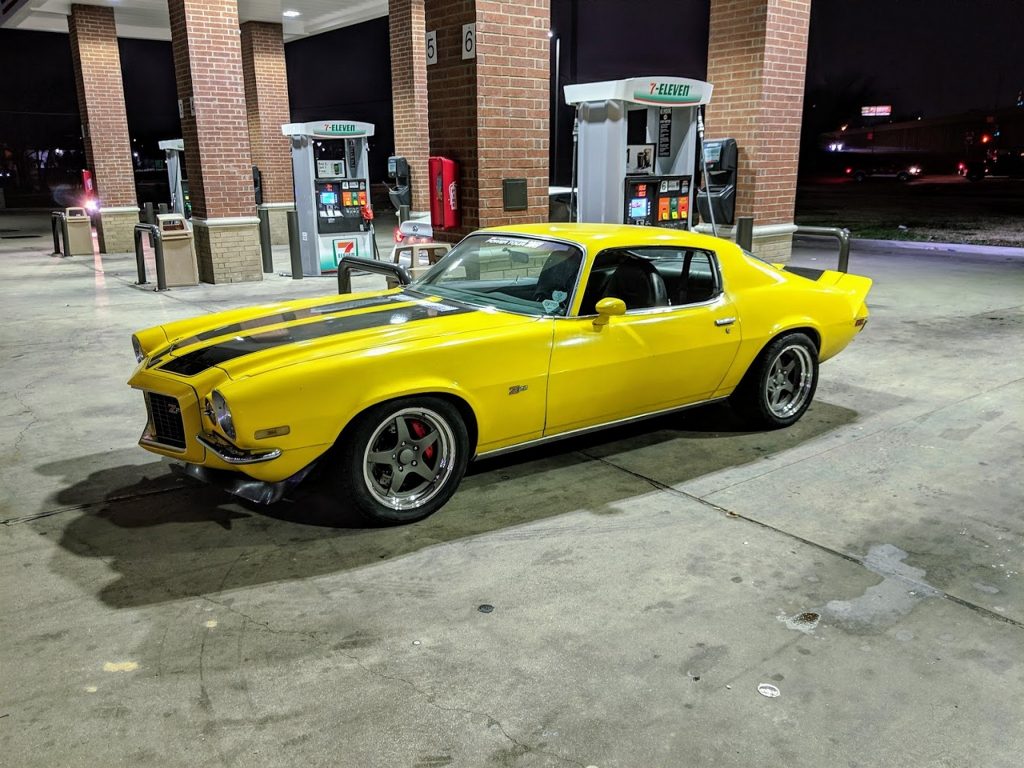
With about 300 miles on the new setup now, I can’t believe I waited so long to modernize the suspension. The car is now tight, but not stiff like before as the adjustable shocks actually work to dampen the bumps, leaving no more abrupt bounce that I was used to. The difference when throwing the car into corners is nothing but amazing to me, the geometry changes in the UMI Performance control arms make the car handle and feel like a modern car. The craziest part to me is I went from all new stock replacement stuff and felt such a drastic difference. Anybody updating from worn old factory suspension will feel like they just got a whole new car.