 A-ARMS
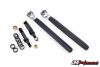
 CHASSIS REINFORCEMENT
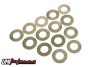

 SPRINGS & SPRING SPACERS
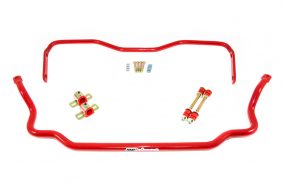

 SPRING & SHOCK KITS
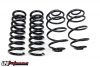


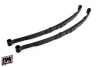 LEAF SPRINGS
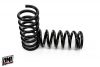


 SHOCKS & SPRINGS
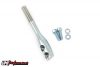
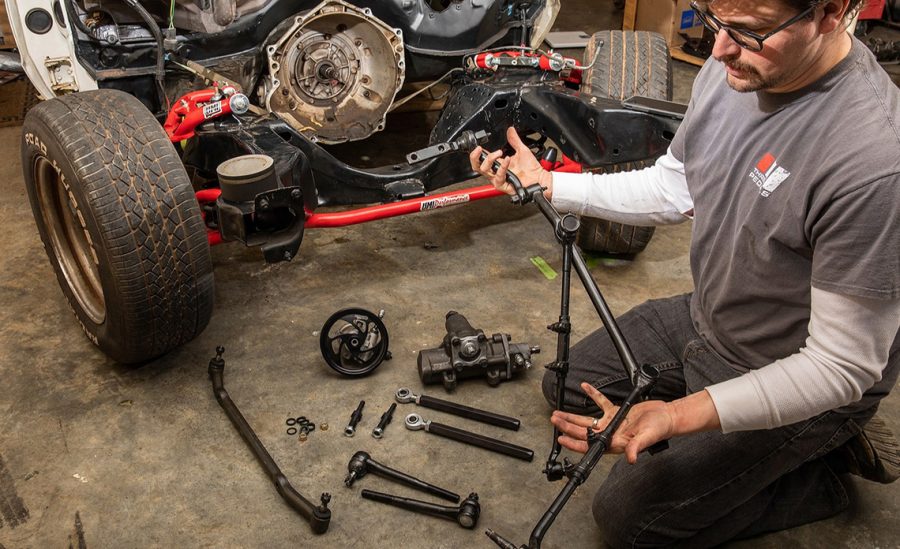
 STEERING
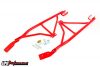


 TUNNEL BRACE
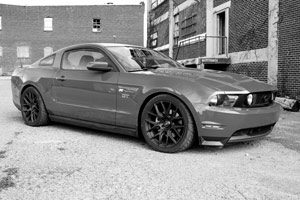


 SPRINGS
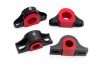

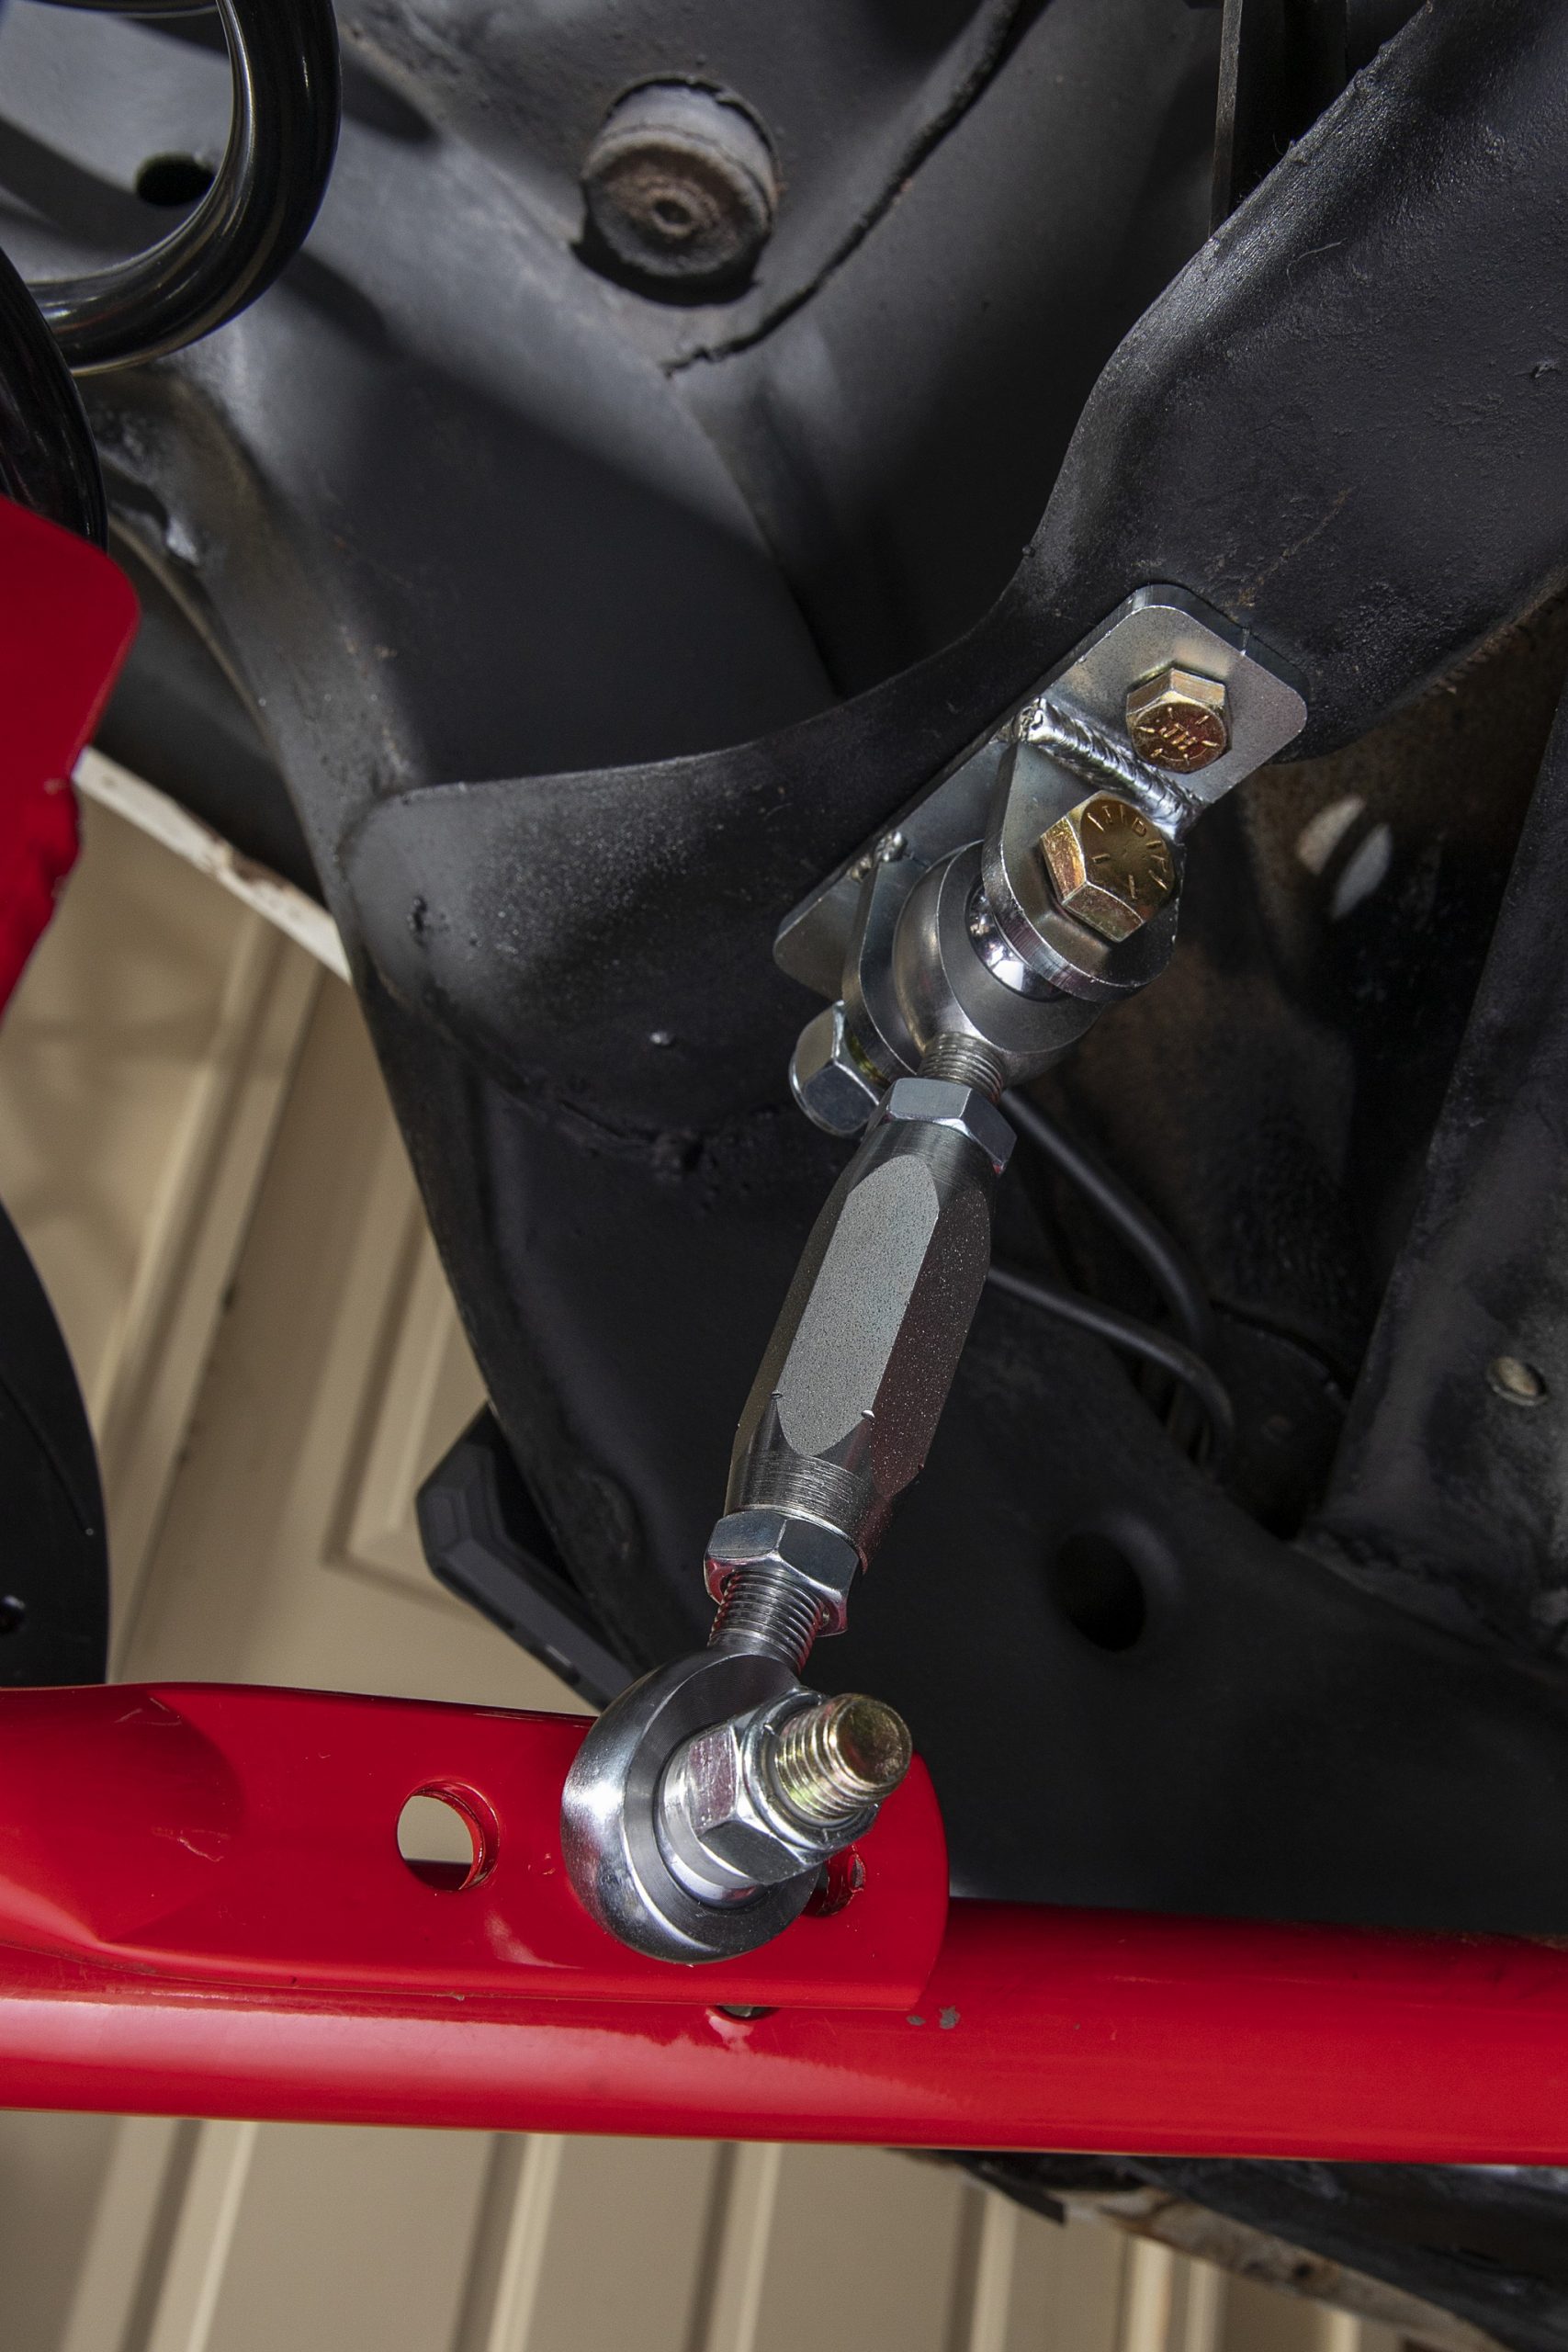
 ADJUSTERS
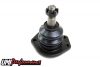


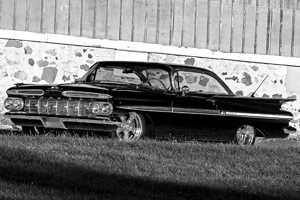
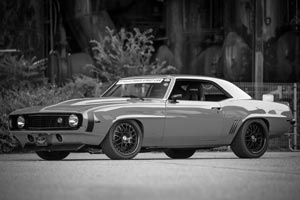
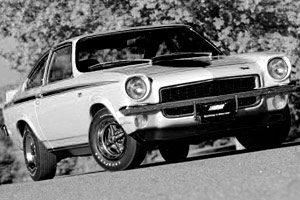
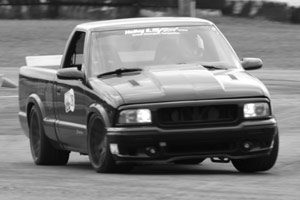
G-Body Rear Suspension Overhaul With UMI Performance
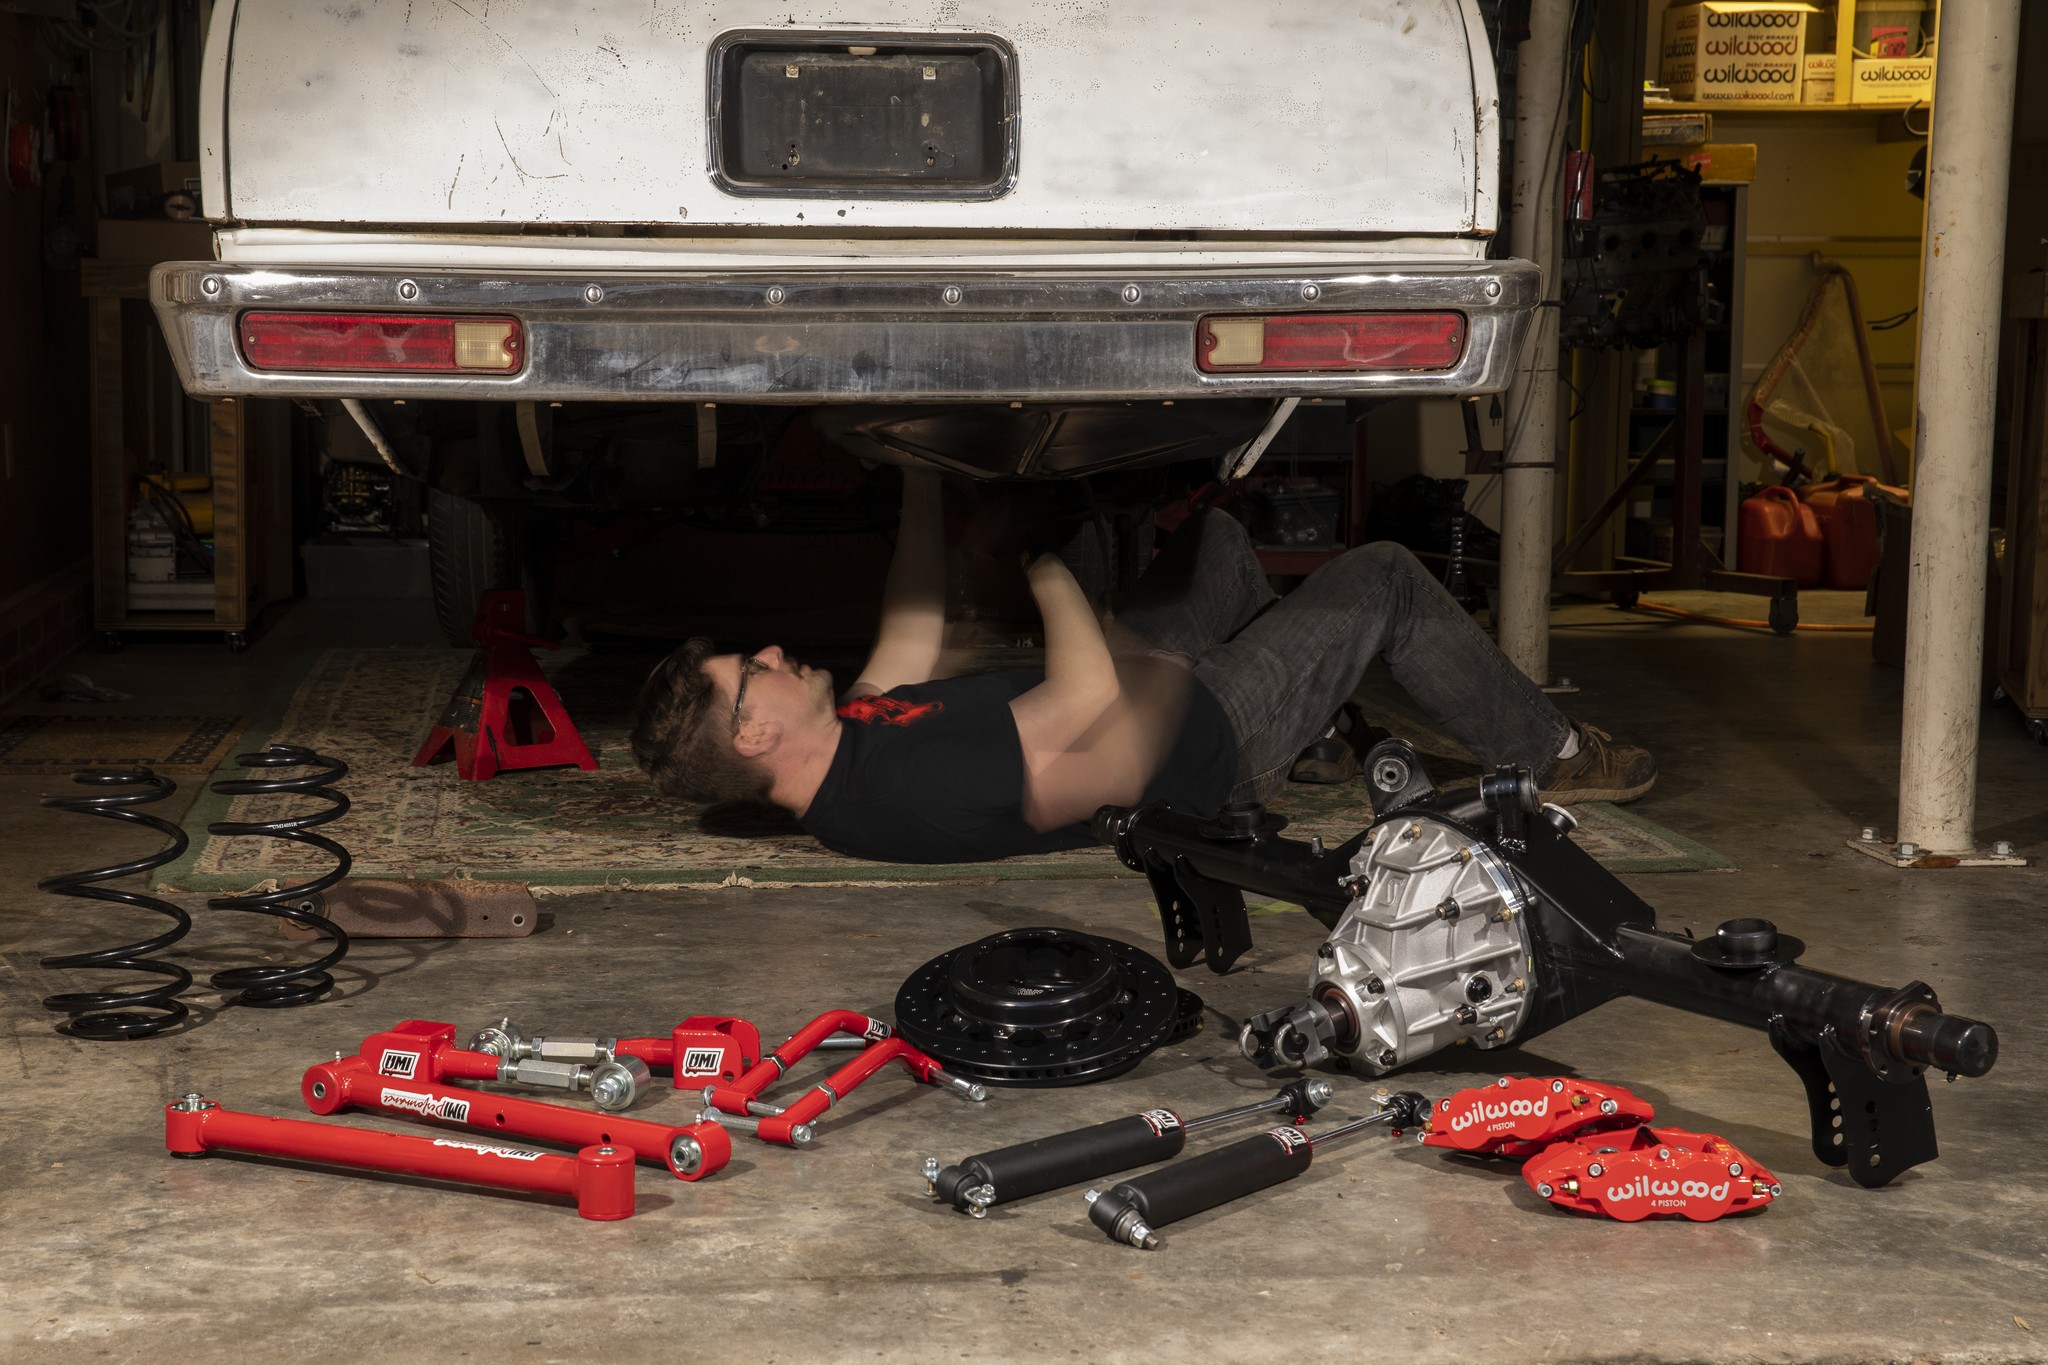
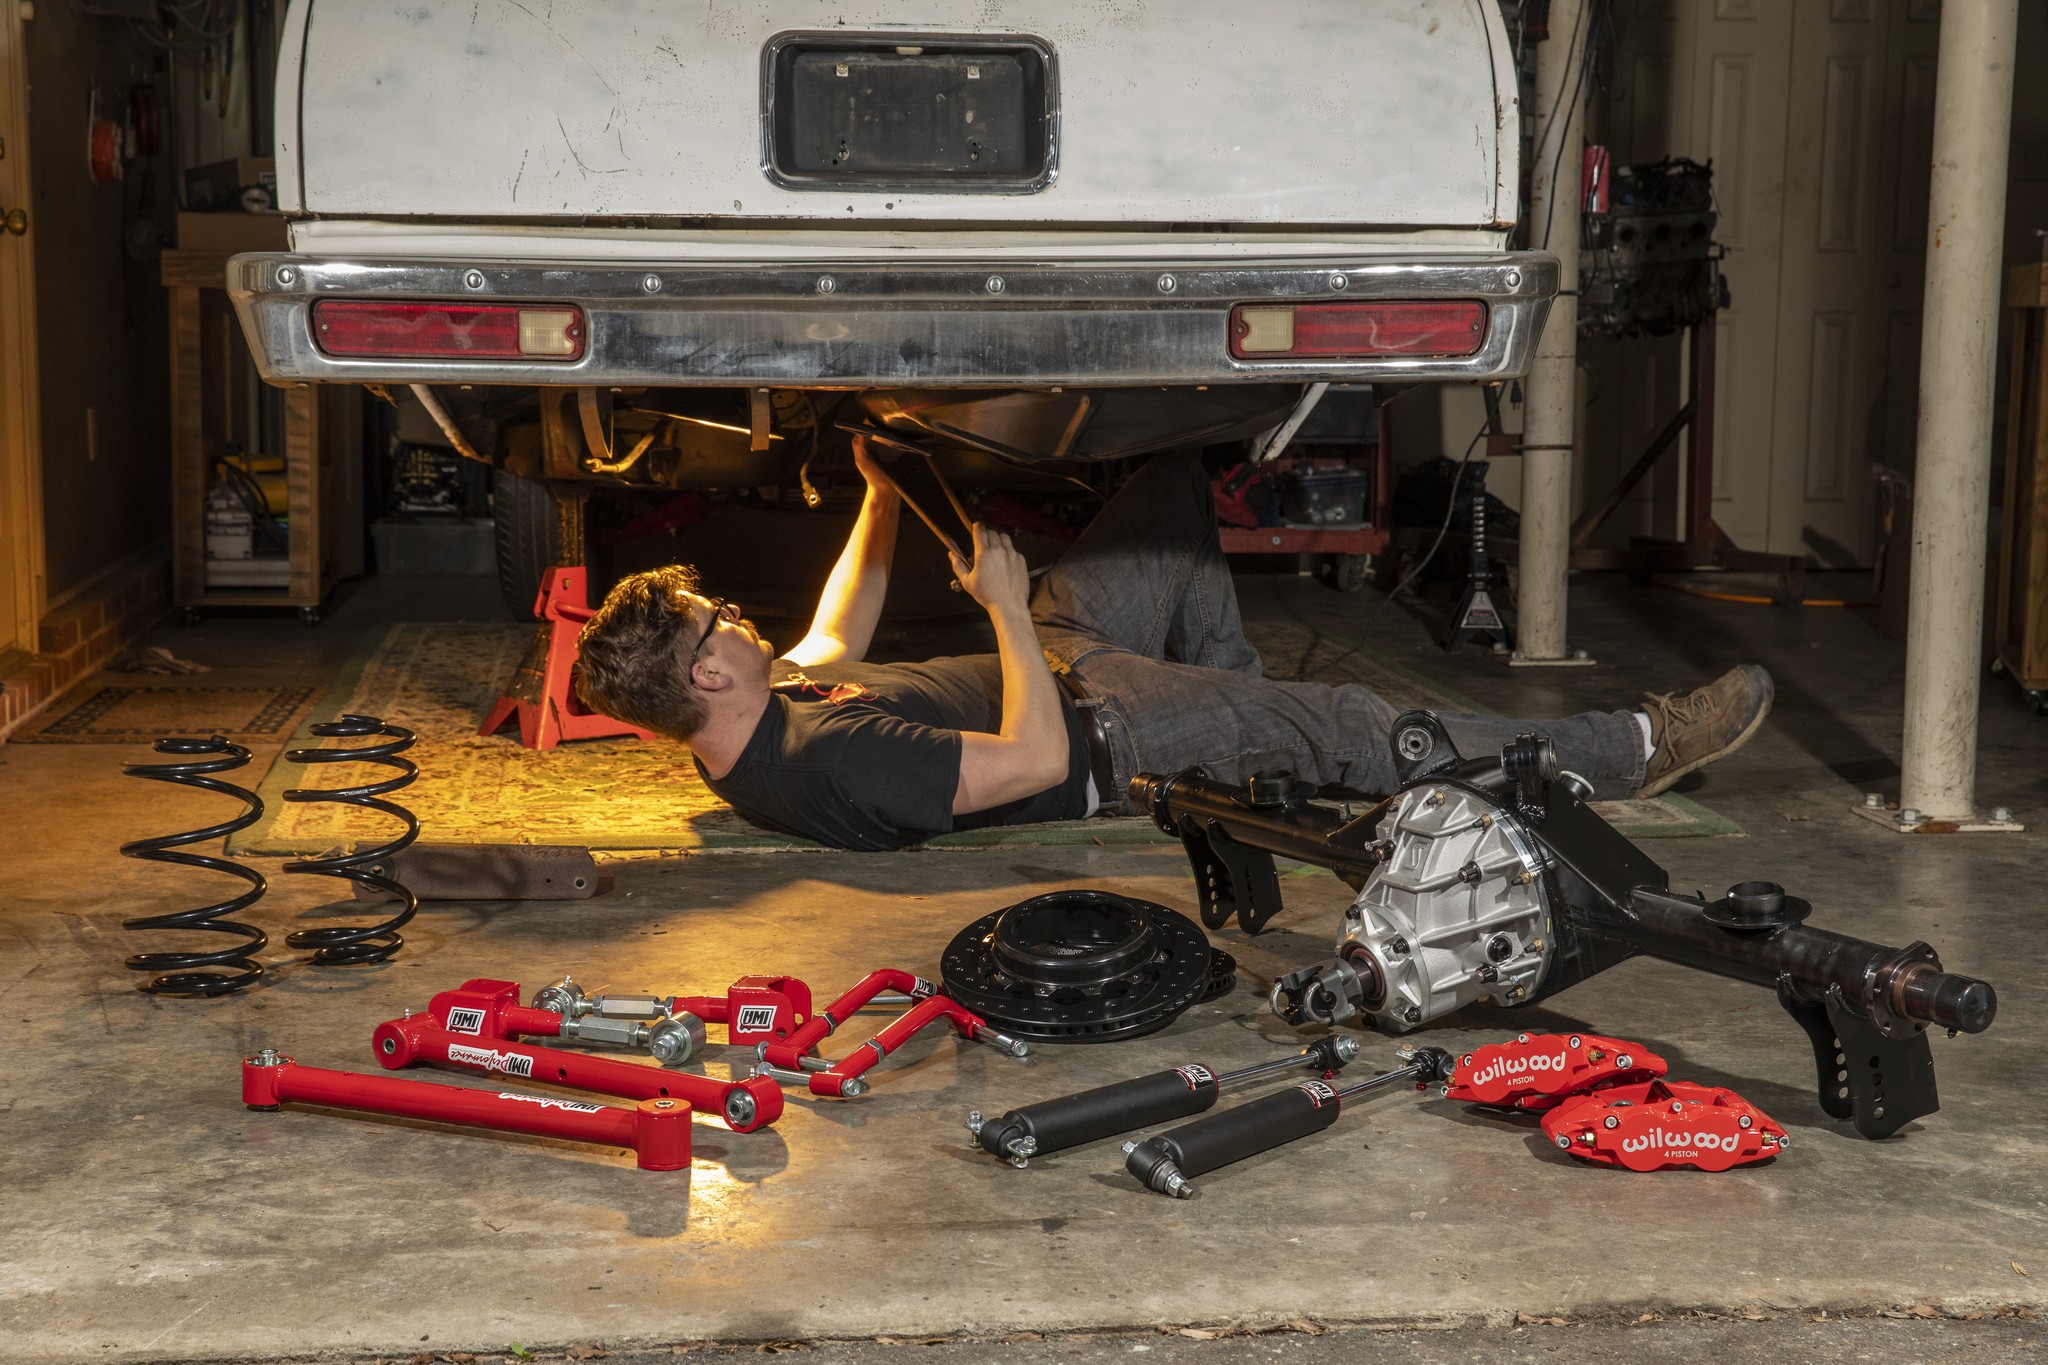
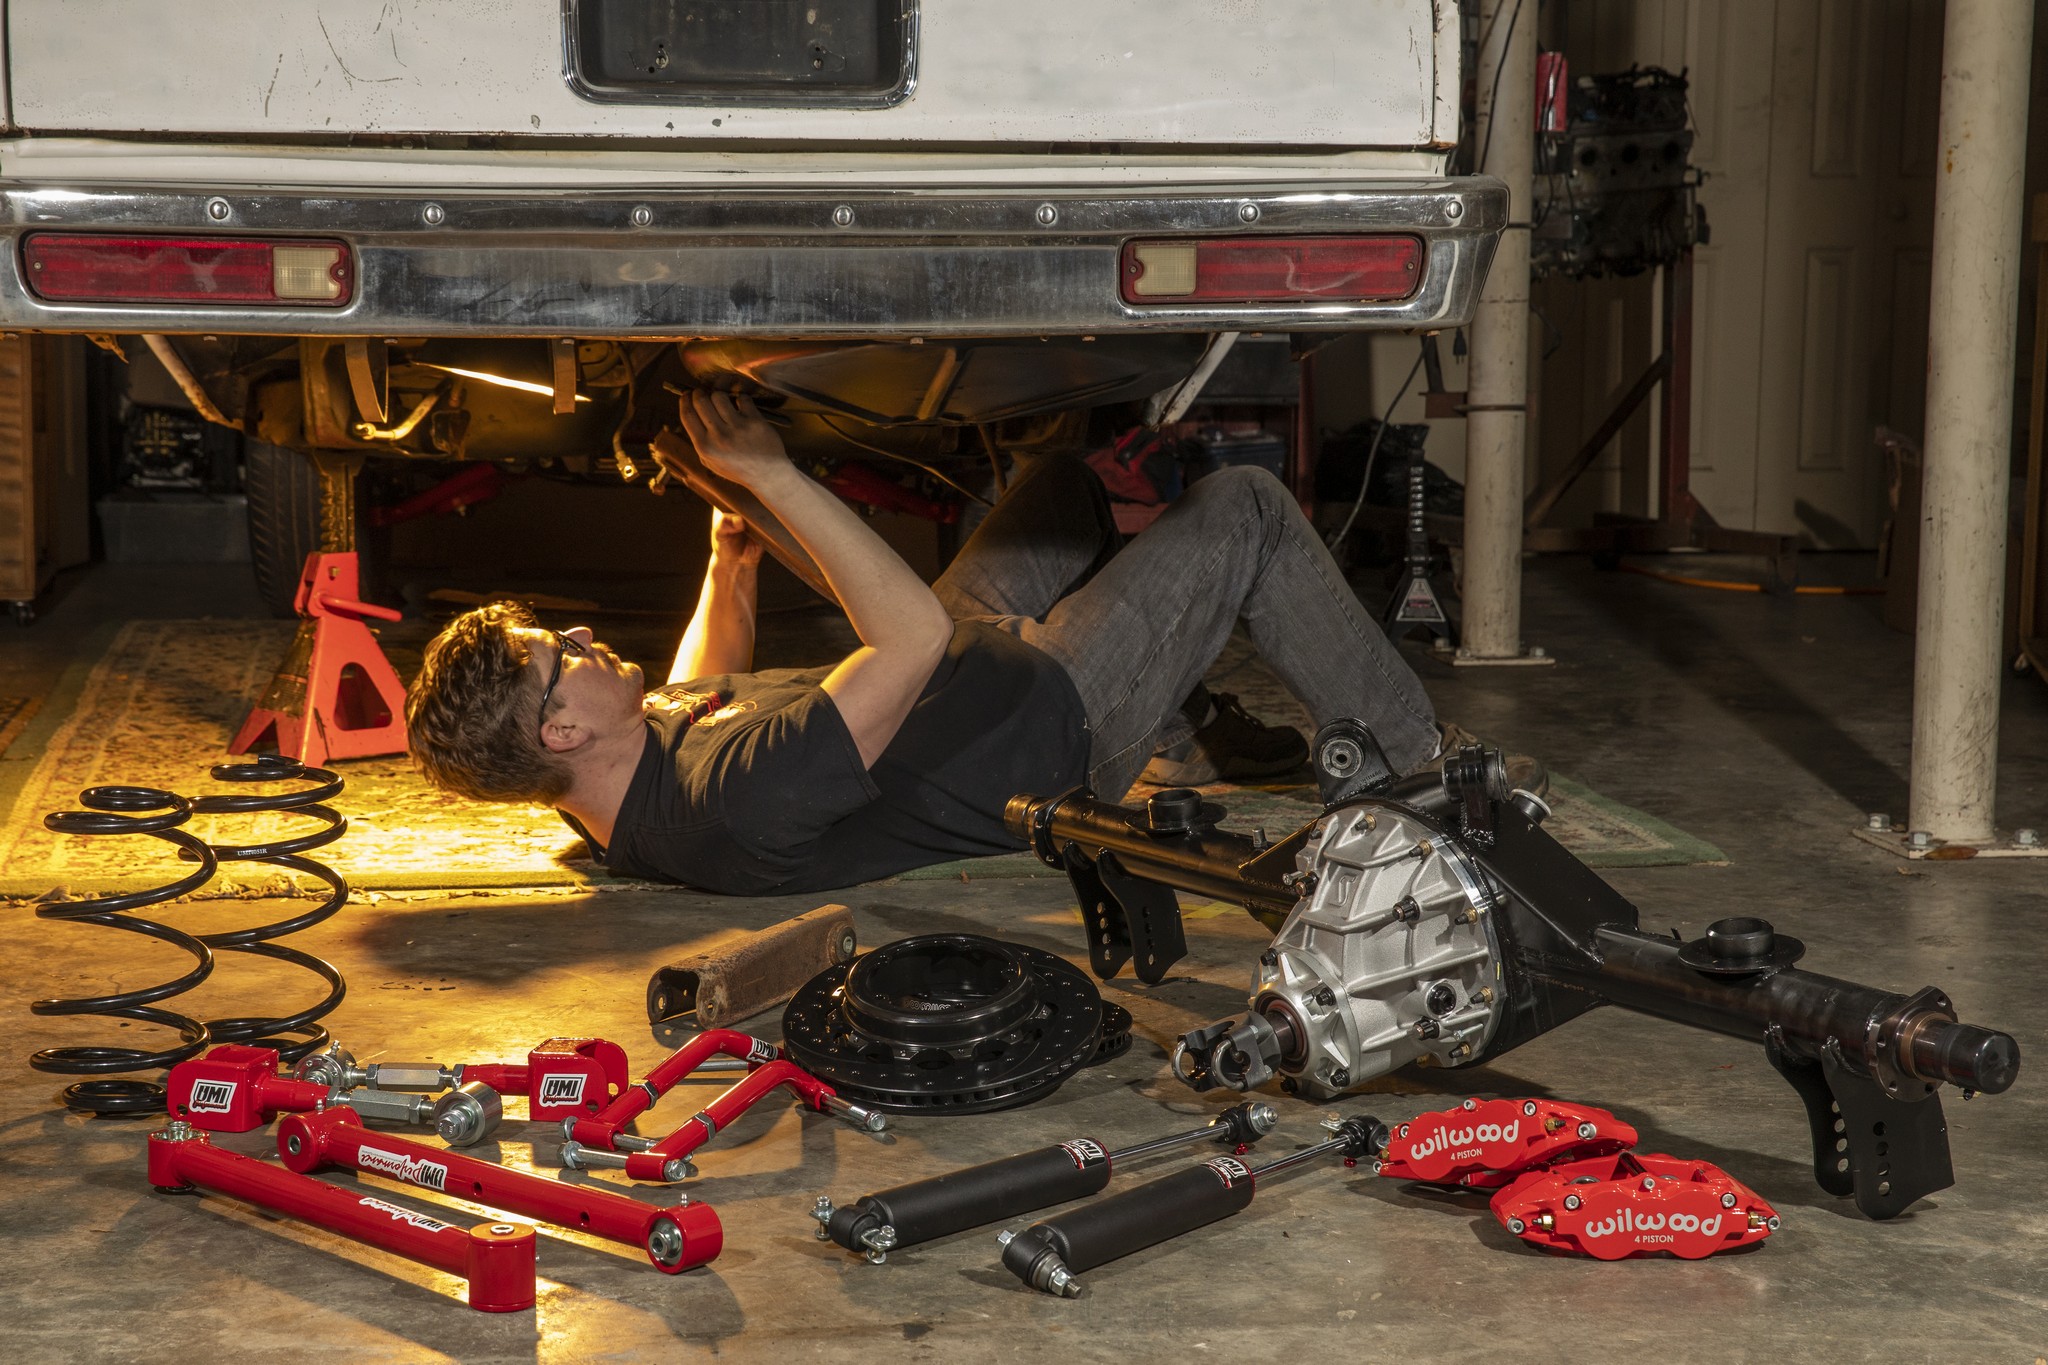
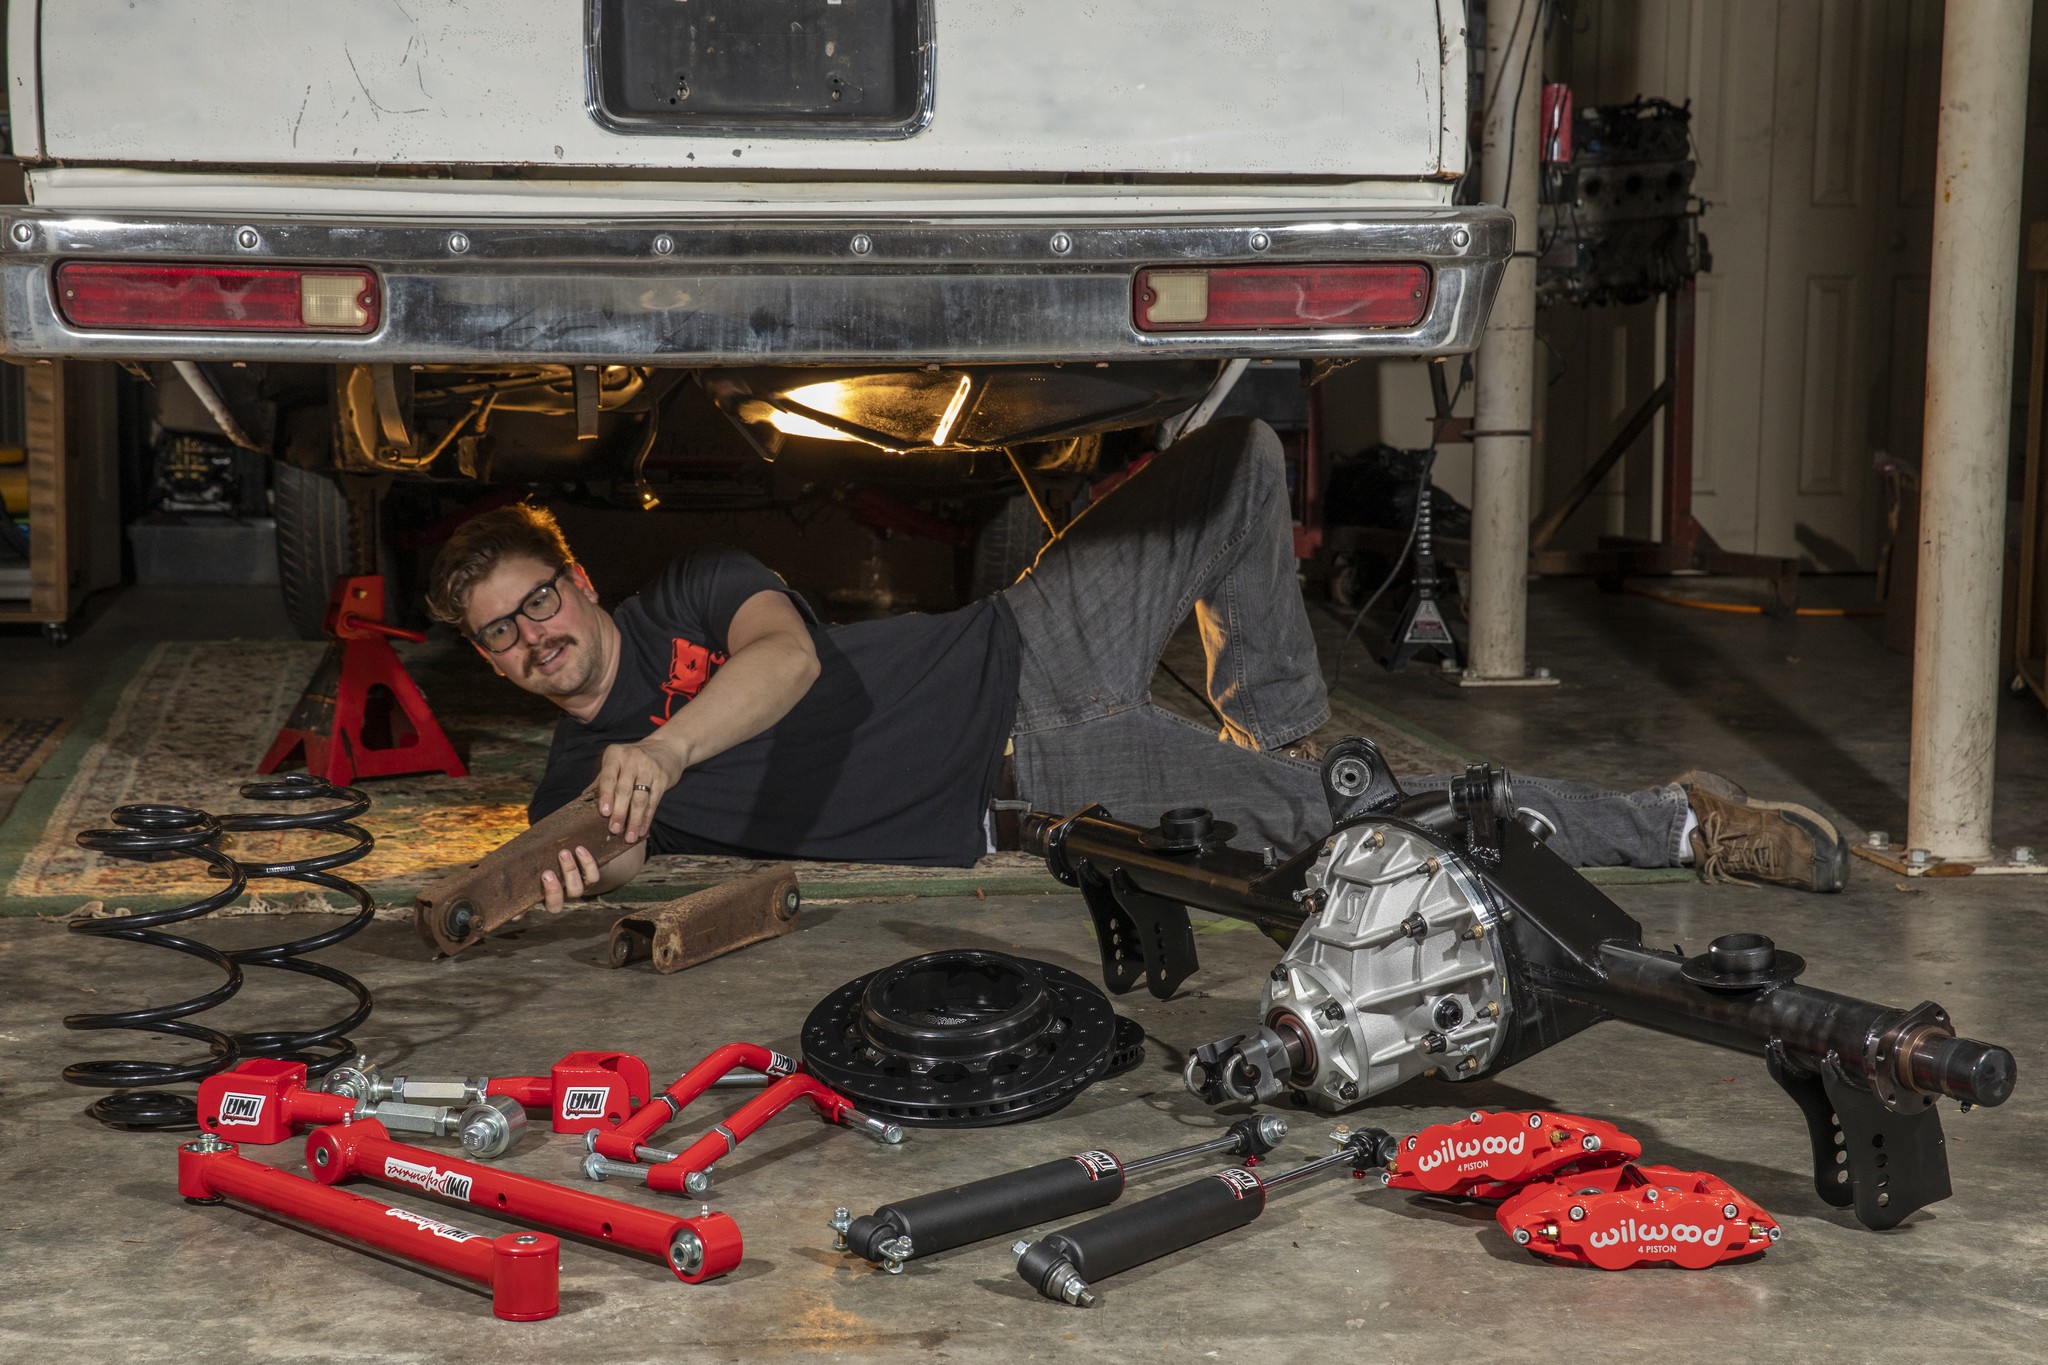
The latest installment in the Car Craft build was the get the rear suspension finished. With the front suspension and brakes installed, Jesse moves to the rear by ditching all the factory equipment and upgrading it all in one shot. Watch as he installs a complete UMI Performance suspension system along with a Strange rear and Wilwood brakes.
Article courtesy of Car Craft Magazine. Photos and text by Jesse Kiser.
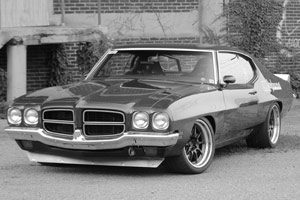
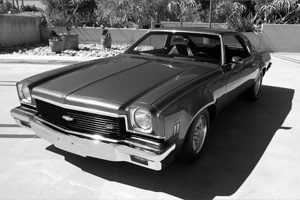
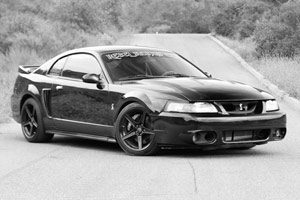
Project CC Malibu Wagon: Rearend, Suspension & Brakes
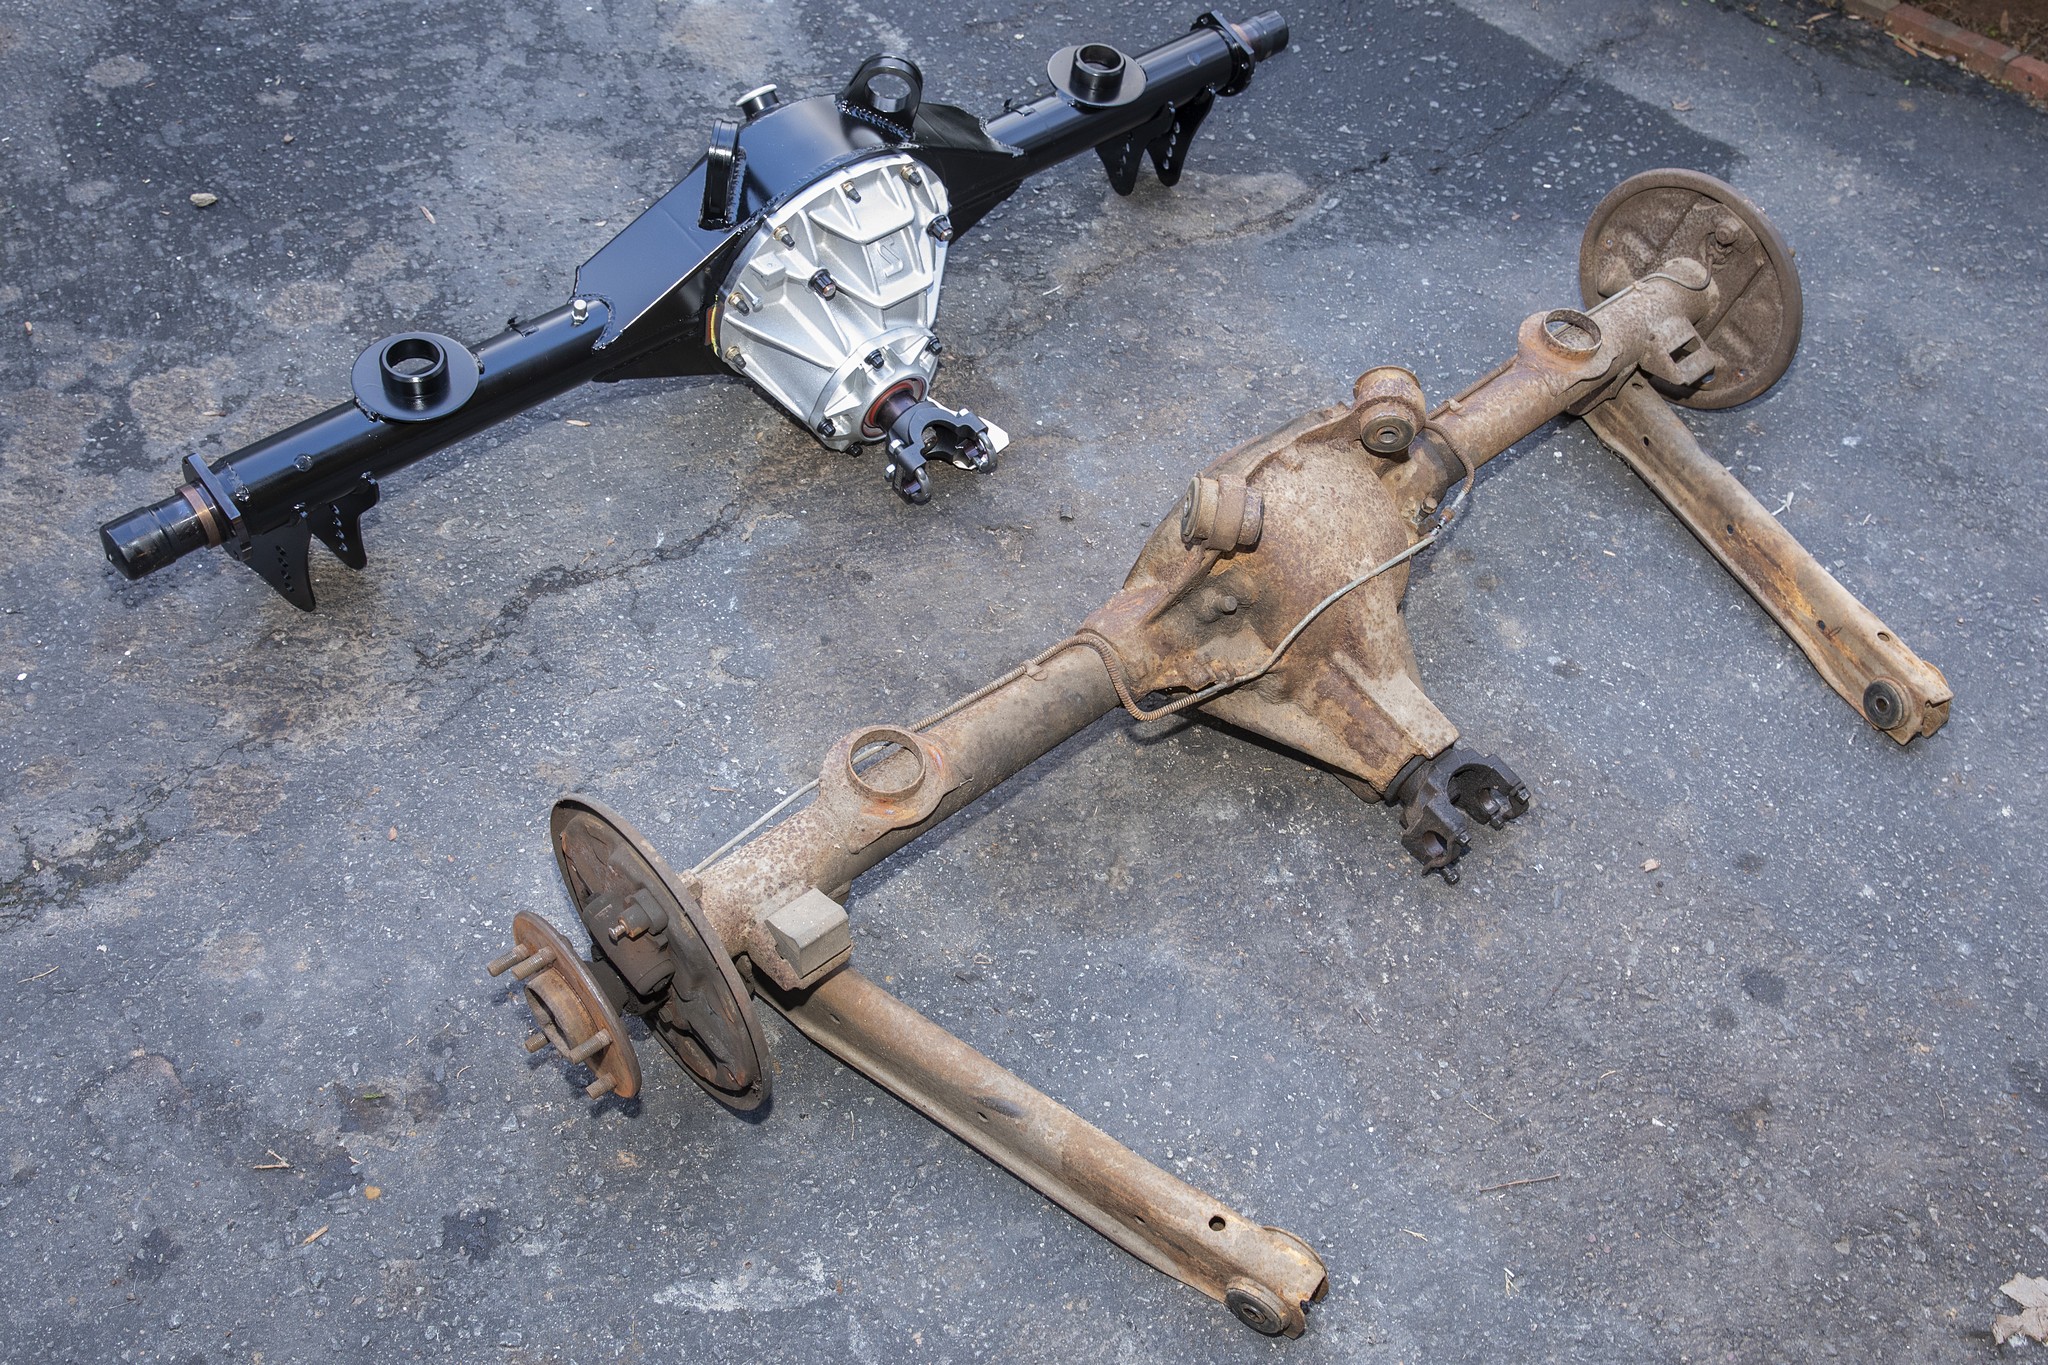
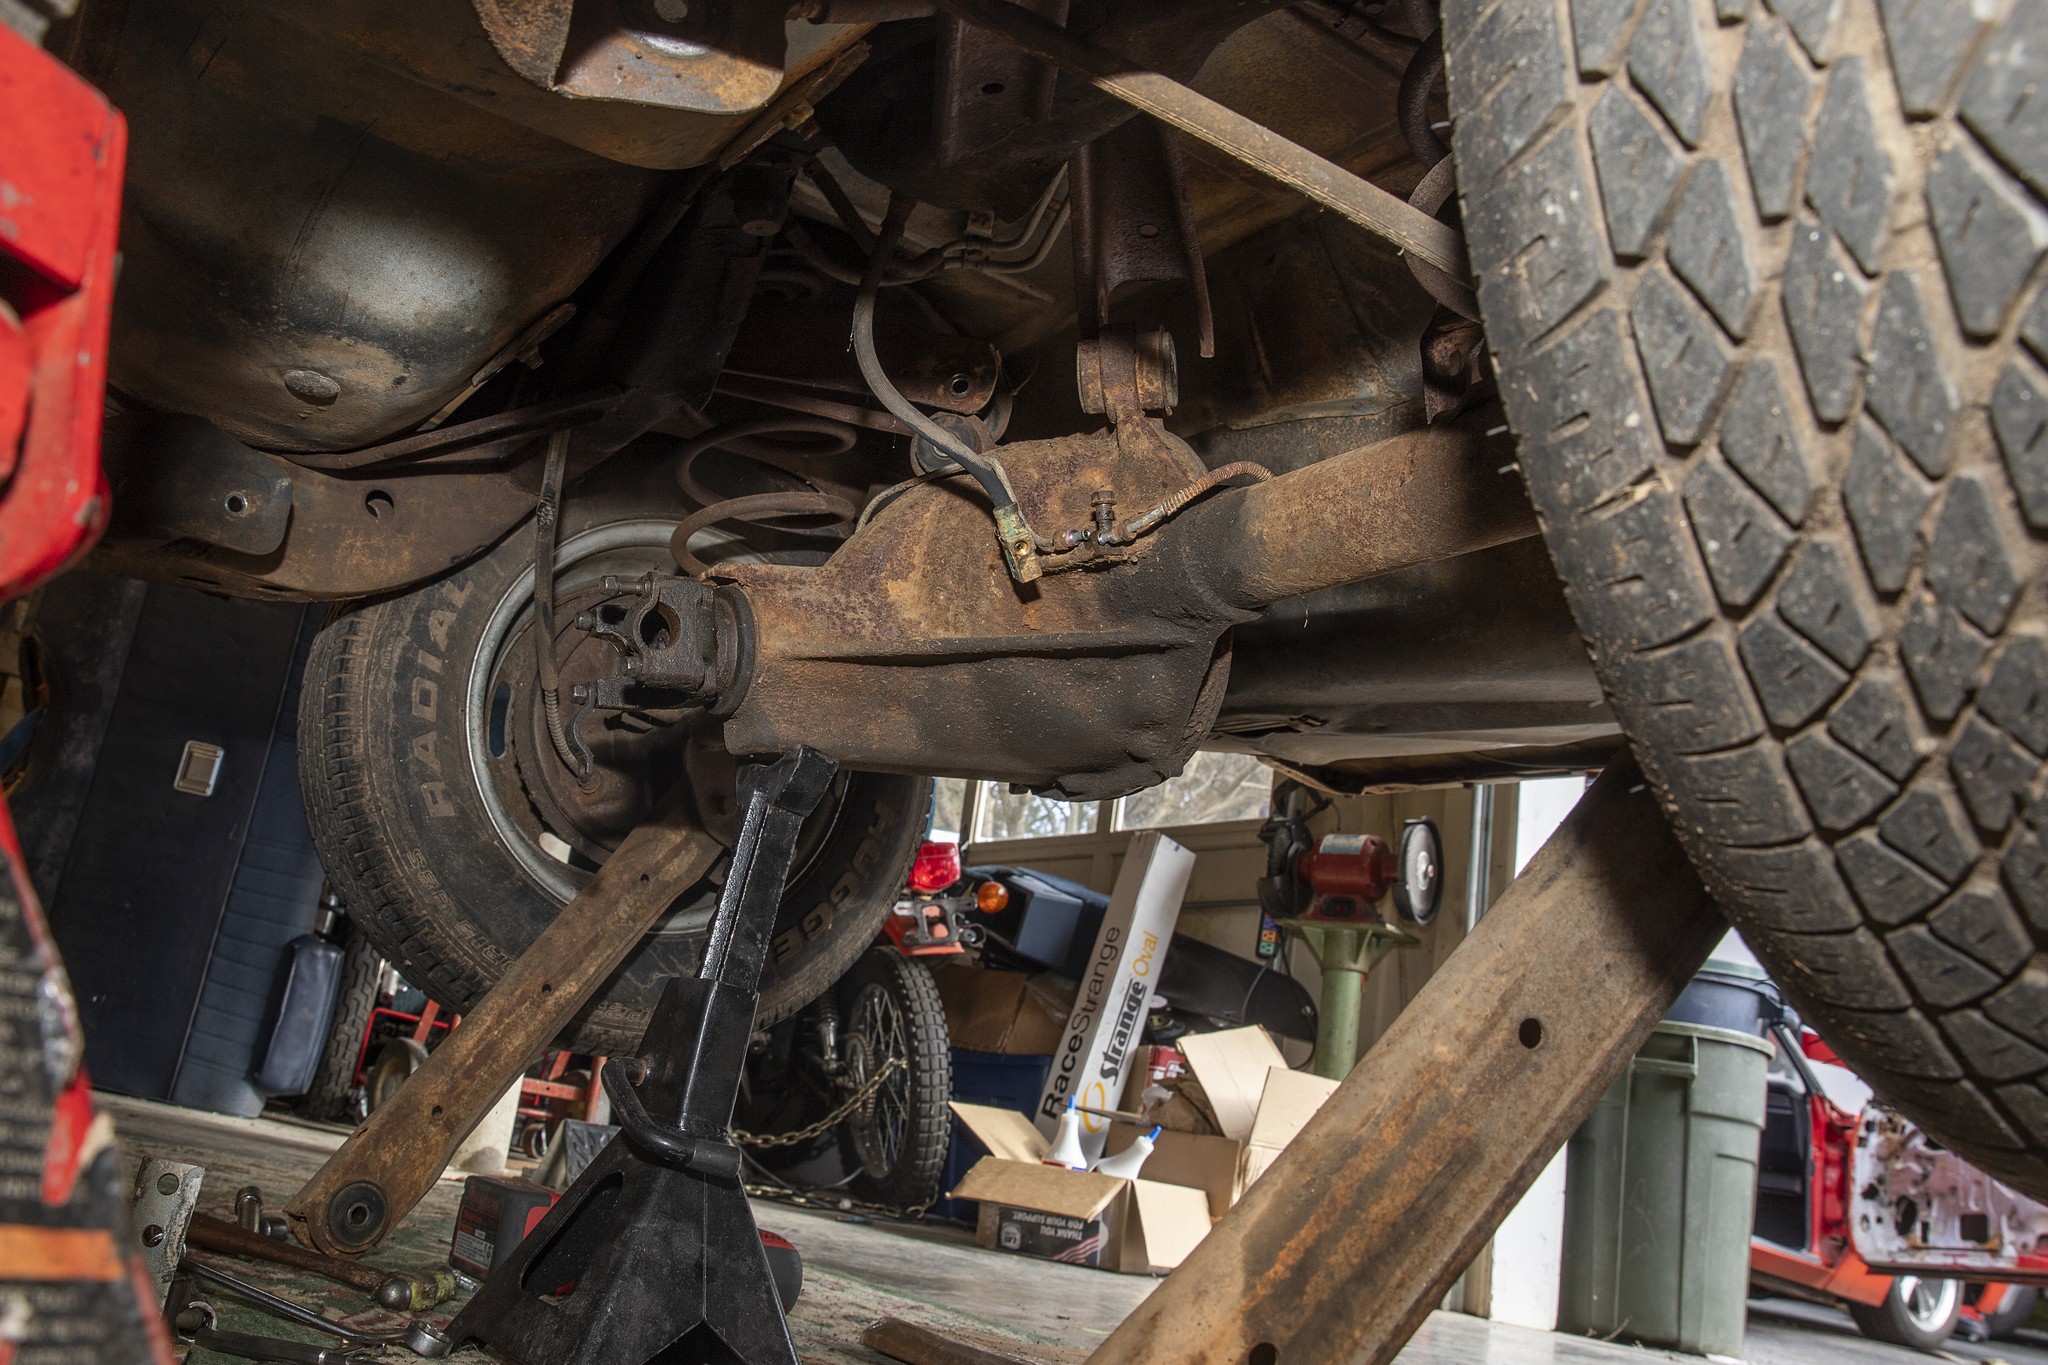
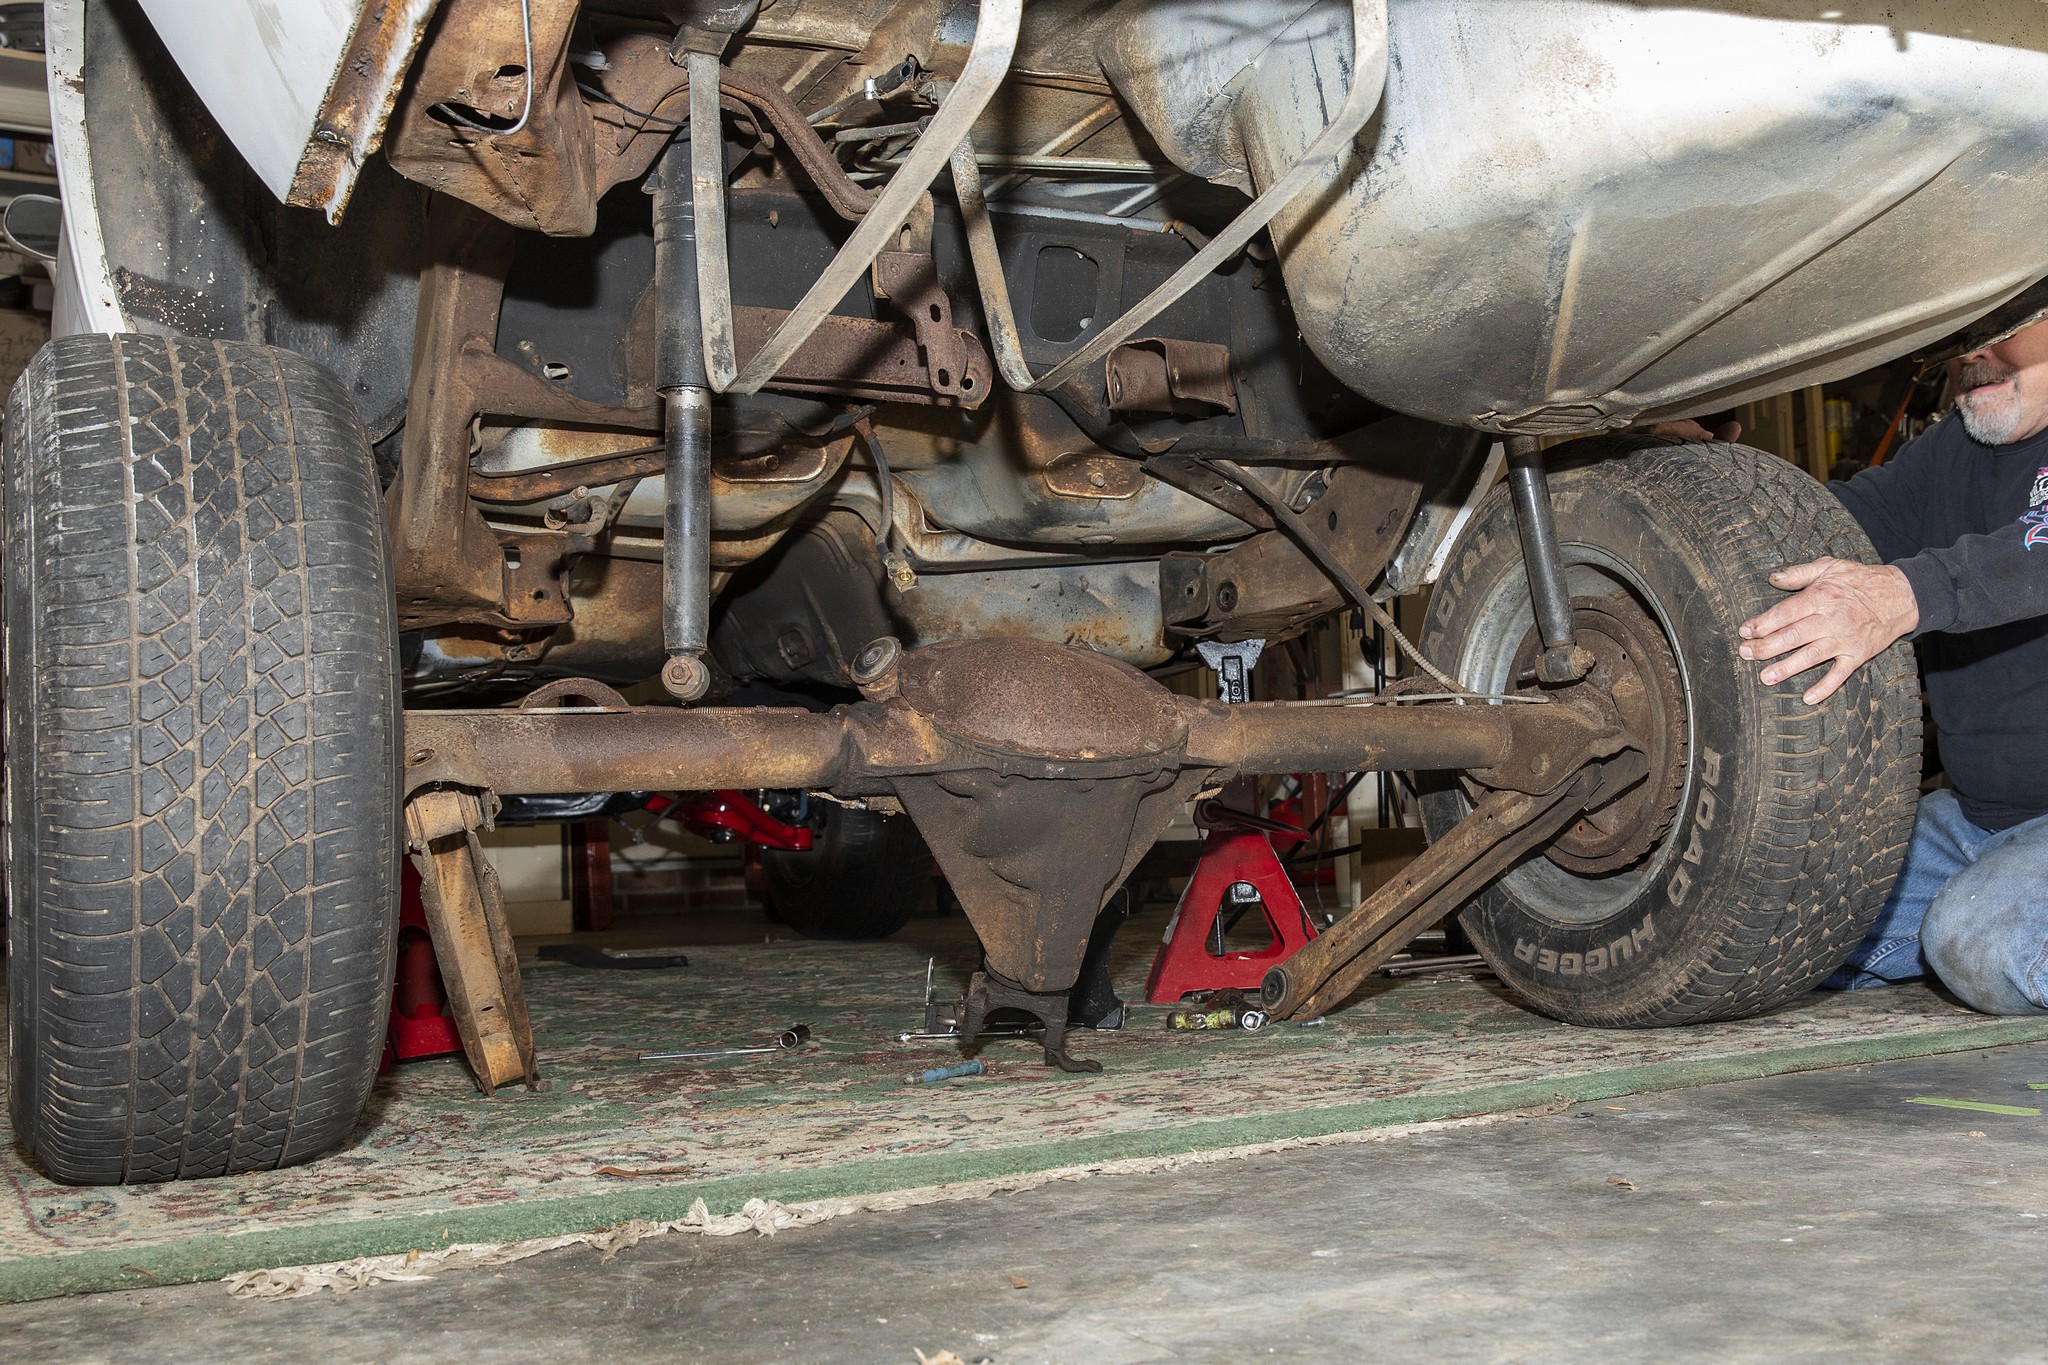
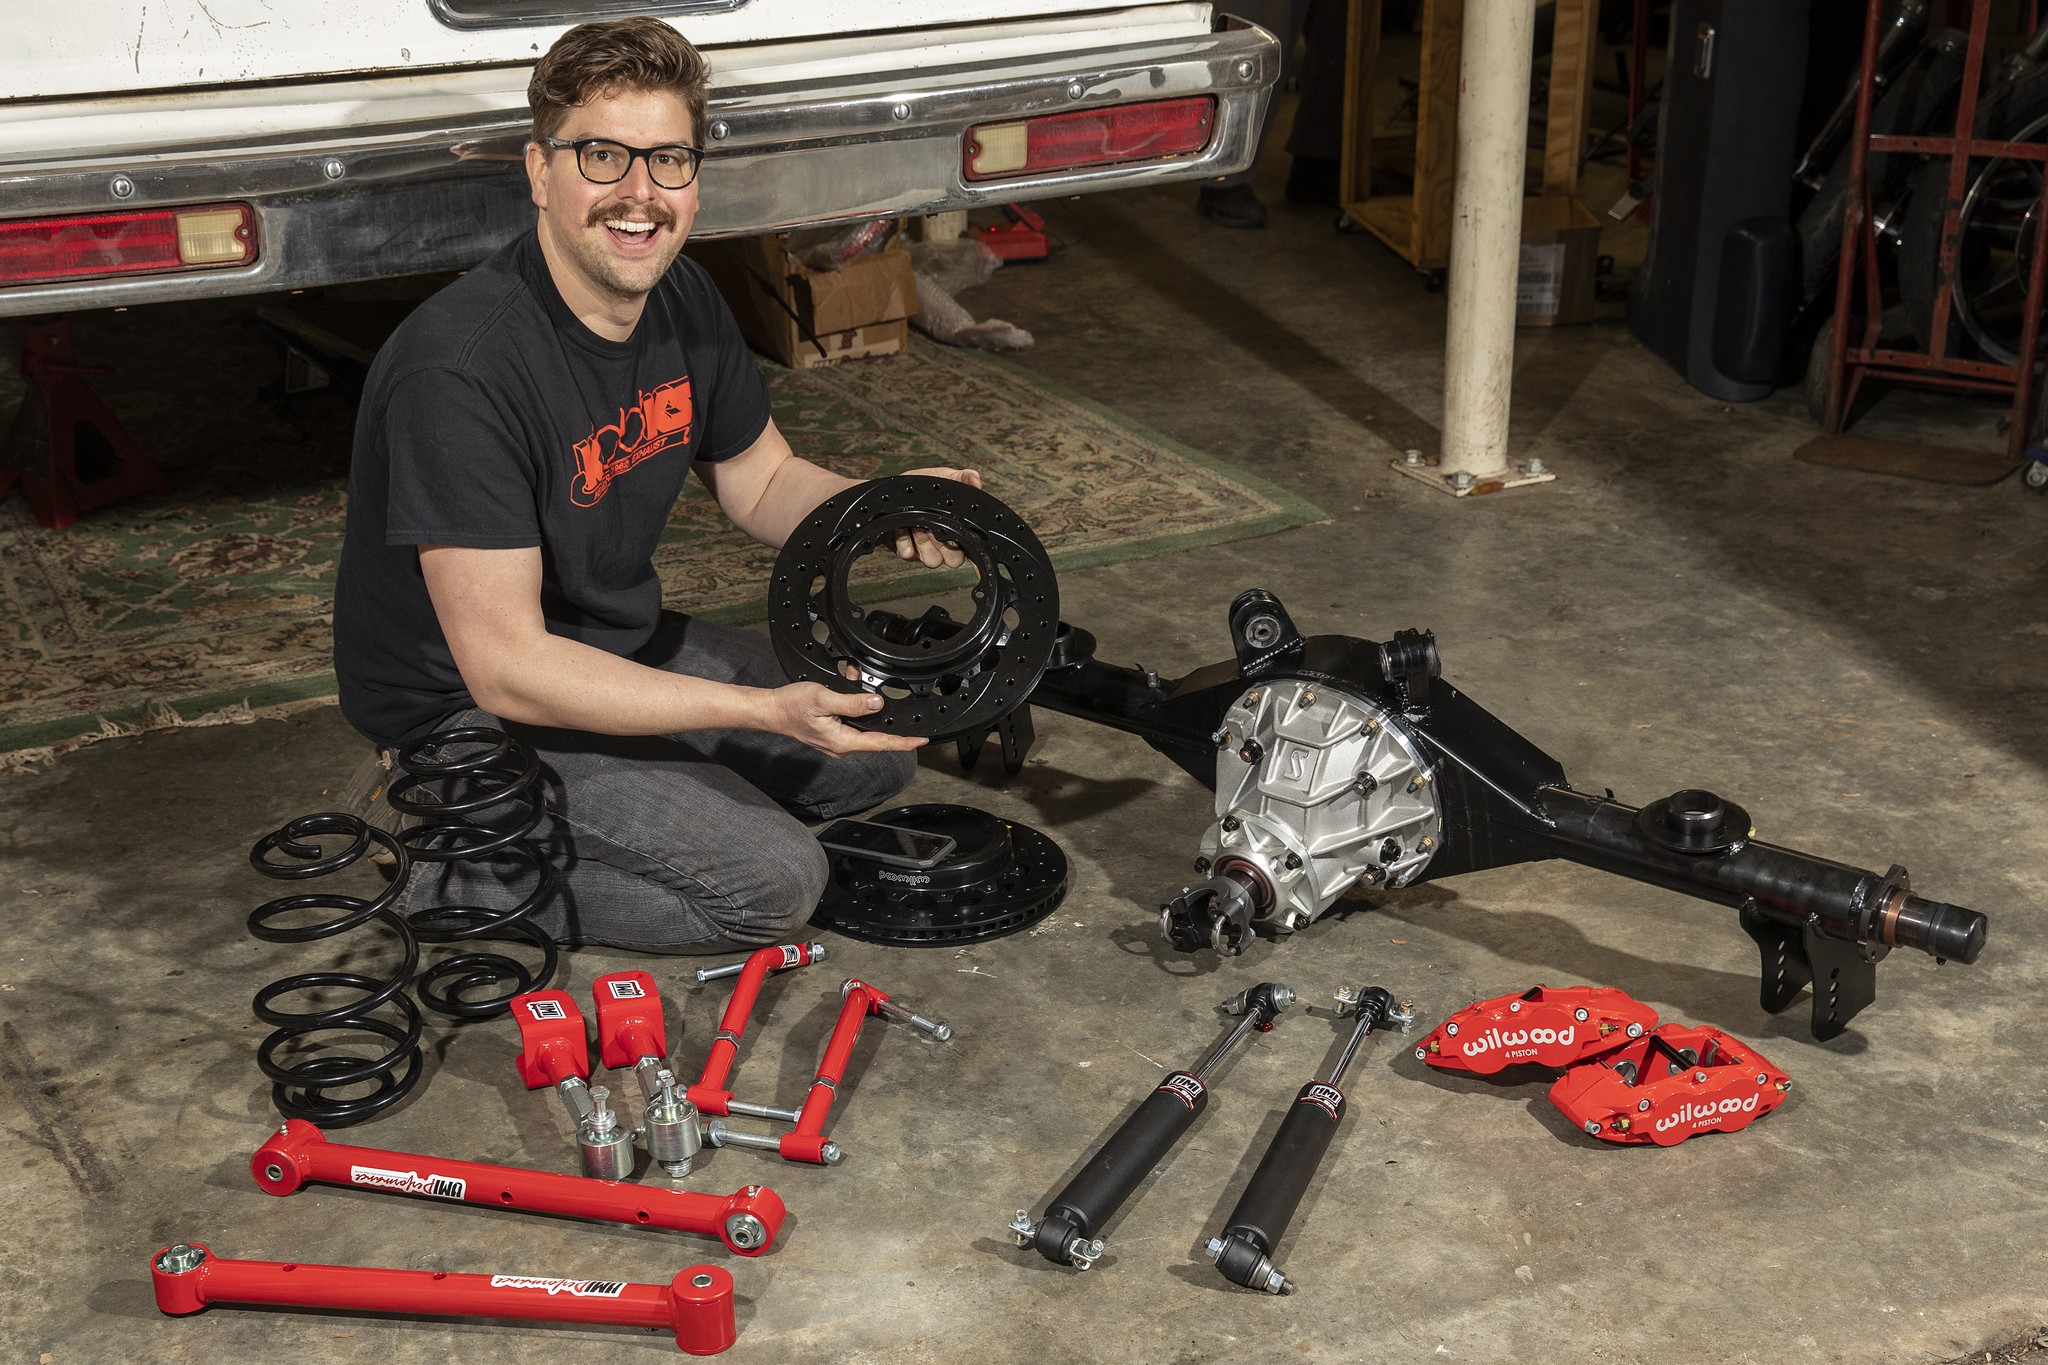
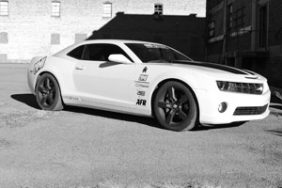
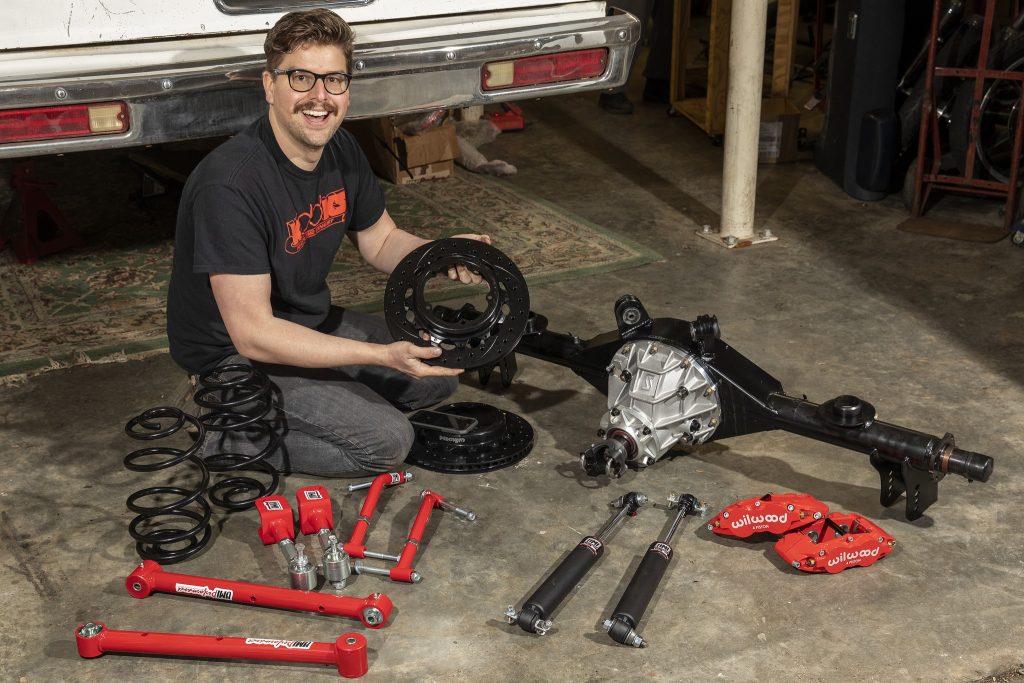
Our 1980 Malibu wagon’s tired 7.5-inch 10-bolt makes weak, one-wheel burnouts. It can’t drift, handle well, or make aggressive launches. With plans for a 700hp LS1 stroker, we expect the differential to explode into dust the first time out of the driveway. So to help us stay on the road, we turn to the circle track for inspiration and install race-proven components: a Strange Engineering floater 9-inch, Wilwood 13-inch brakes, and UMI Performance Stage 3.5 suspension.

Our OEM 7.5-inch 10-bolt—one of the most common rear axles in GM products ever—is virtually worthless in current form. We’ve built 10-bolts to handle power, but it’ll need new axles and a complete overhaul.
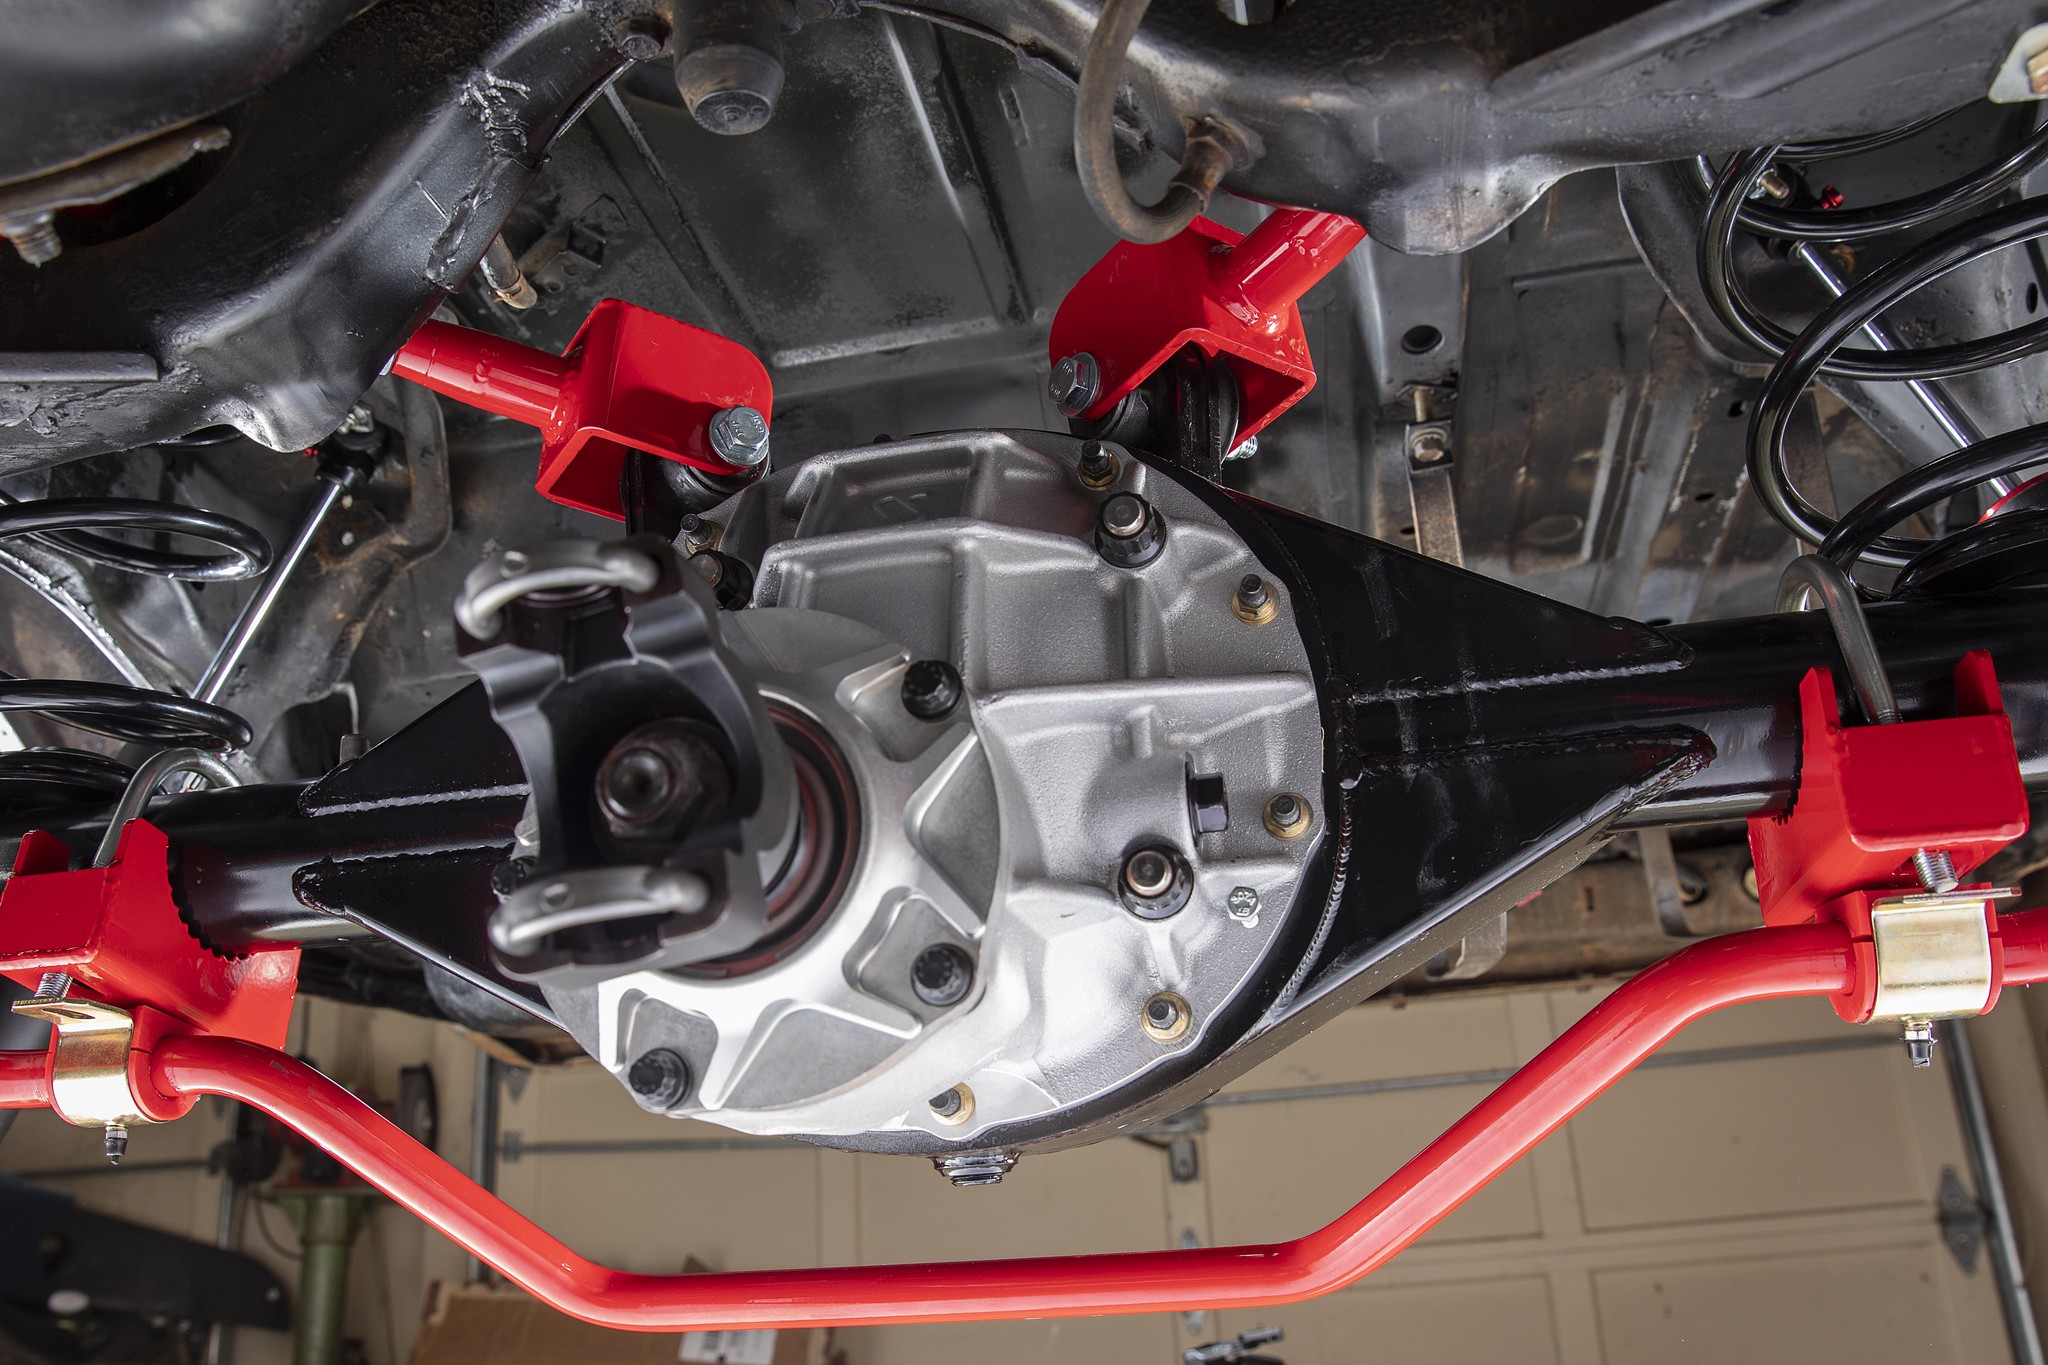
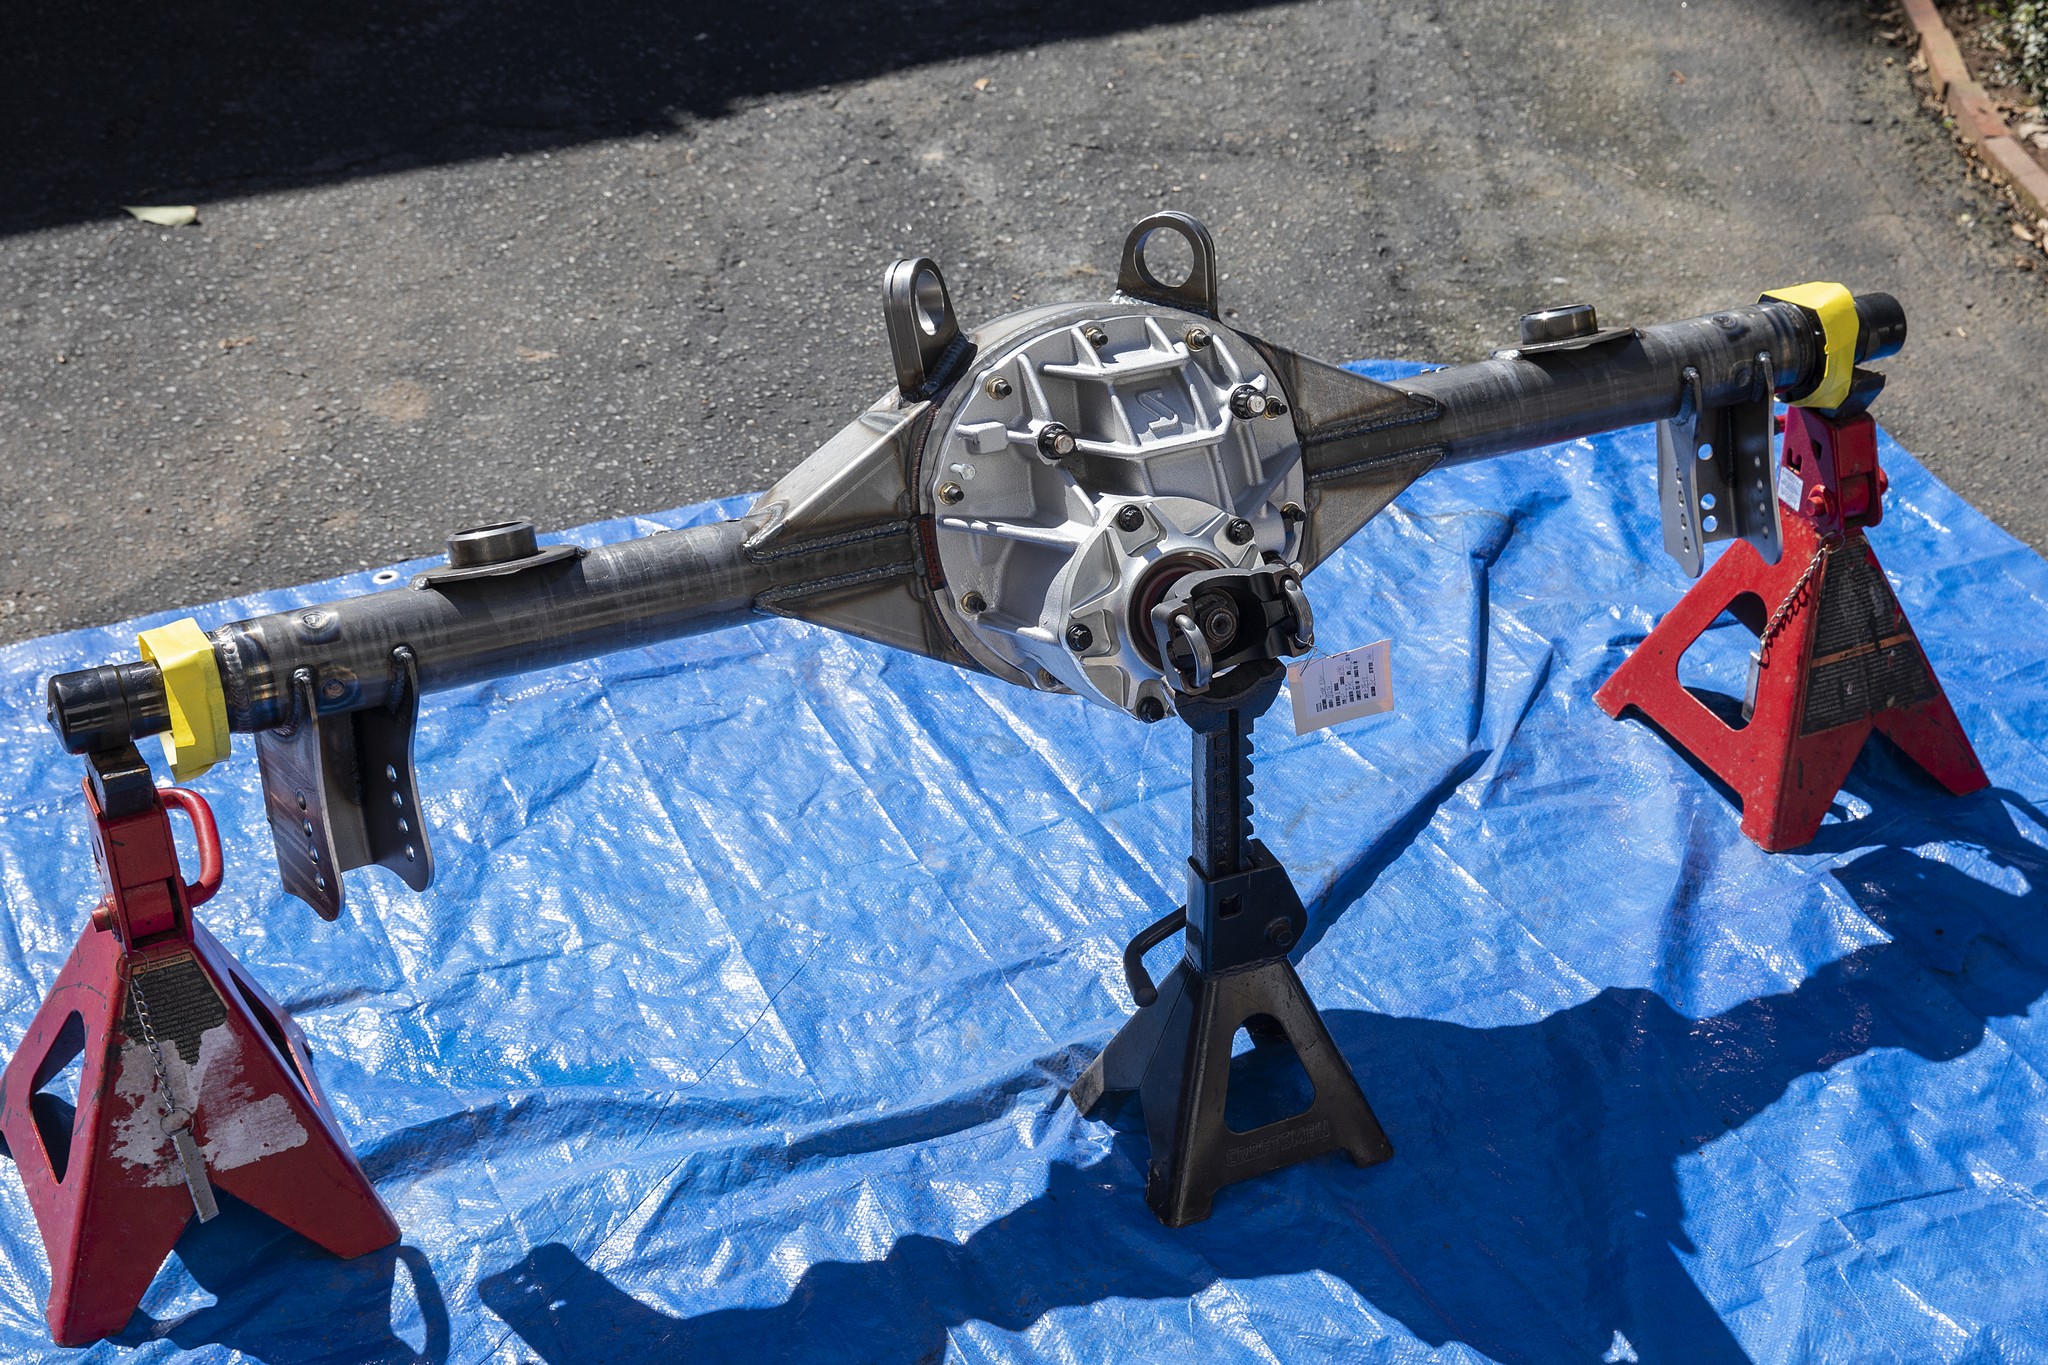
Brand-loyalty debates aside, Ford got the 9-inch rear axle right. It’s universally accepted at the drag strip and certainly the most common axle in circle track racing. Strange Oval supplies top-tier NASCAR teams with 9-inch rear axles. We called their sister company, Strange Engineering for a Street Floater 9-inch G-body housing (PN: HF9GGME; $839) with an HD Pro center section (PN: P3203BB; $540), and 3:50 gears. Most rearends are built to order, but a kit with mostly the same components retails for $2,685.
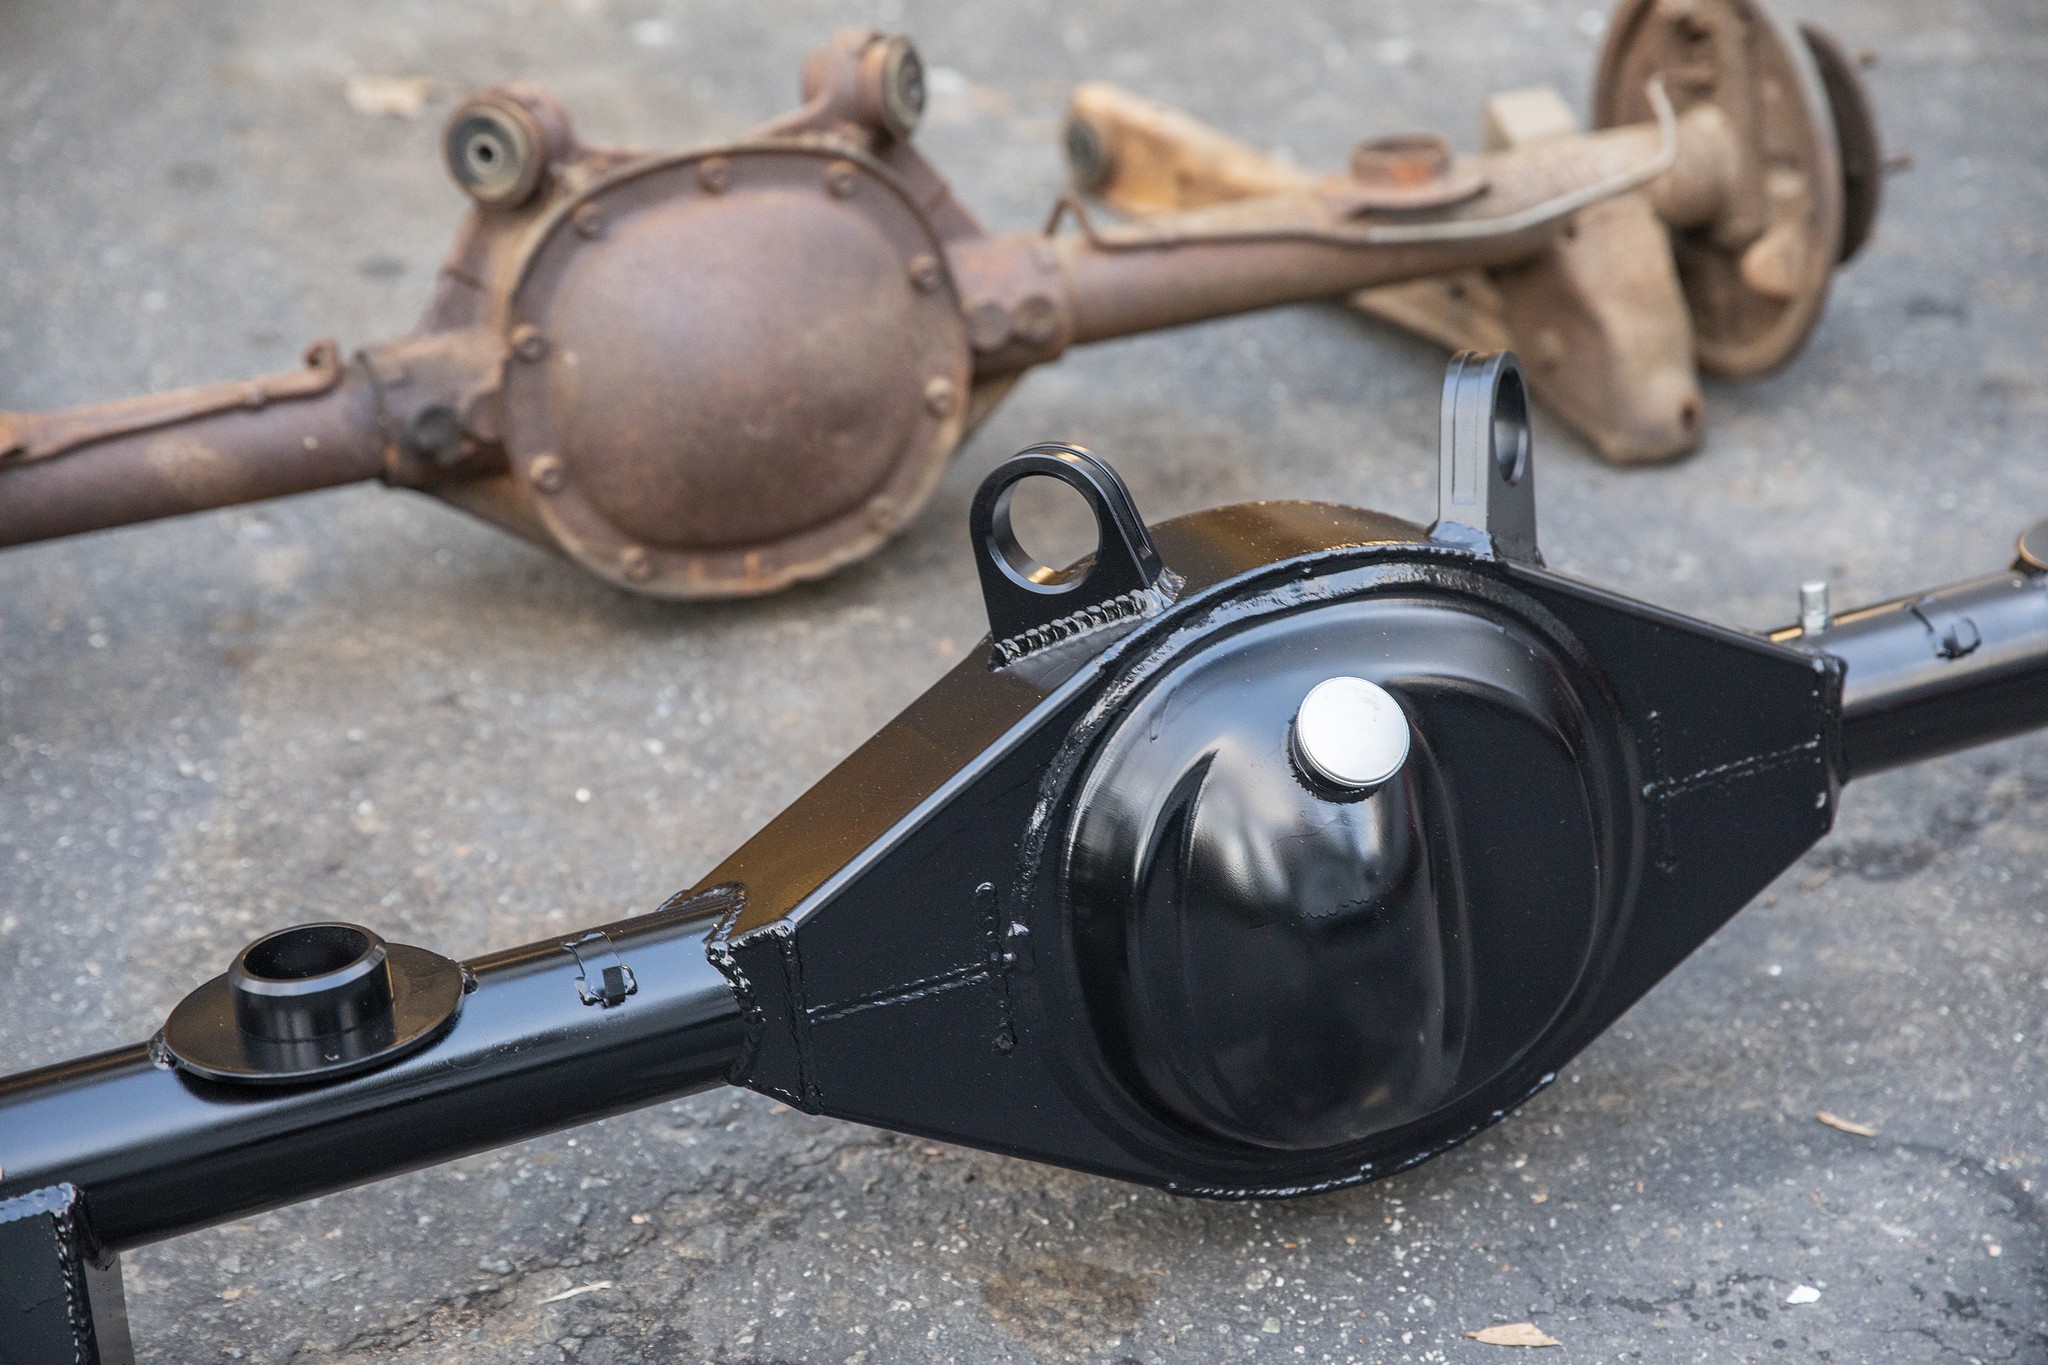
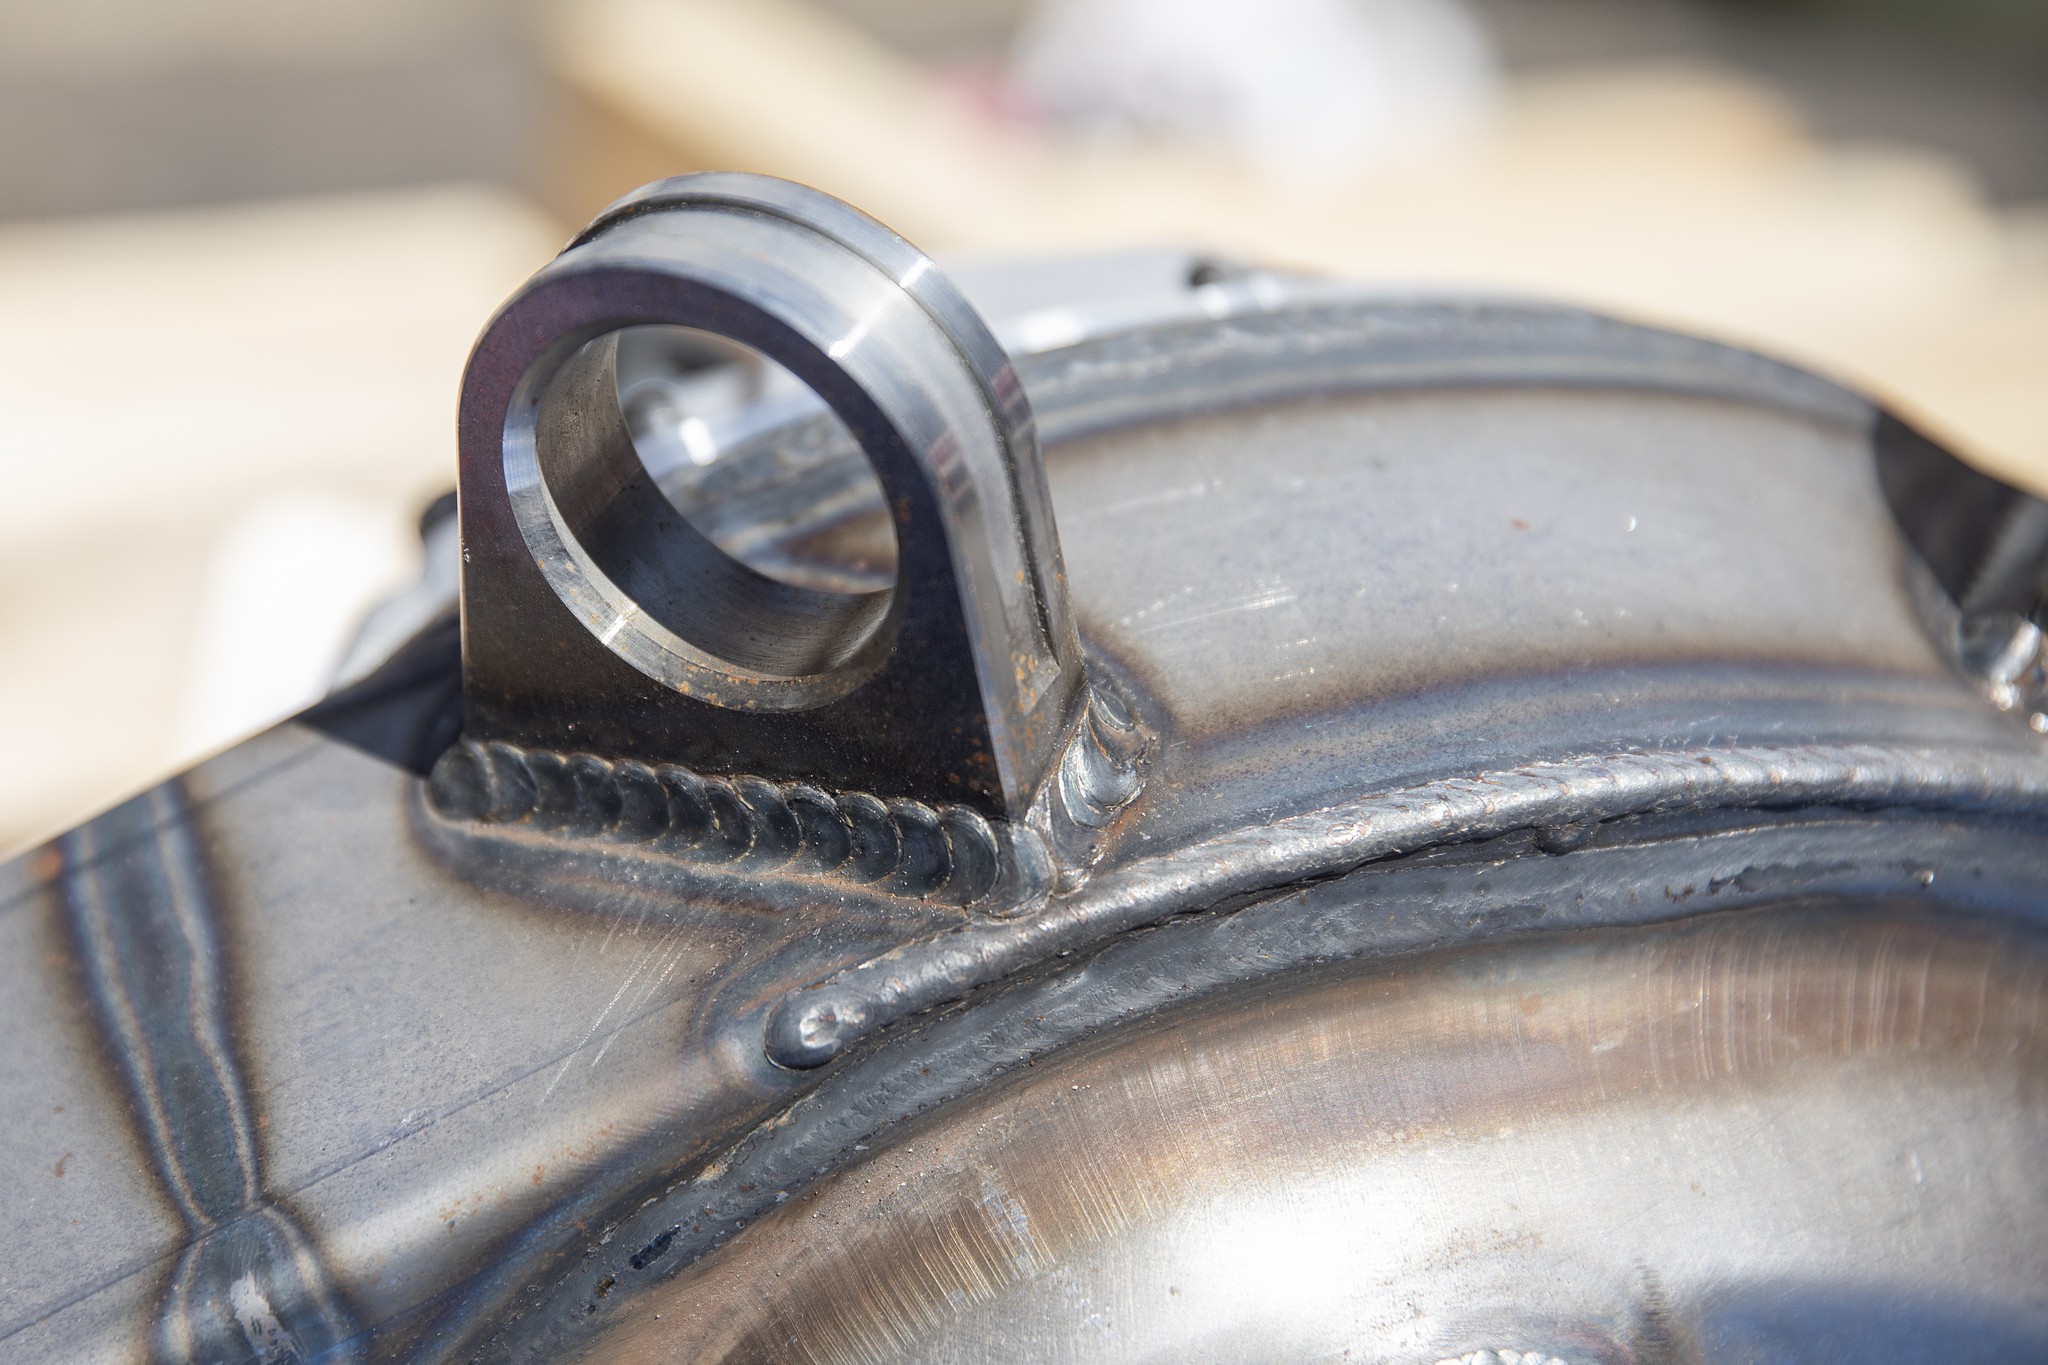
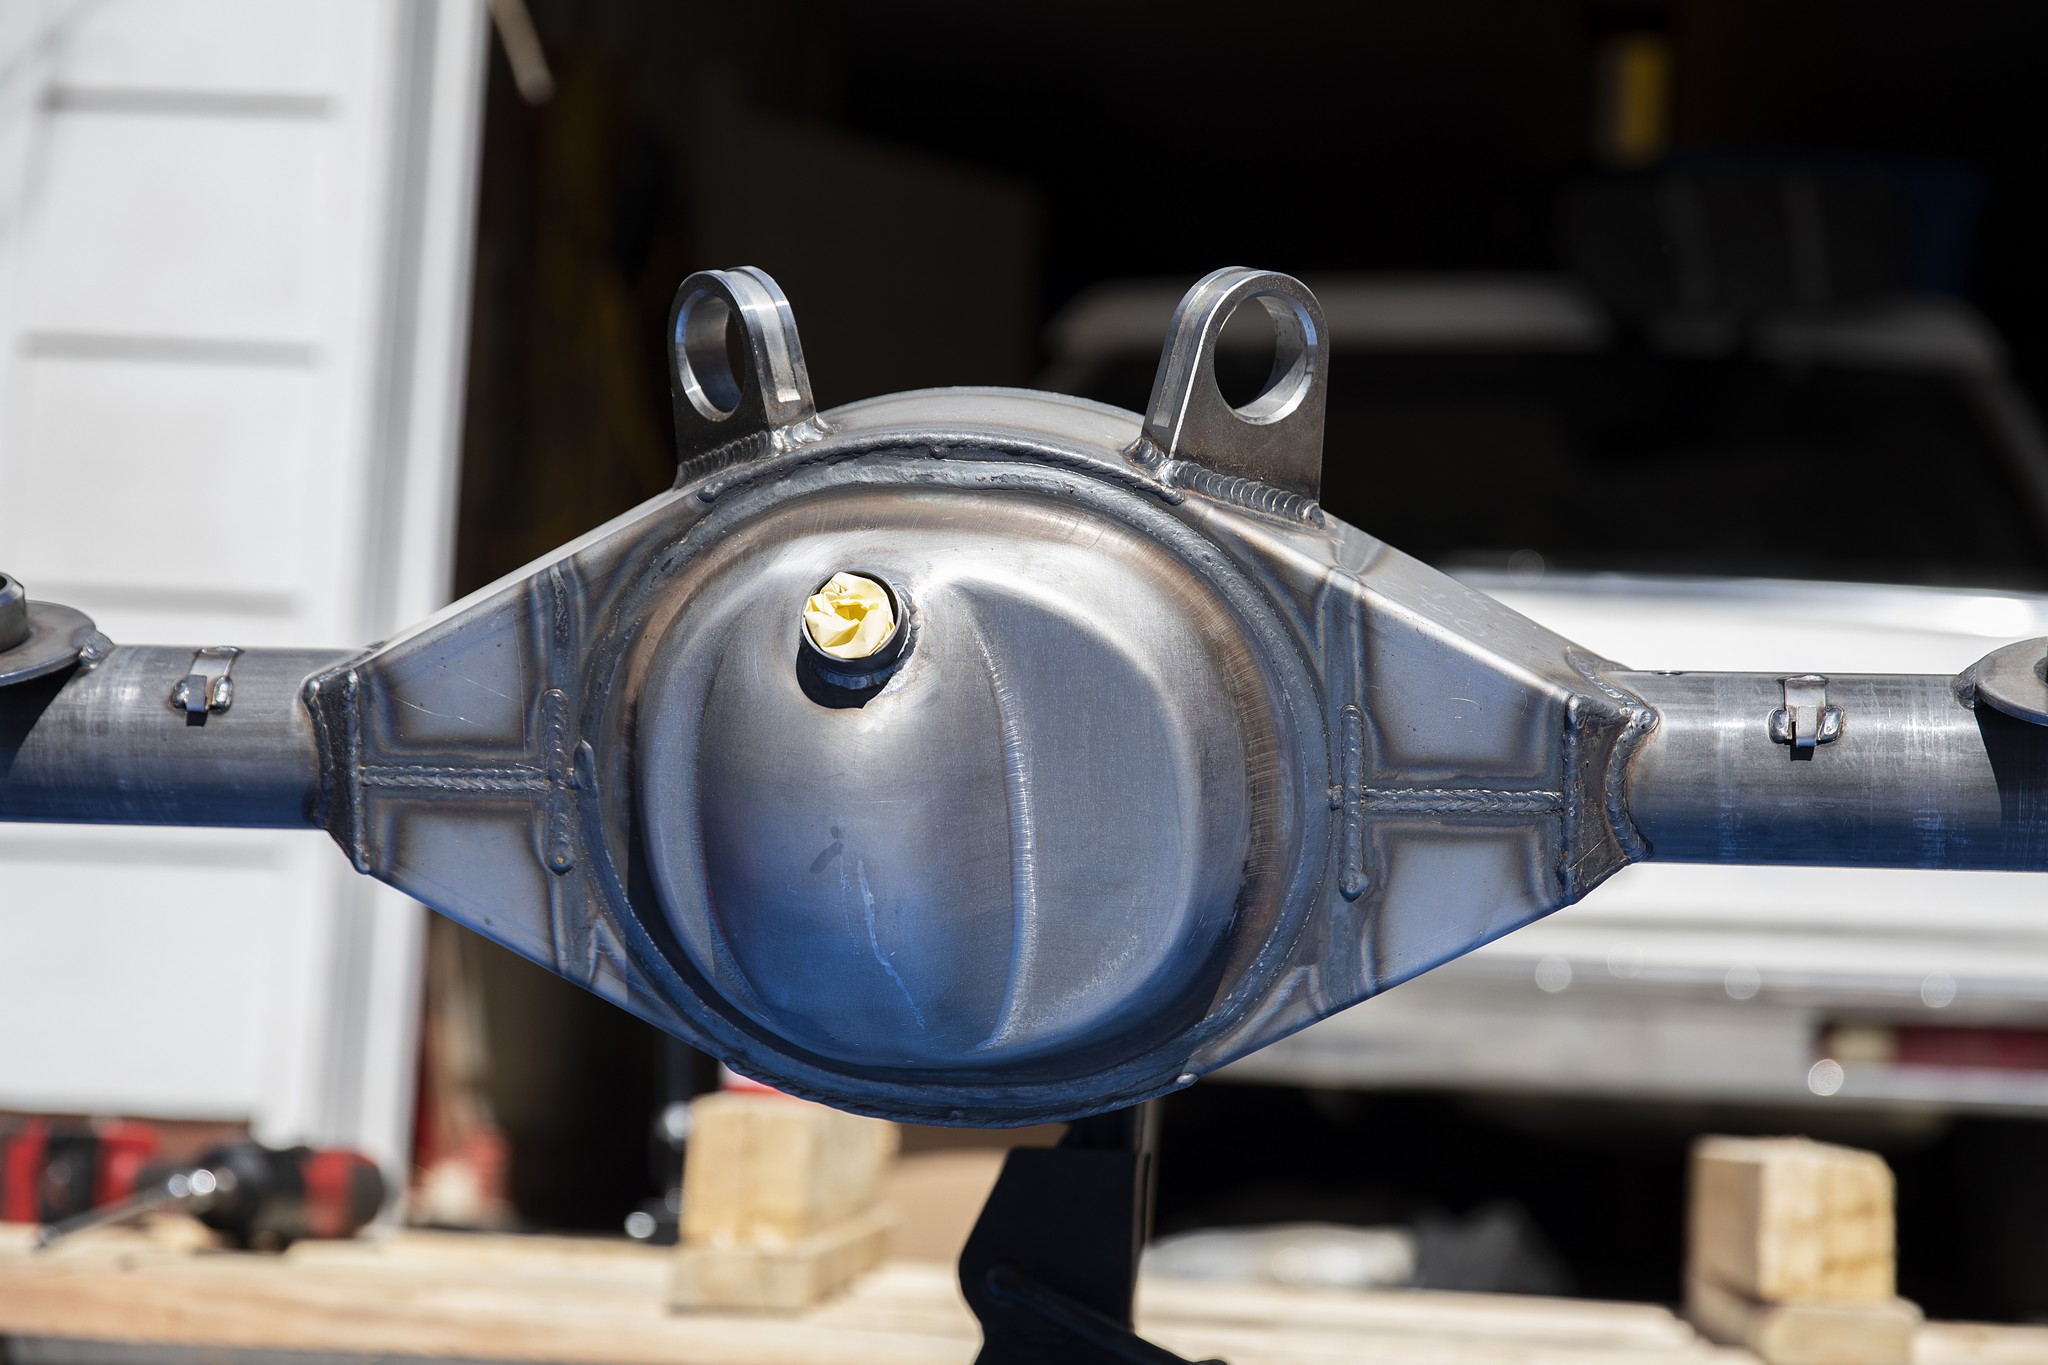
The Strange Engineering G-body 9-inch housing comes as shown, with or without a built center section. It depends on certain factors (like how you make the power, slicks, and set up), but this housing is suitable for 1,000 hp. It arrives with spring perches and control-arm brackets, ready to install into a stock G-body.
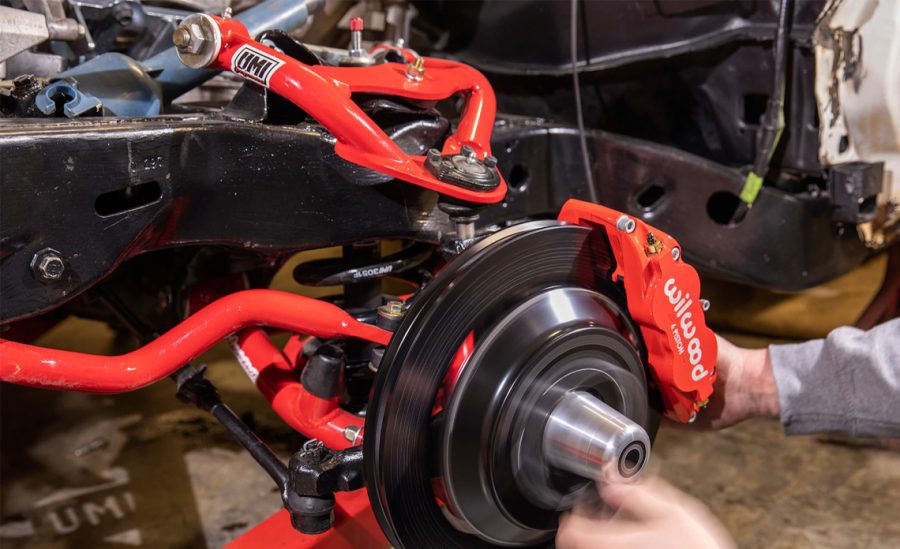
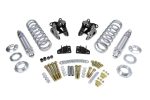
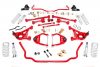
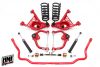
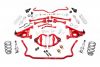
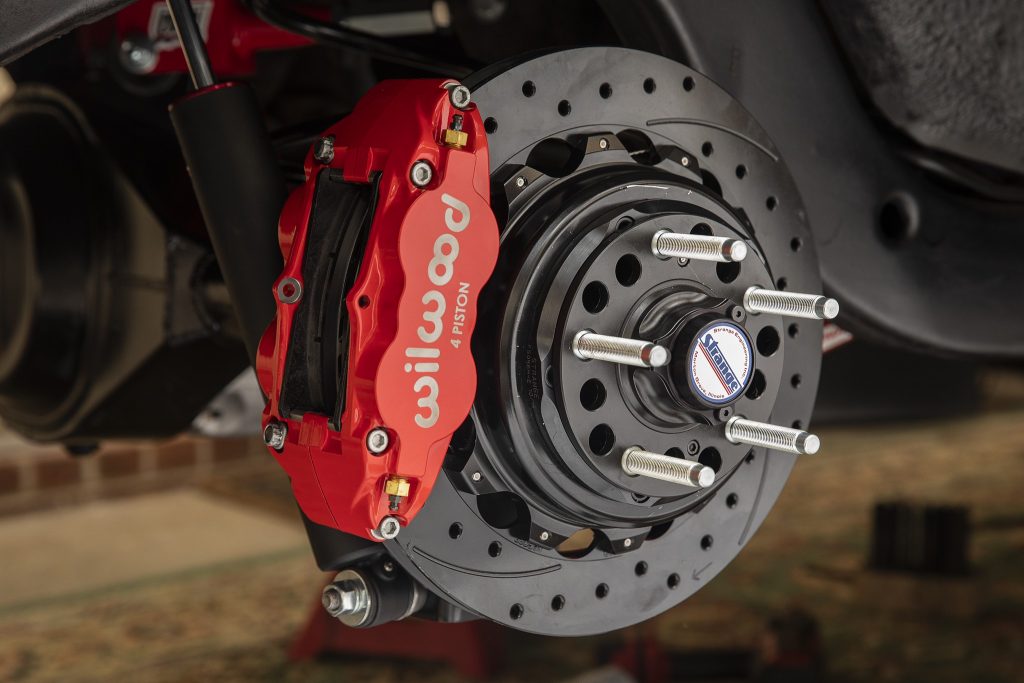
While we’re under the car, we’ll finish our UMI Performance Stage 3.5 suspension (PN GBF035-2; $3,799.99) and Wilwood Superlite 4R brakes (PN 140-12435; $2,066.39) with parking brake. Every component of our assembly applies specifically to our goals: be street-able, adjustable, hold 700 hp, improve the handling, and save weight.
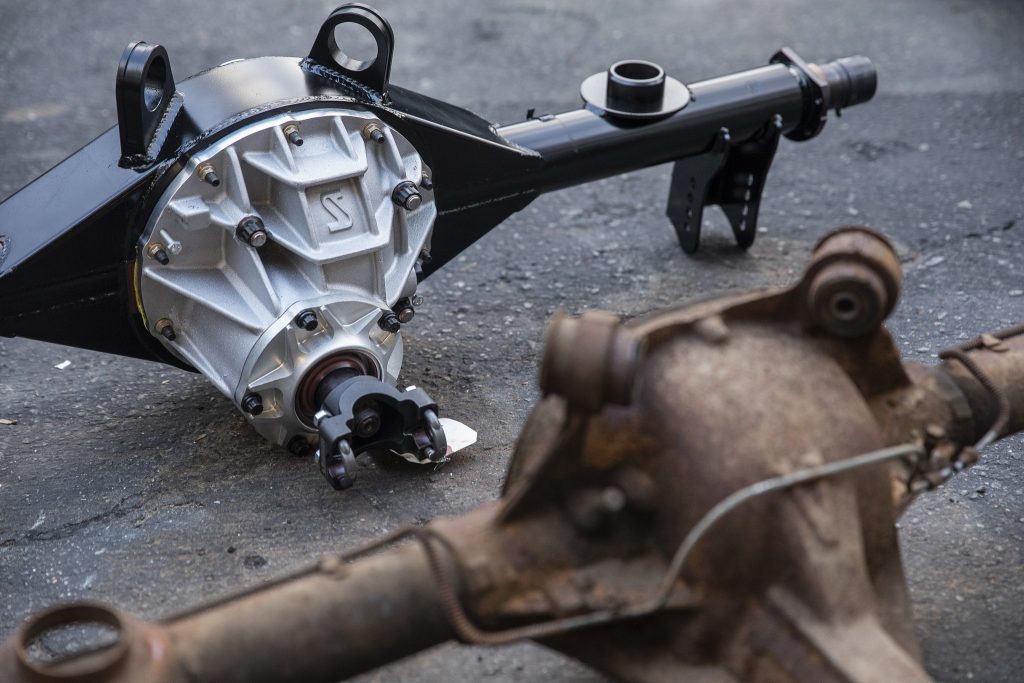
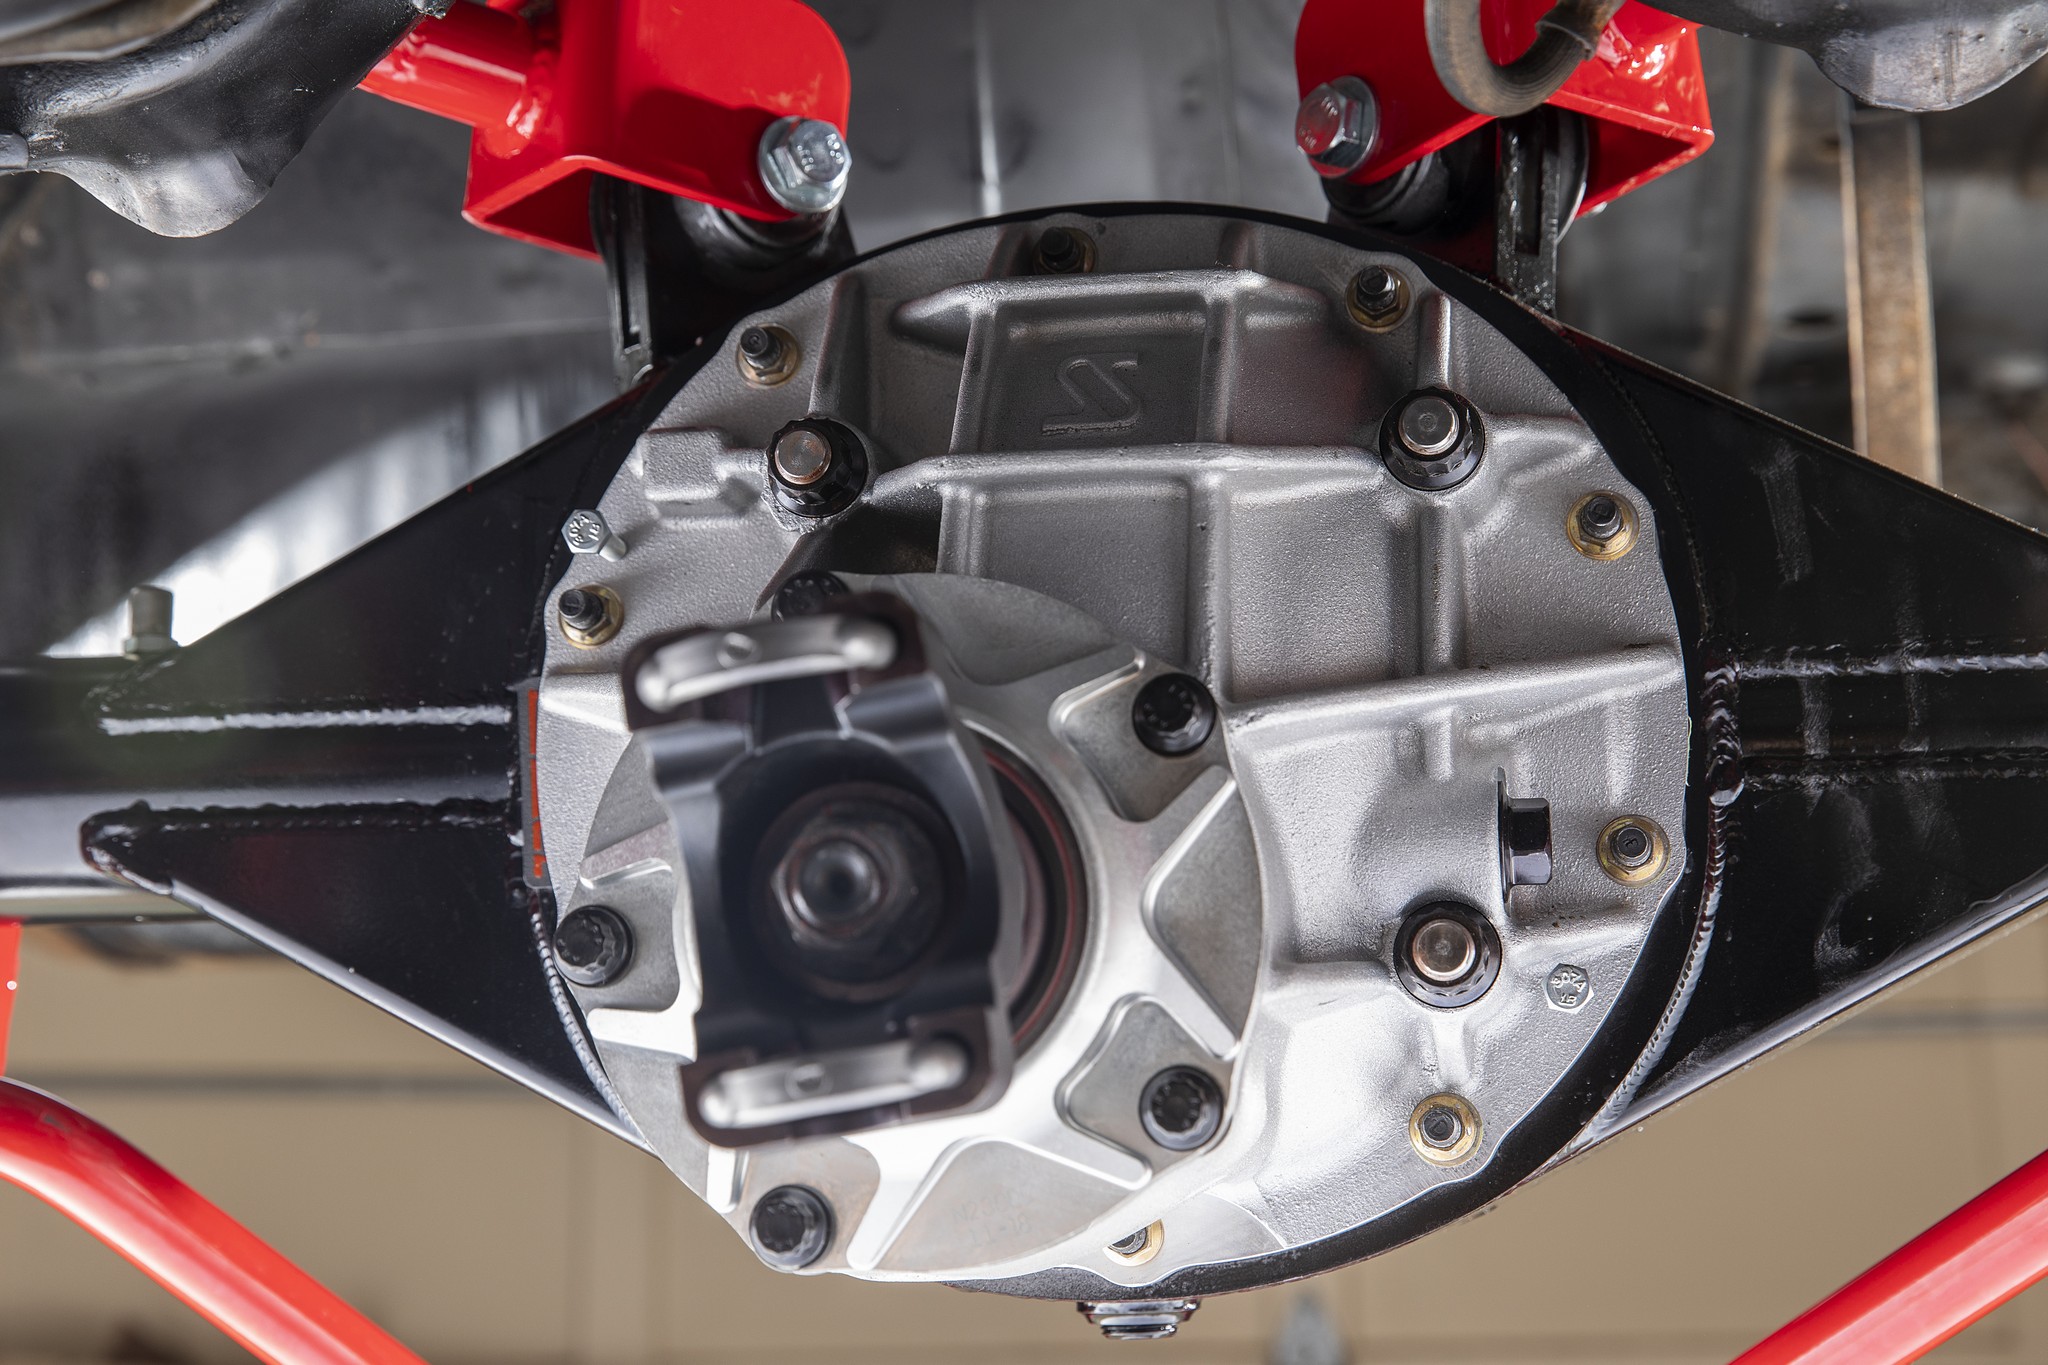
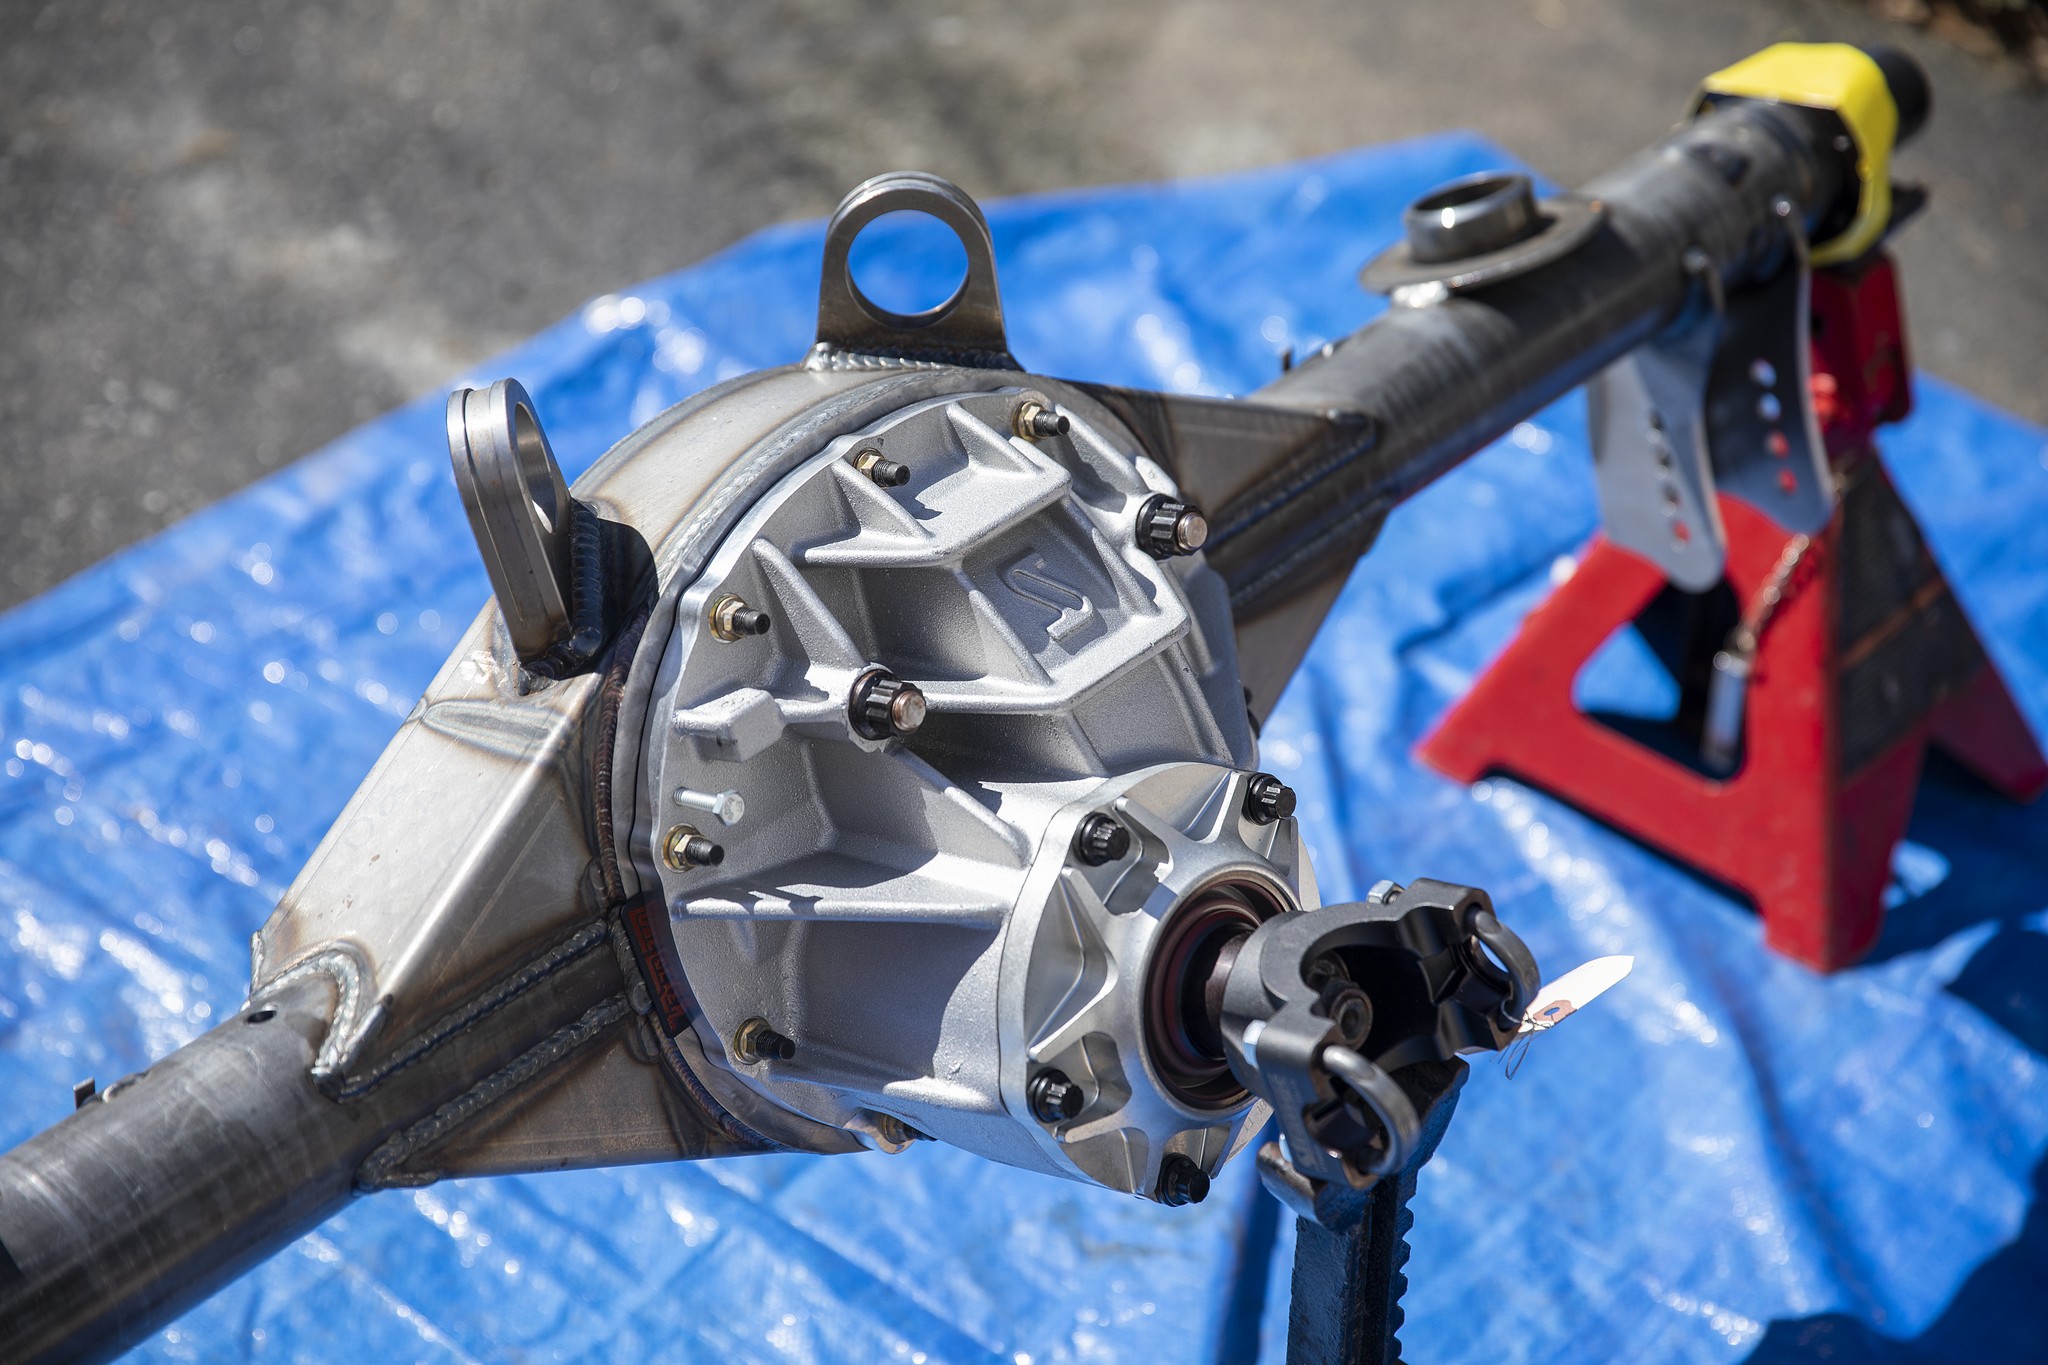
The HD Pro aluminum 3.25-inch bore case helps keep the rear assembly light. The heat-treated 206-T4 case features 32 percent more tensile strength than the more common 356-T6 aluminum, according to Strange Engineering. It uses 9/16-inch through-bolts for durability and reduced gear deflection.
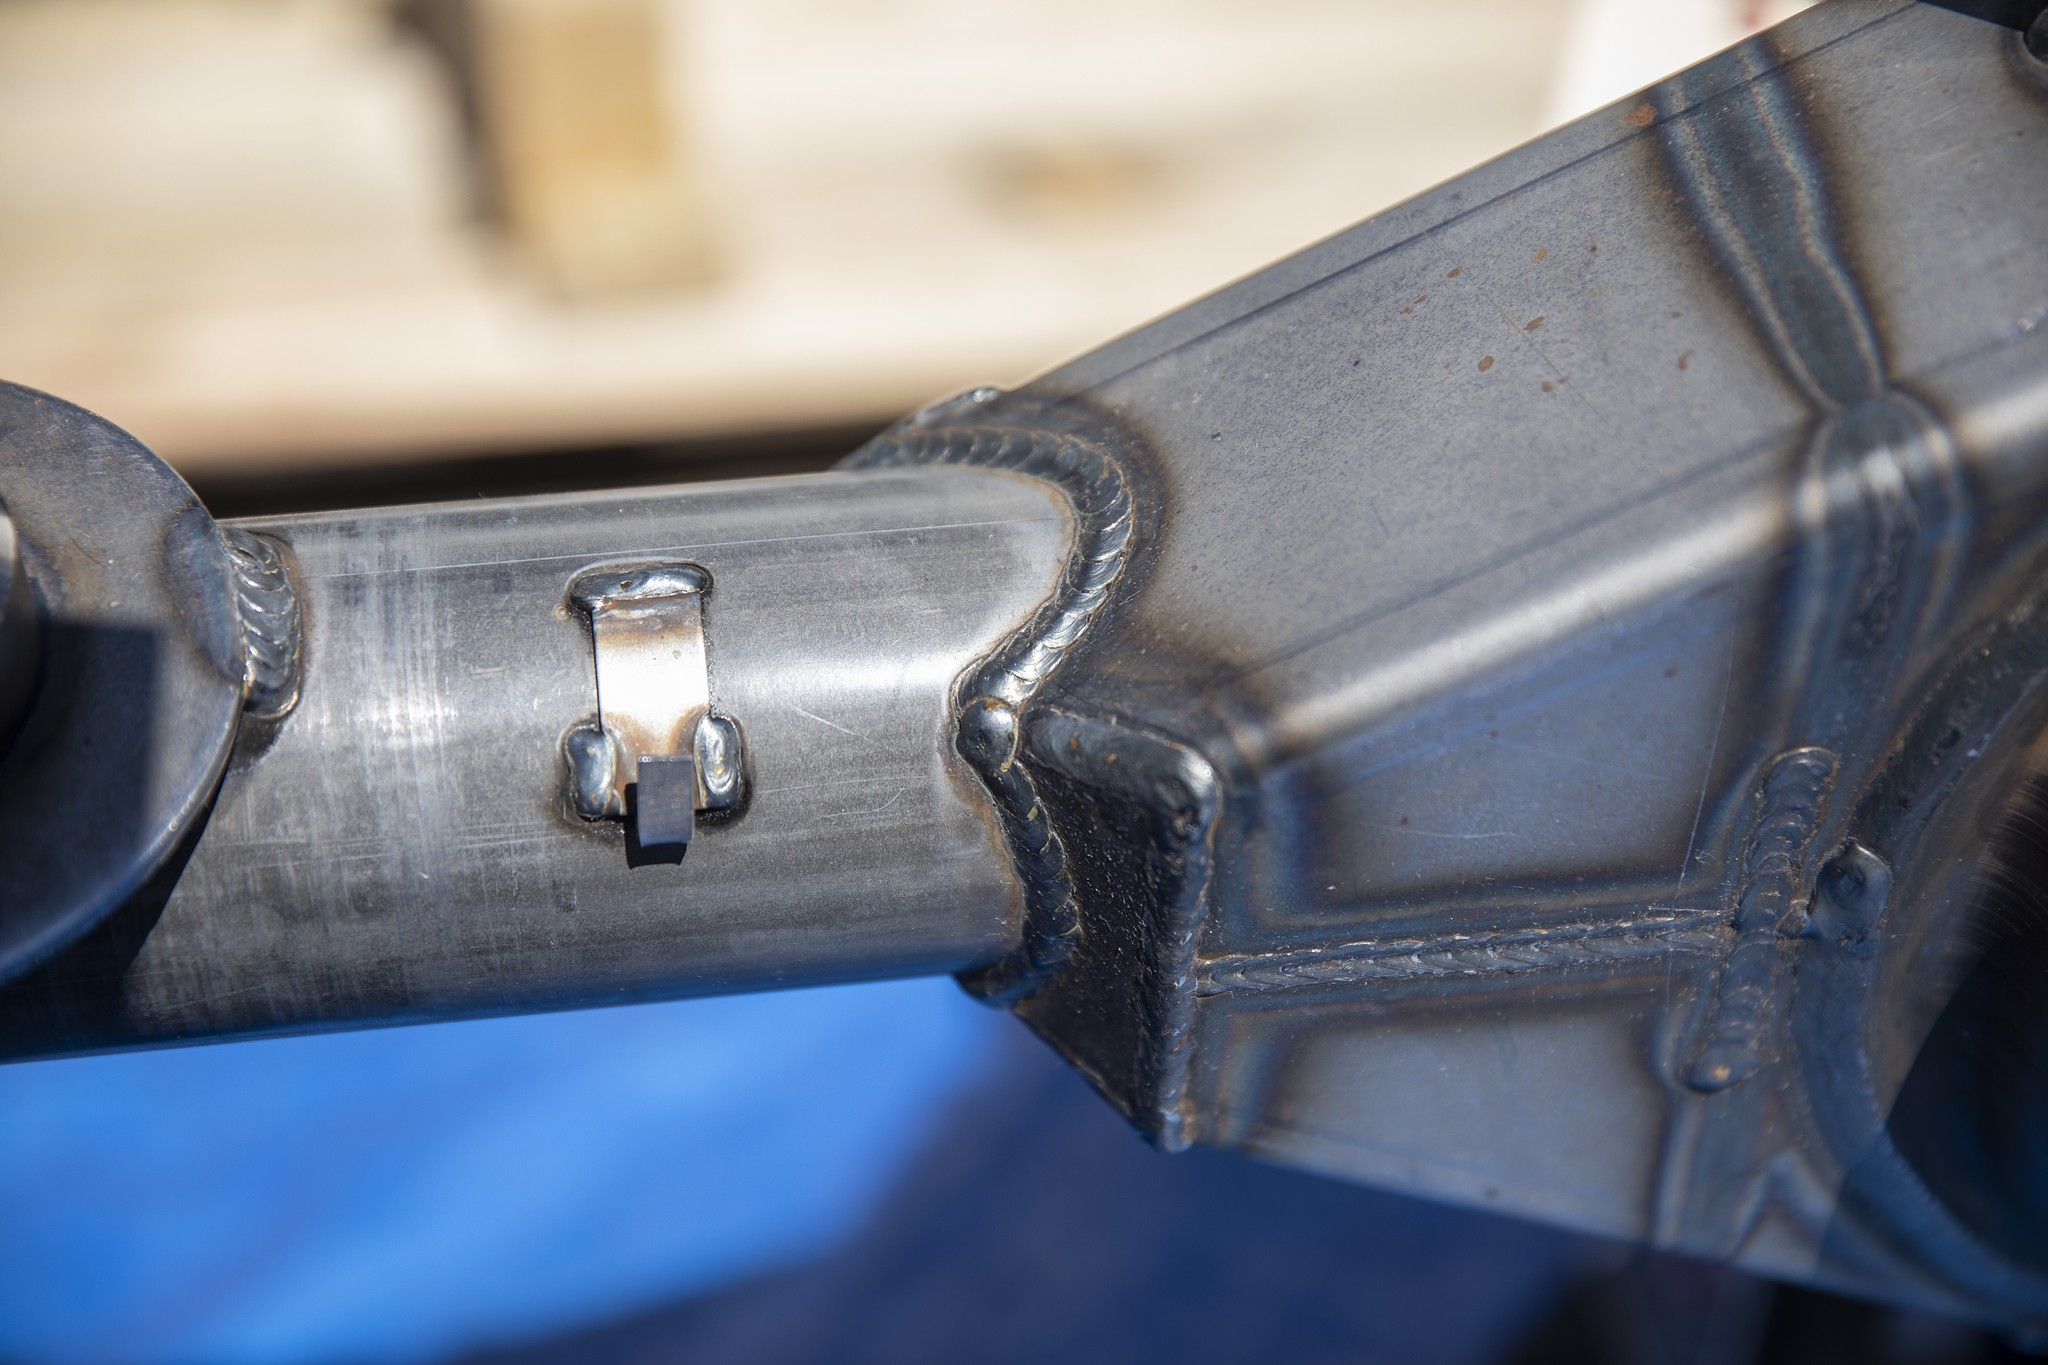
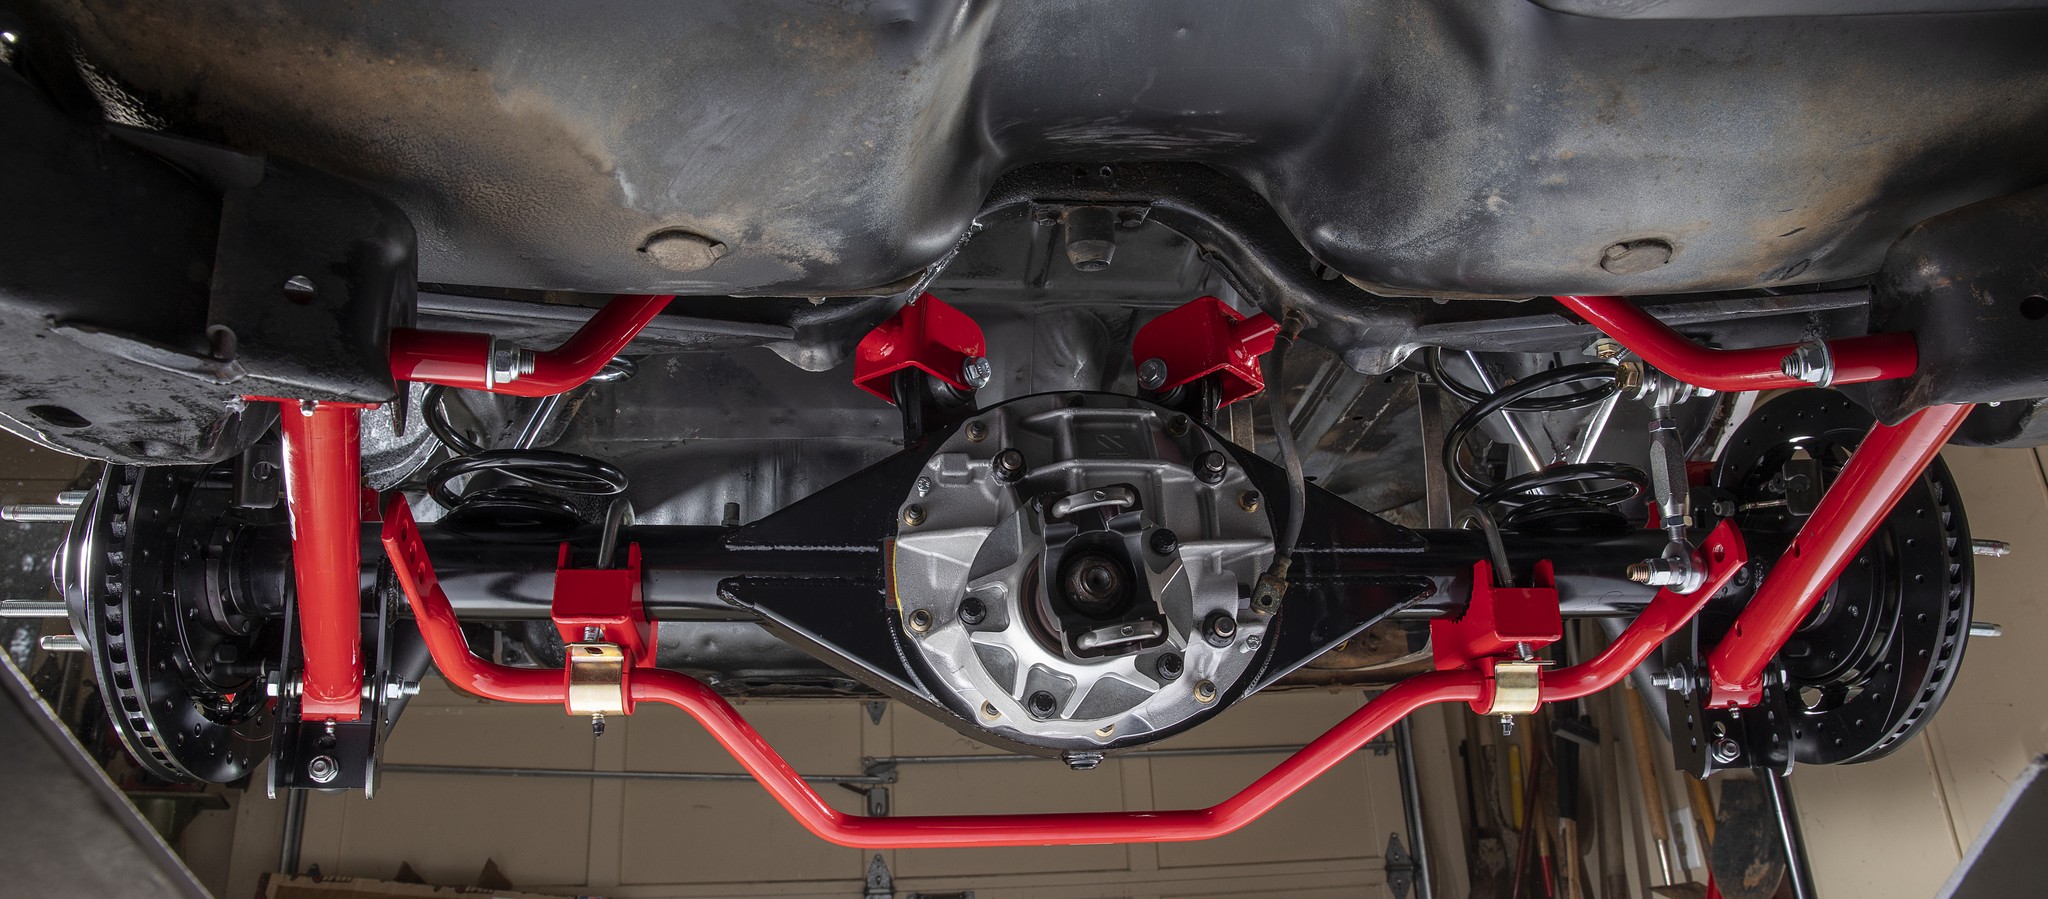
The Strange Engineering G-body 9-inch housing features 0.141-inch mild steel, a heavy-duty 0.282-inch thick faceplate with internal gussets, and 3-inch diameter, 0.25-inch wall axle tubes. Inside, Strange Engineering’s 35-spline S-Trac is a torque-biased, mechanical, clutchless Posi-traction unit (PN N1980; $995). It uses helical gears for smooth and progressive power transfer. During a turn, the external force generates friction which slows the spinning tire and sends power to the tire with the most traction. According to Strange, the S-Trac will not interfere with our car’s steering. It’s claimed to be quiet, dependable, and maintenance free with a lifetime breakage warranty. Strange told us the HD Pro 9, 35-spline axles, and S-Trac are some of their most well-rounded products which will handle street, drag, and the road course with ease.

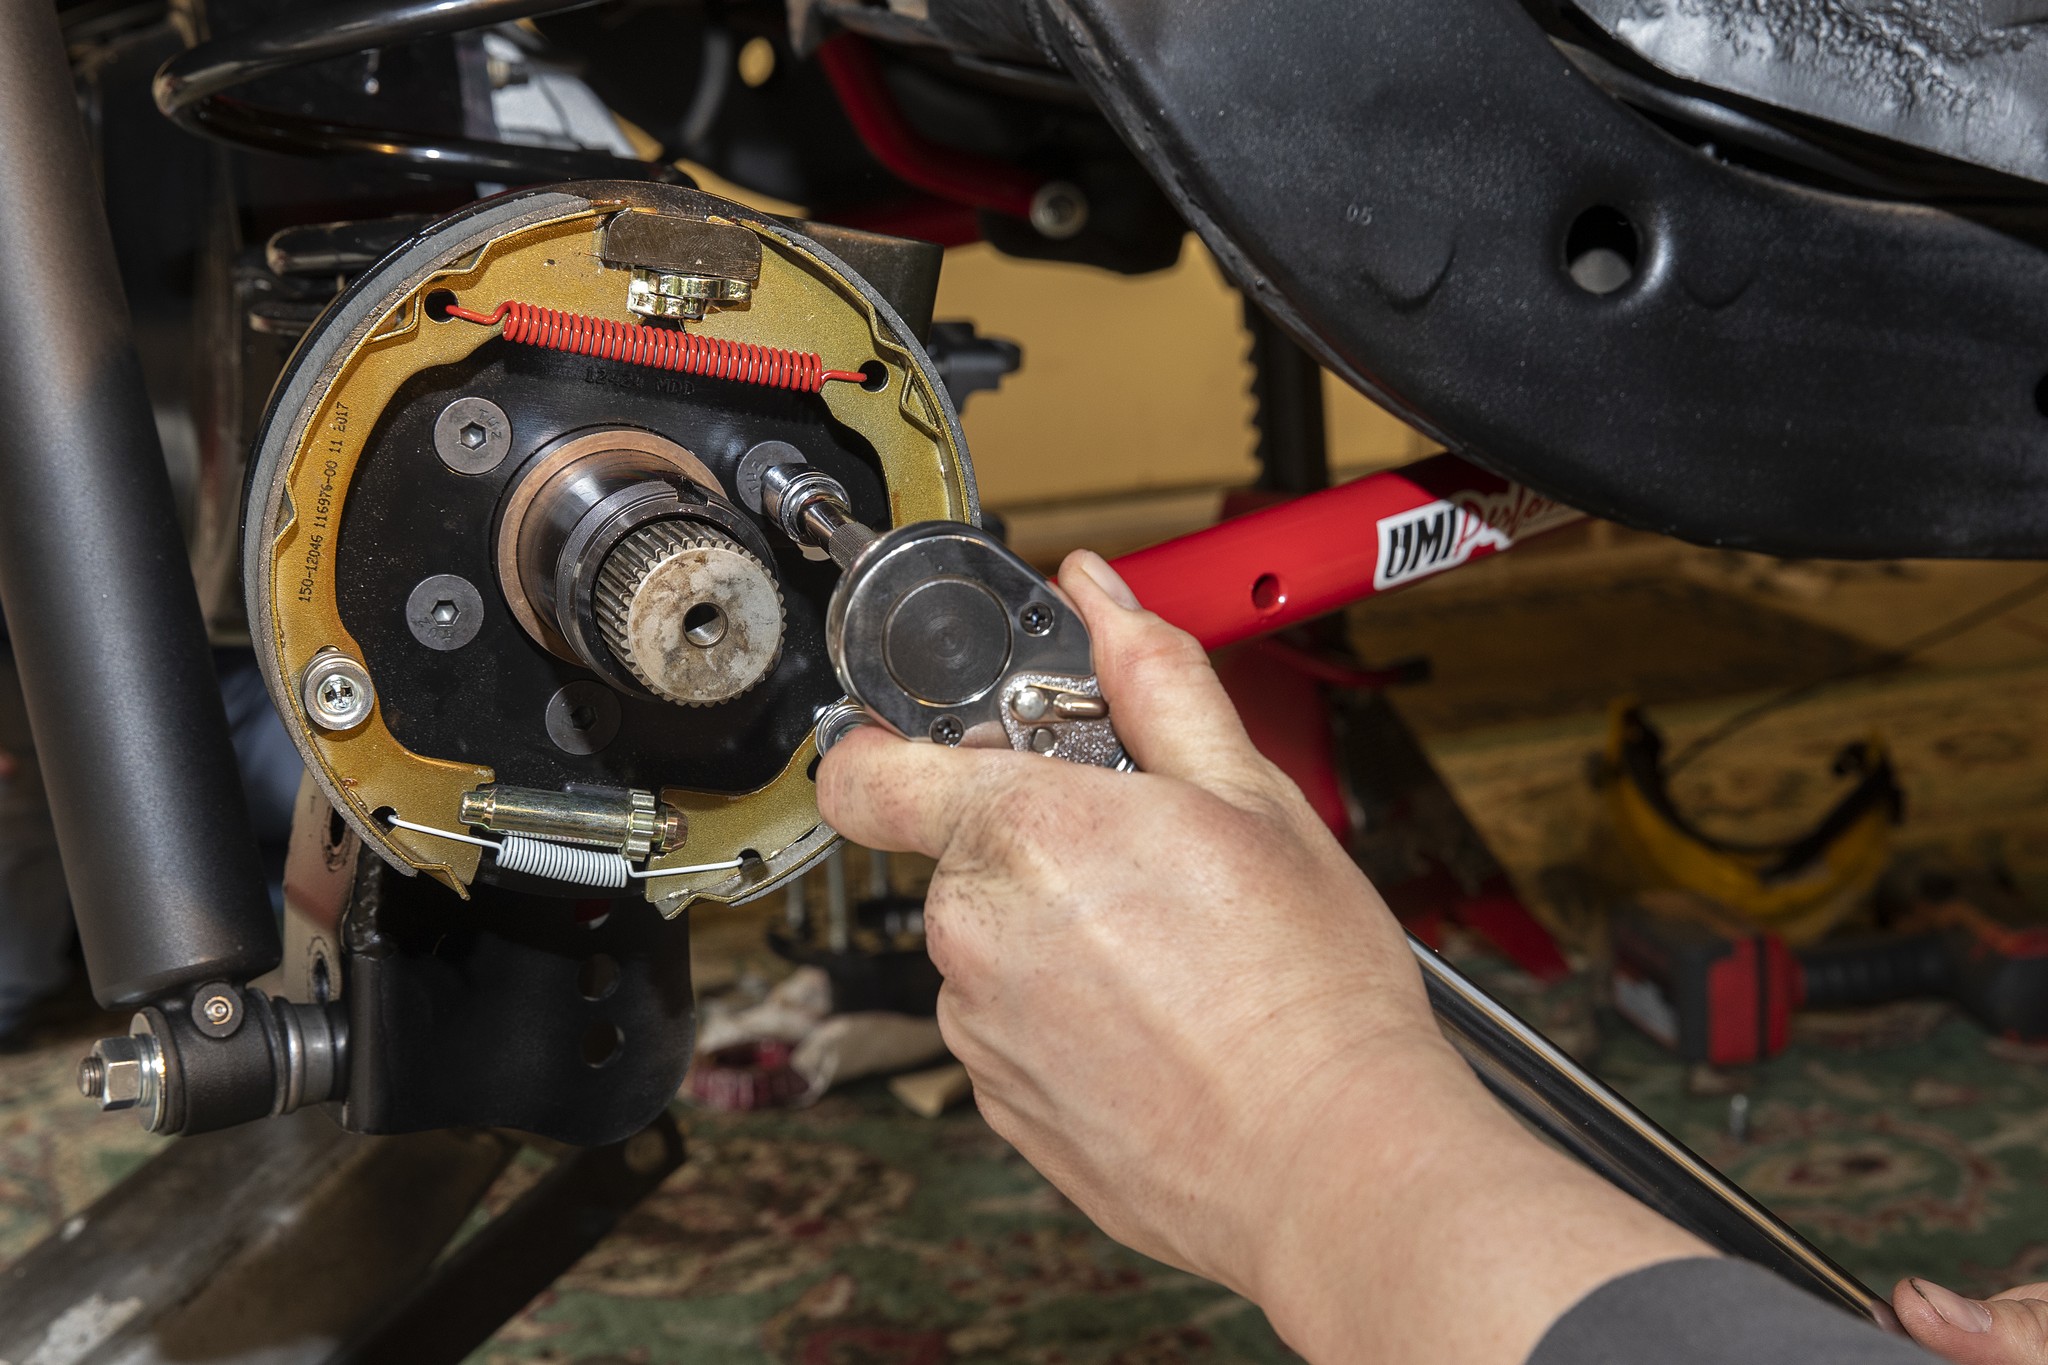
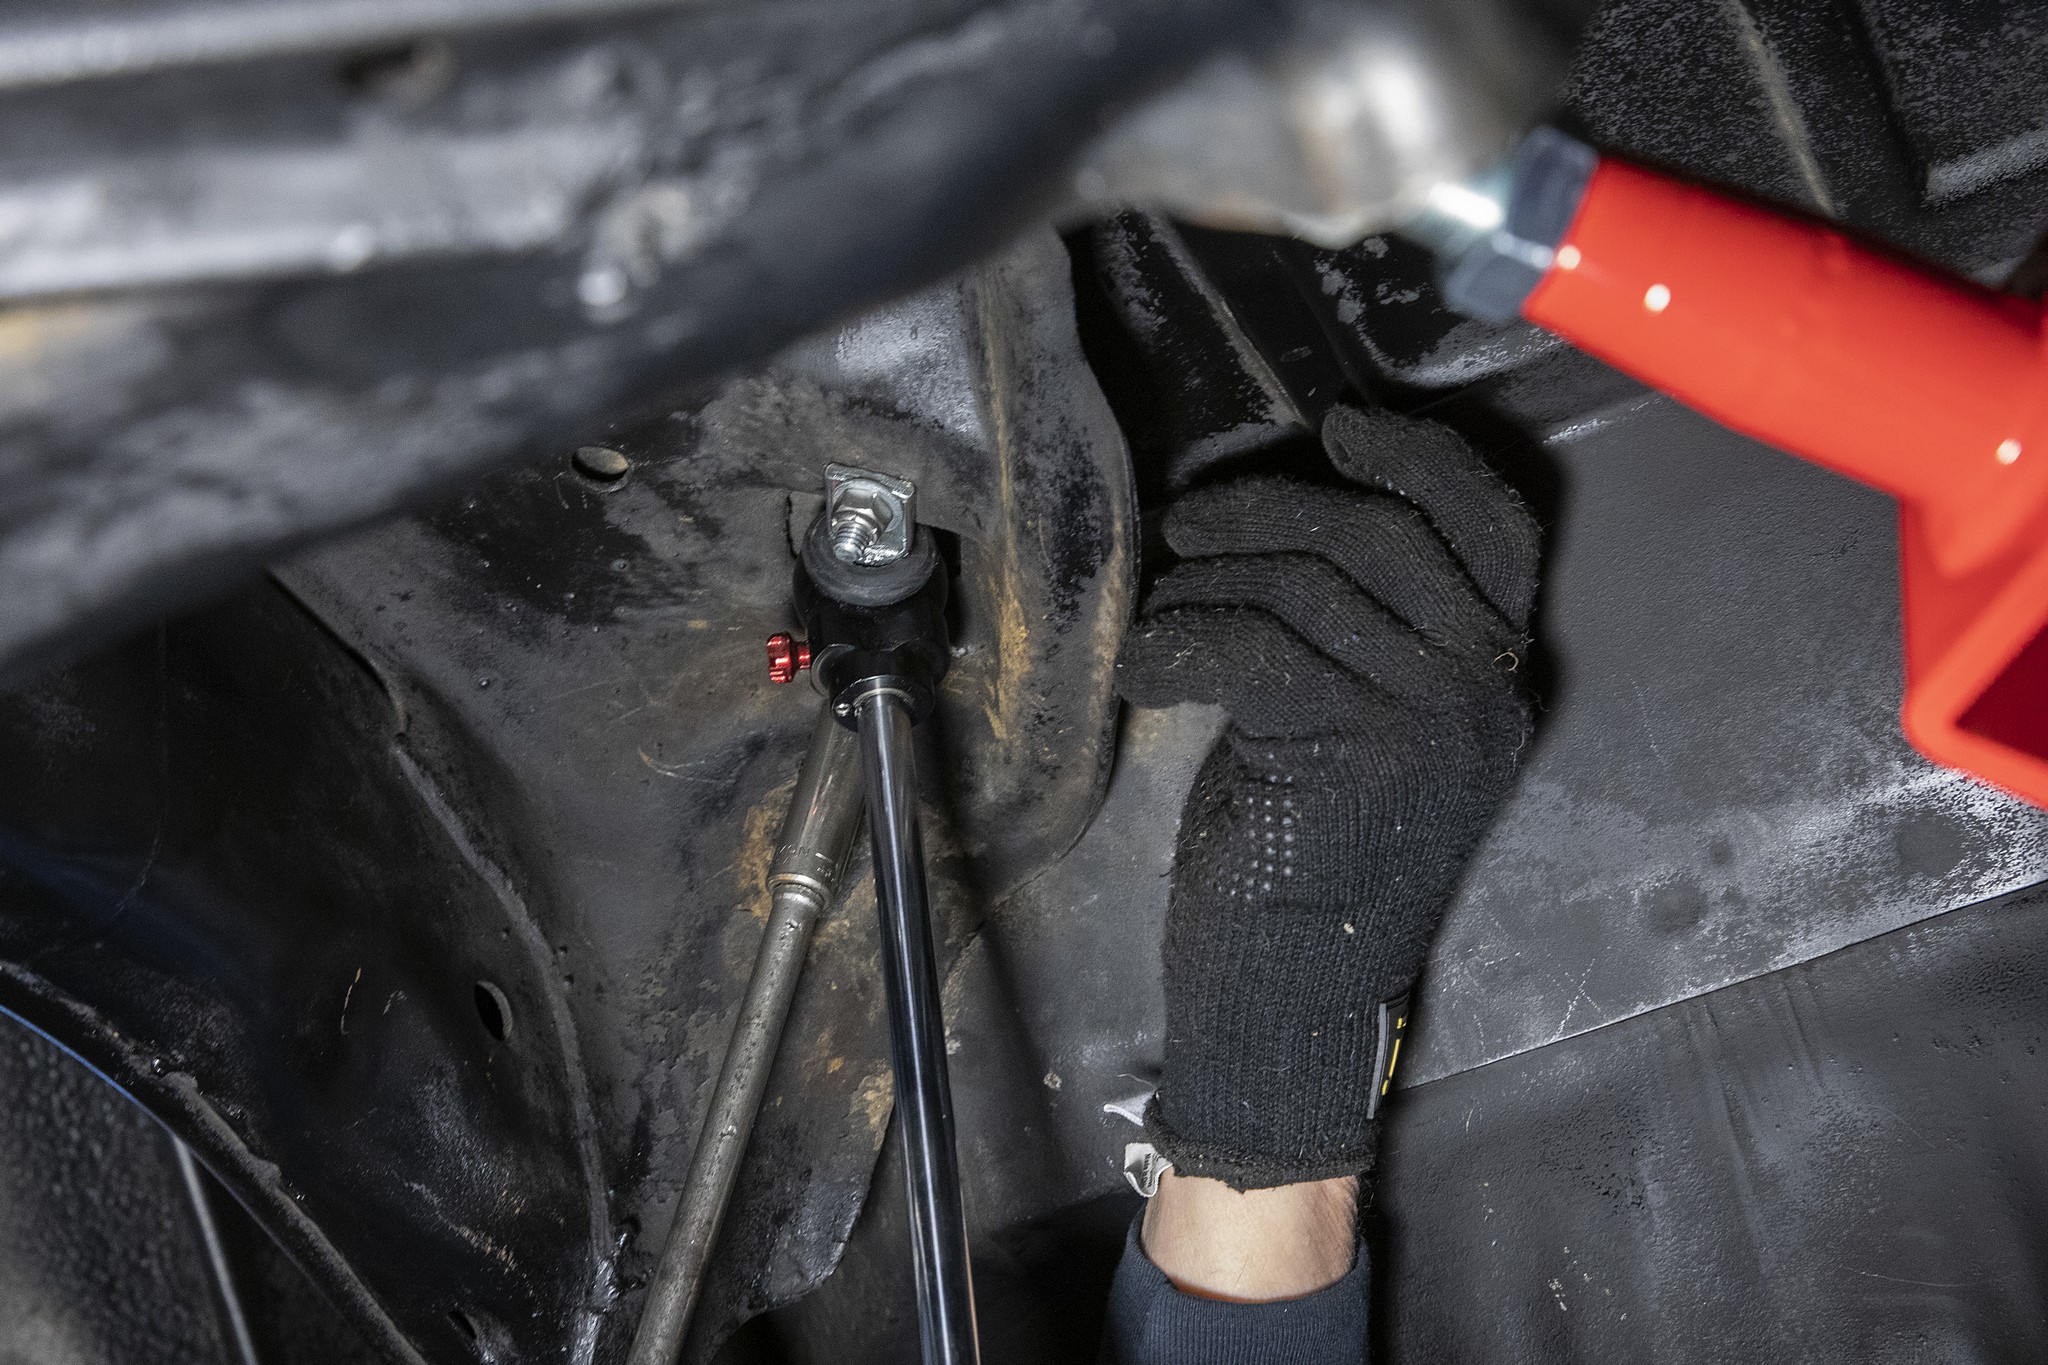
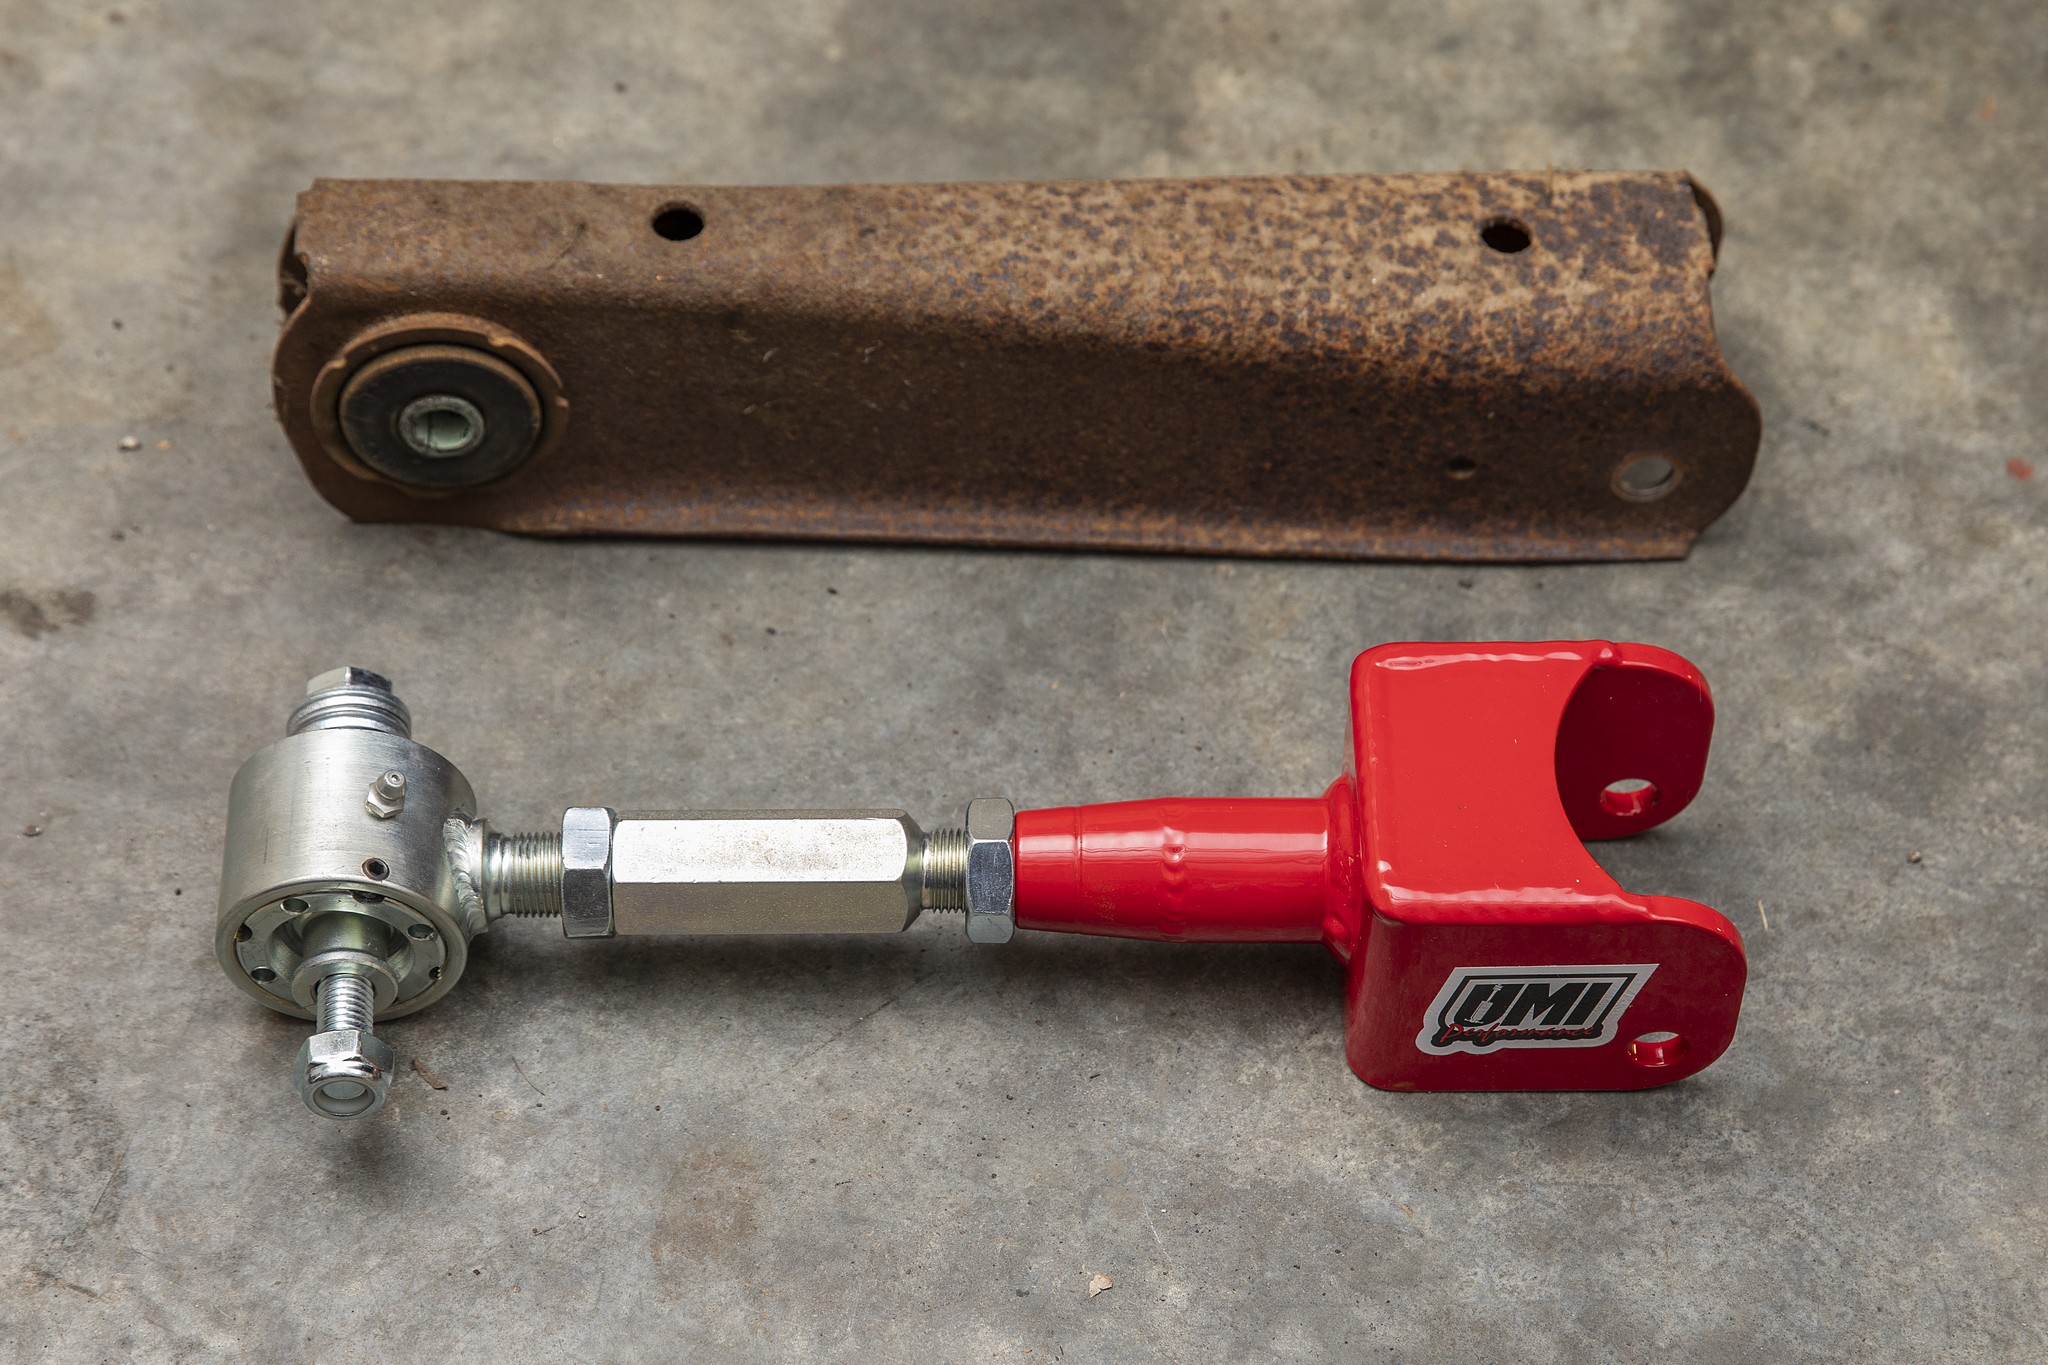
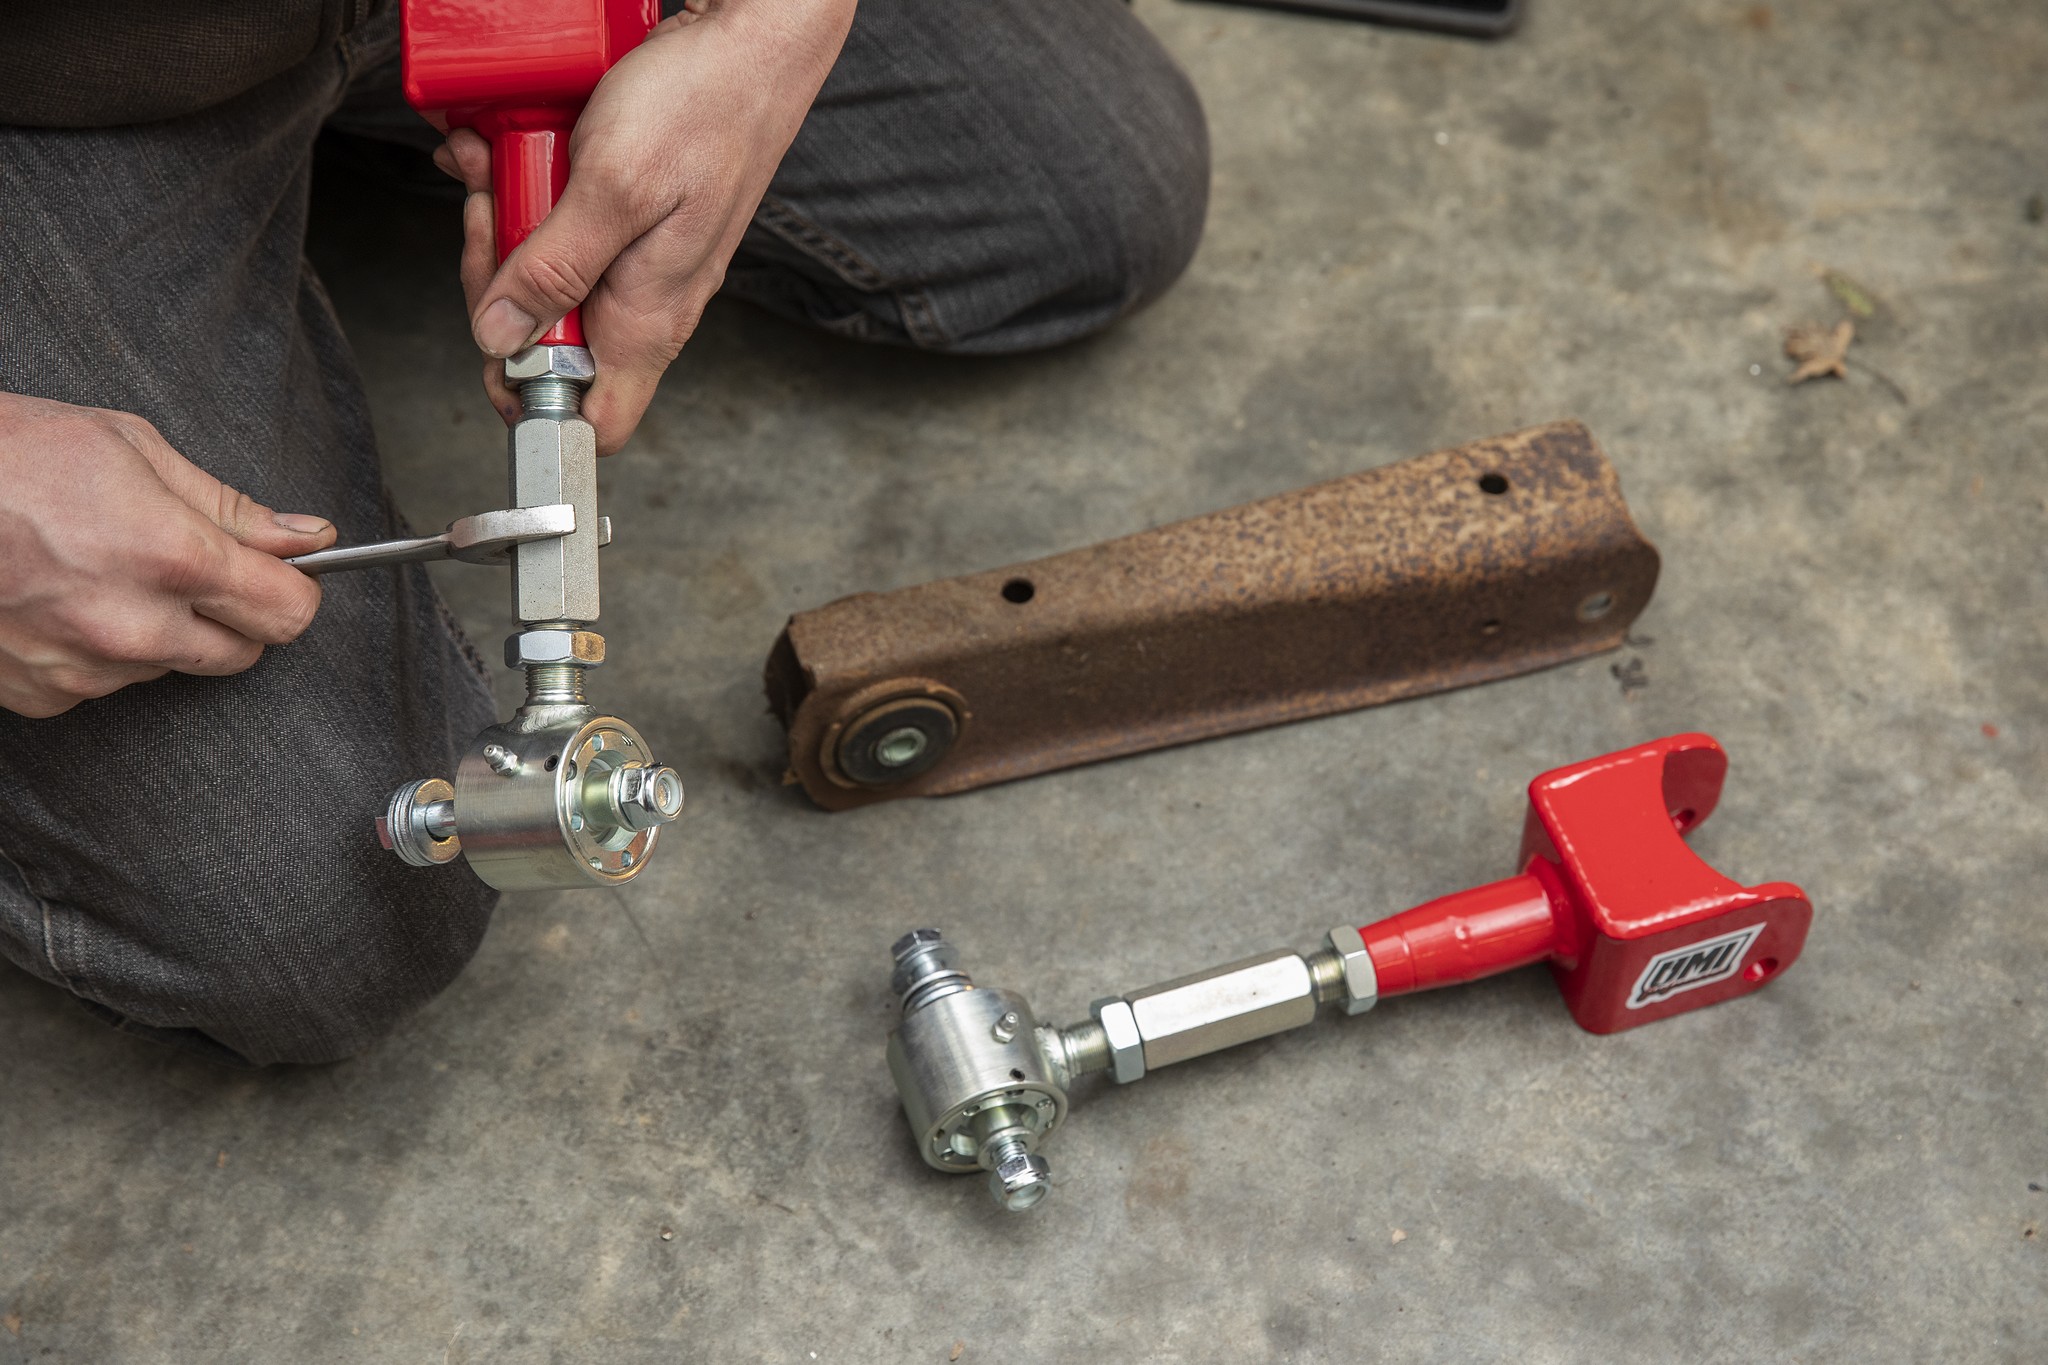
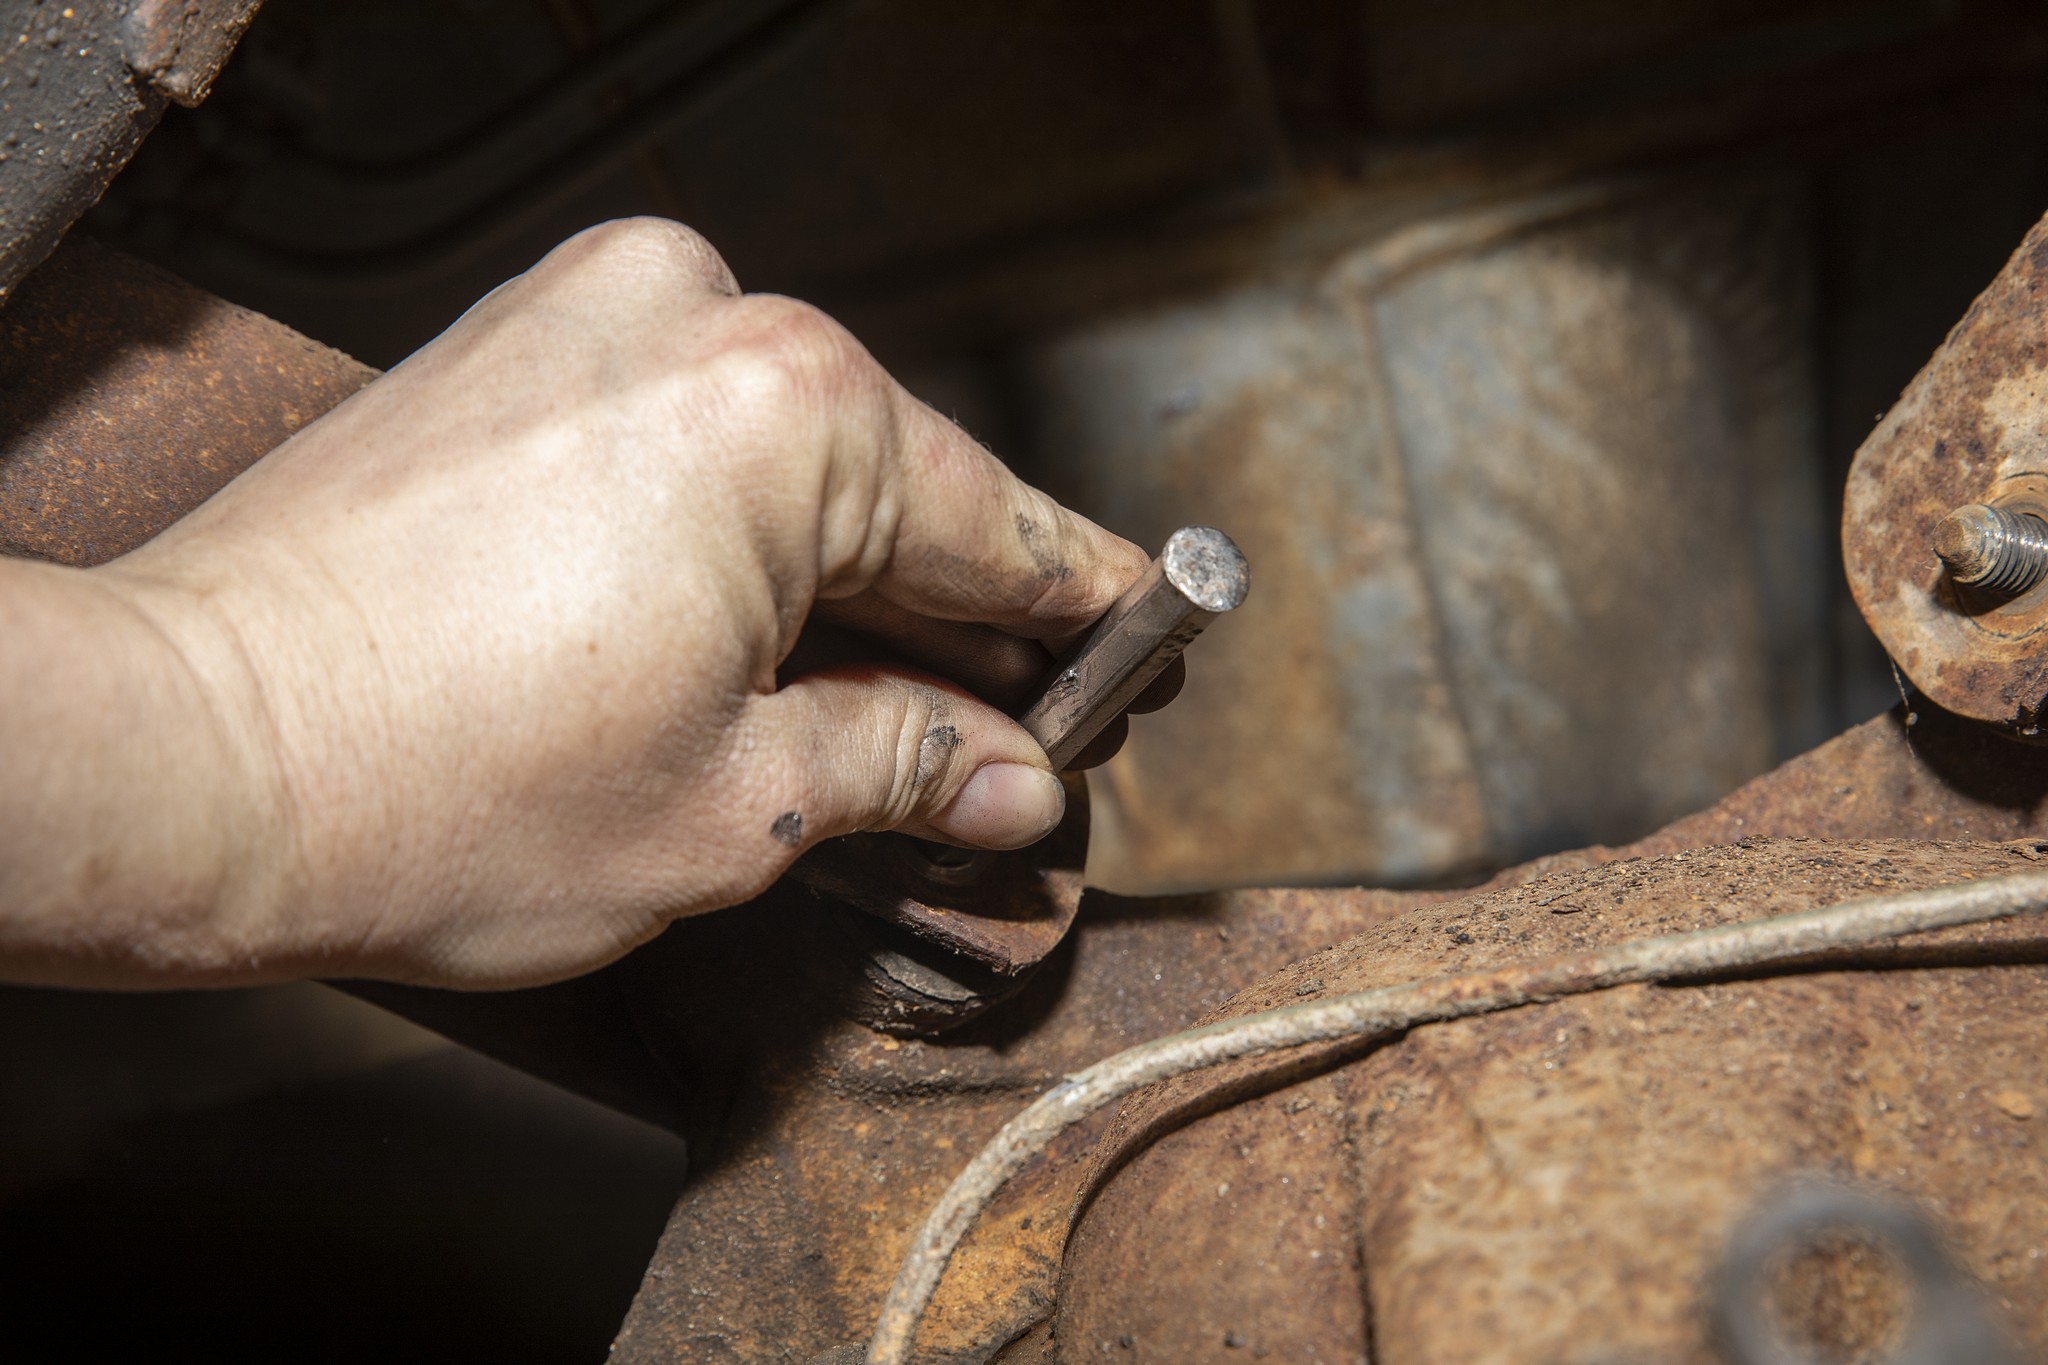
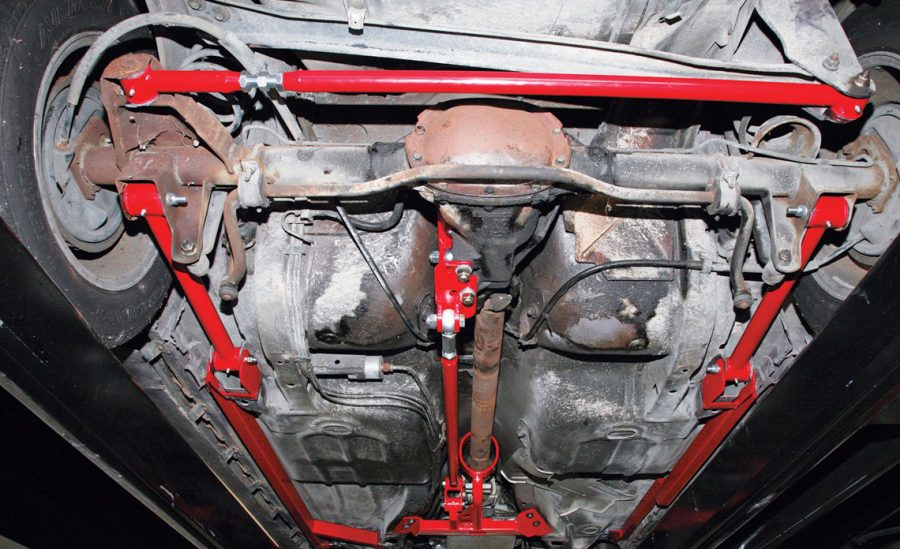
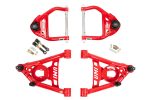
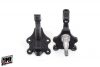
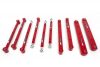
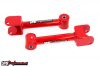
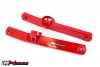
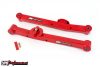
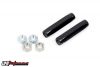
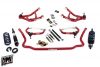
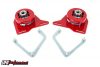
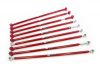
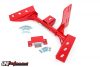
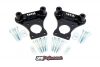
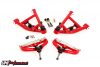
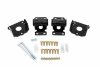
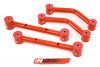
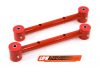
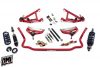
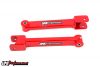
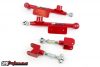
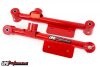
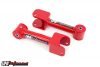
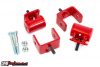
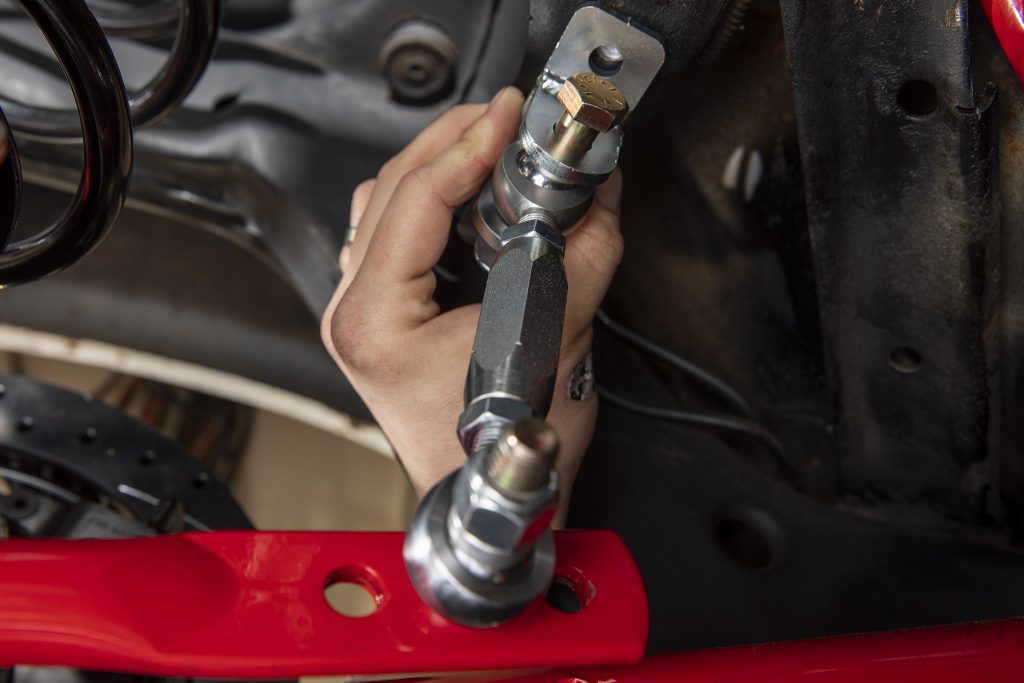
We started by installing our UMI upper controls arms onto the rear axle. The adjustability will allow us to change the pinion angle for the new LS1. We’re running Moog replacement bushing in the rear axle, but you can use UMI Performance Roto-Joints here too. Strange Engineering recommended a ball-joint installer tool which we rented from a local auto parts store for free. Remember to swing your grease fitting where you can access it later.
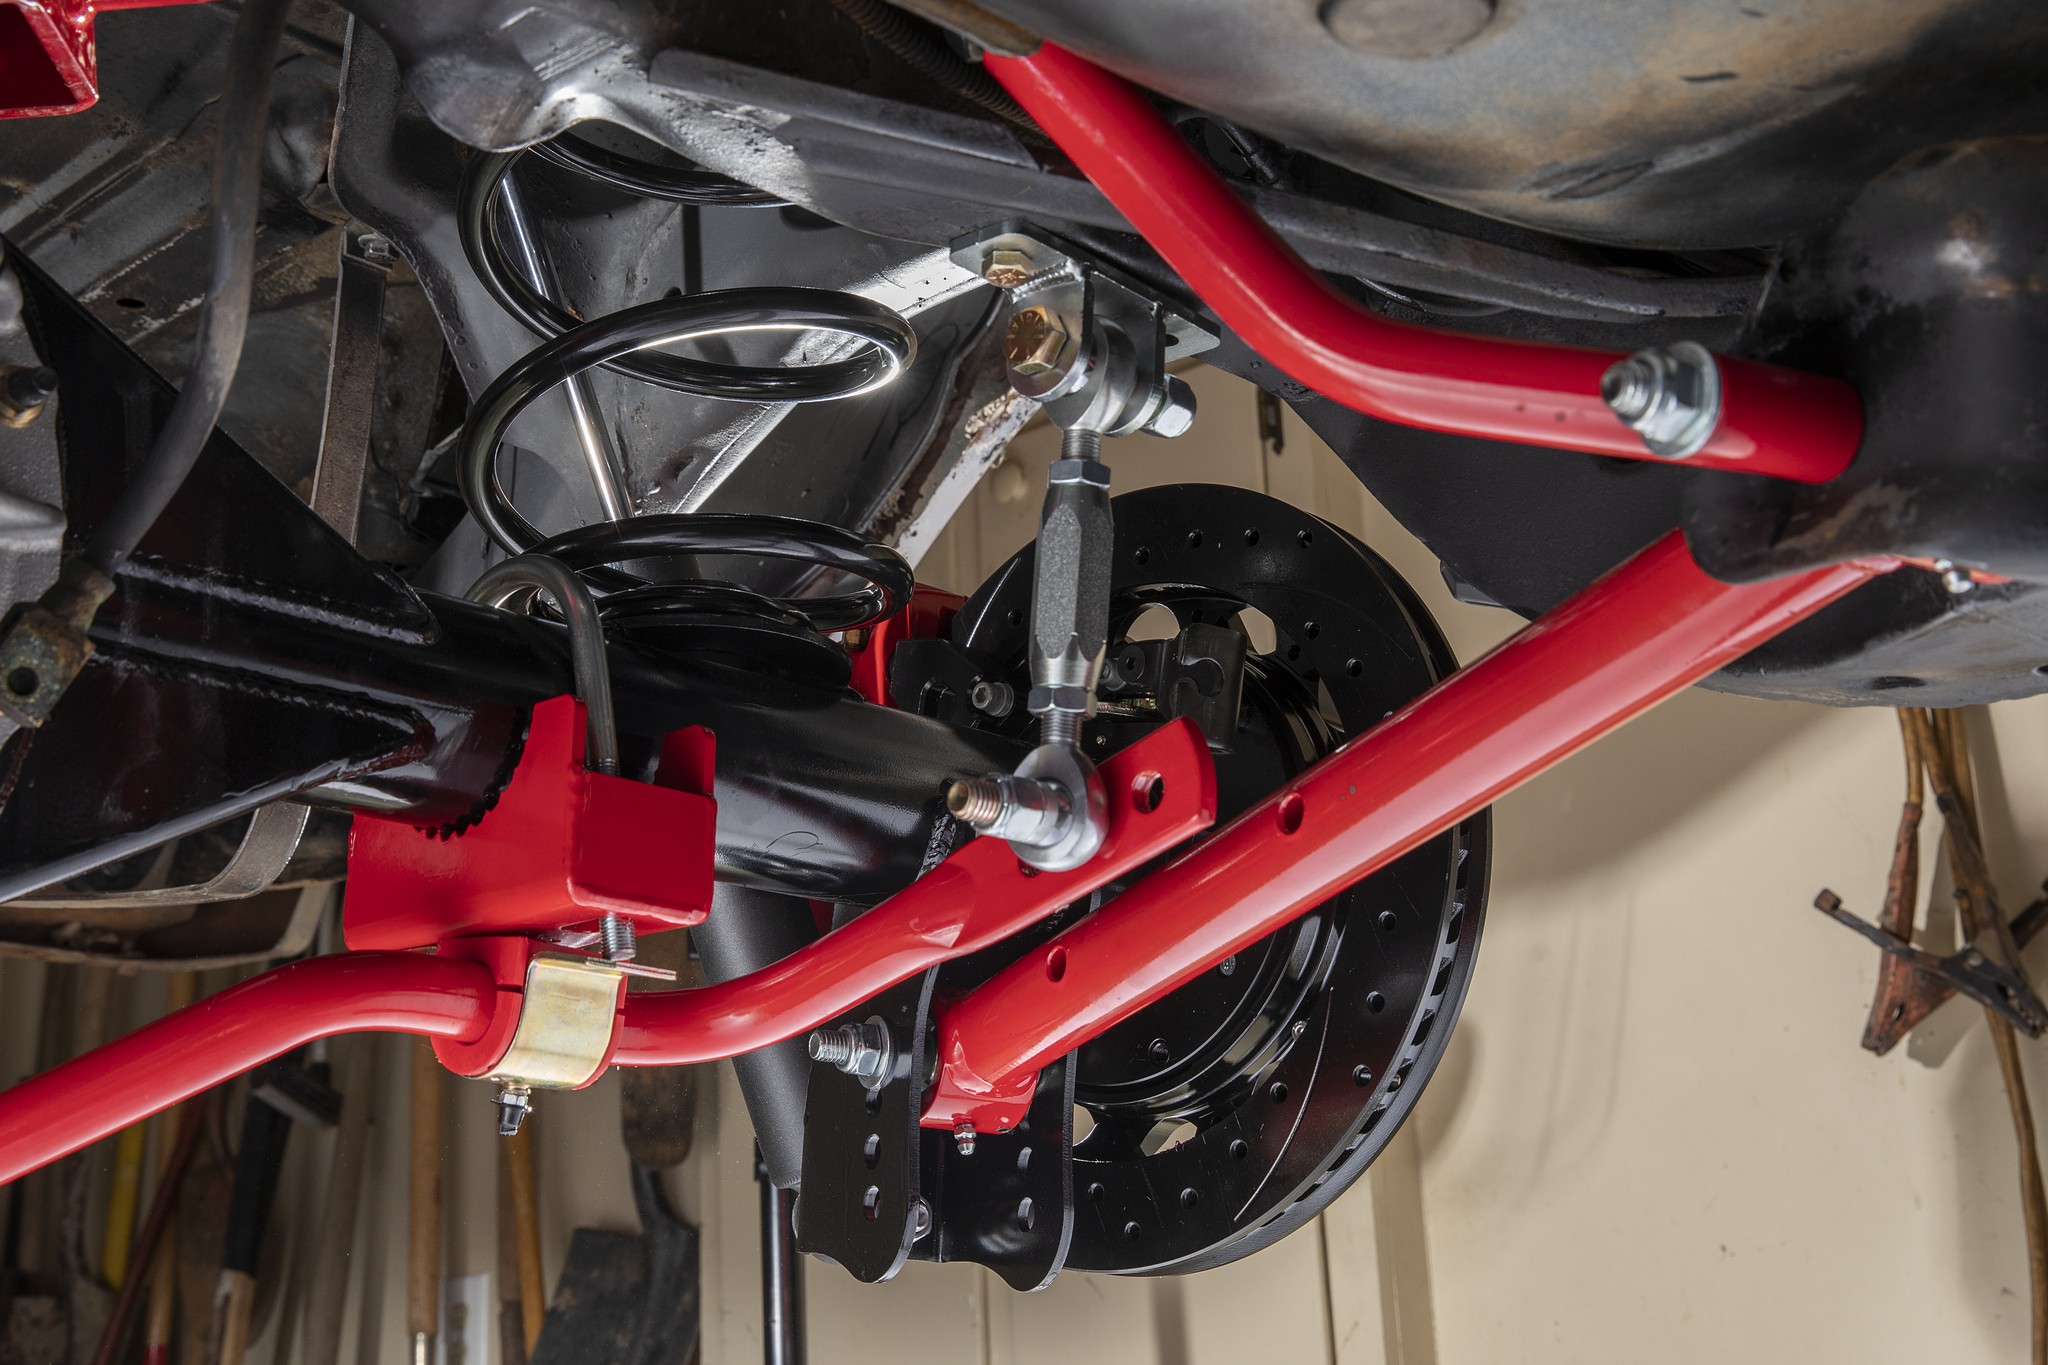
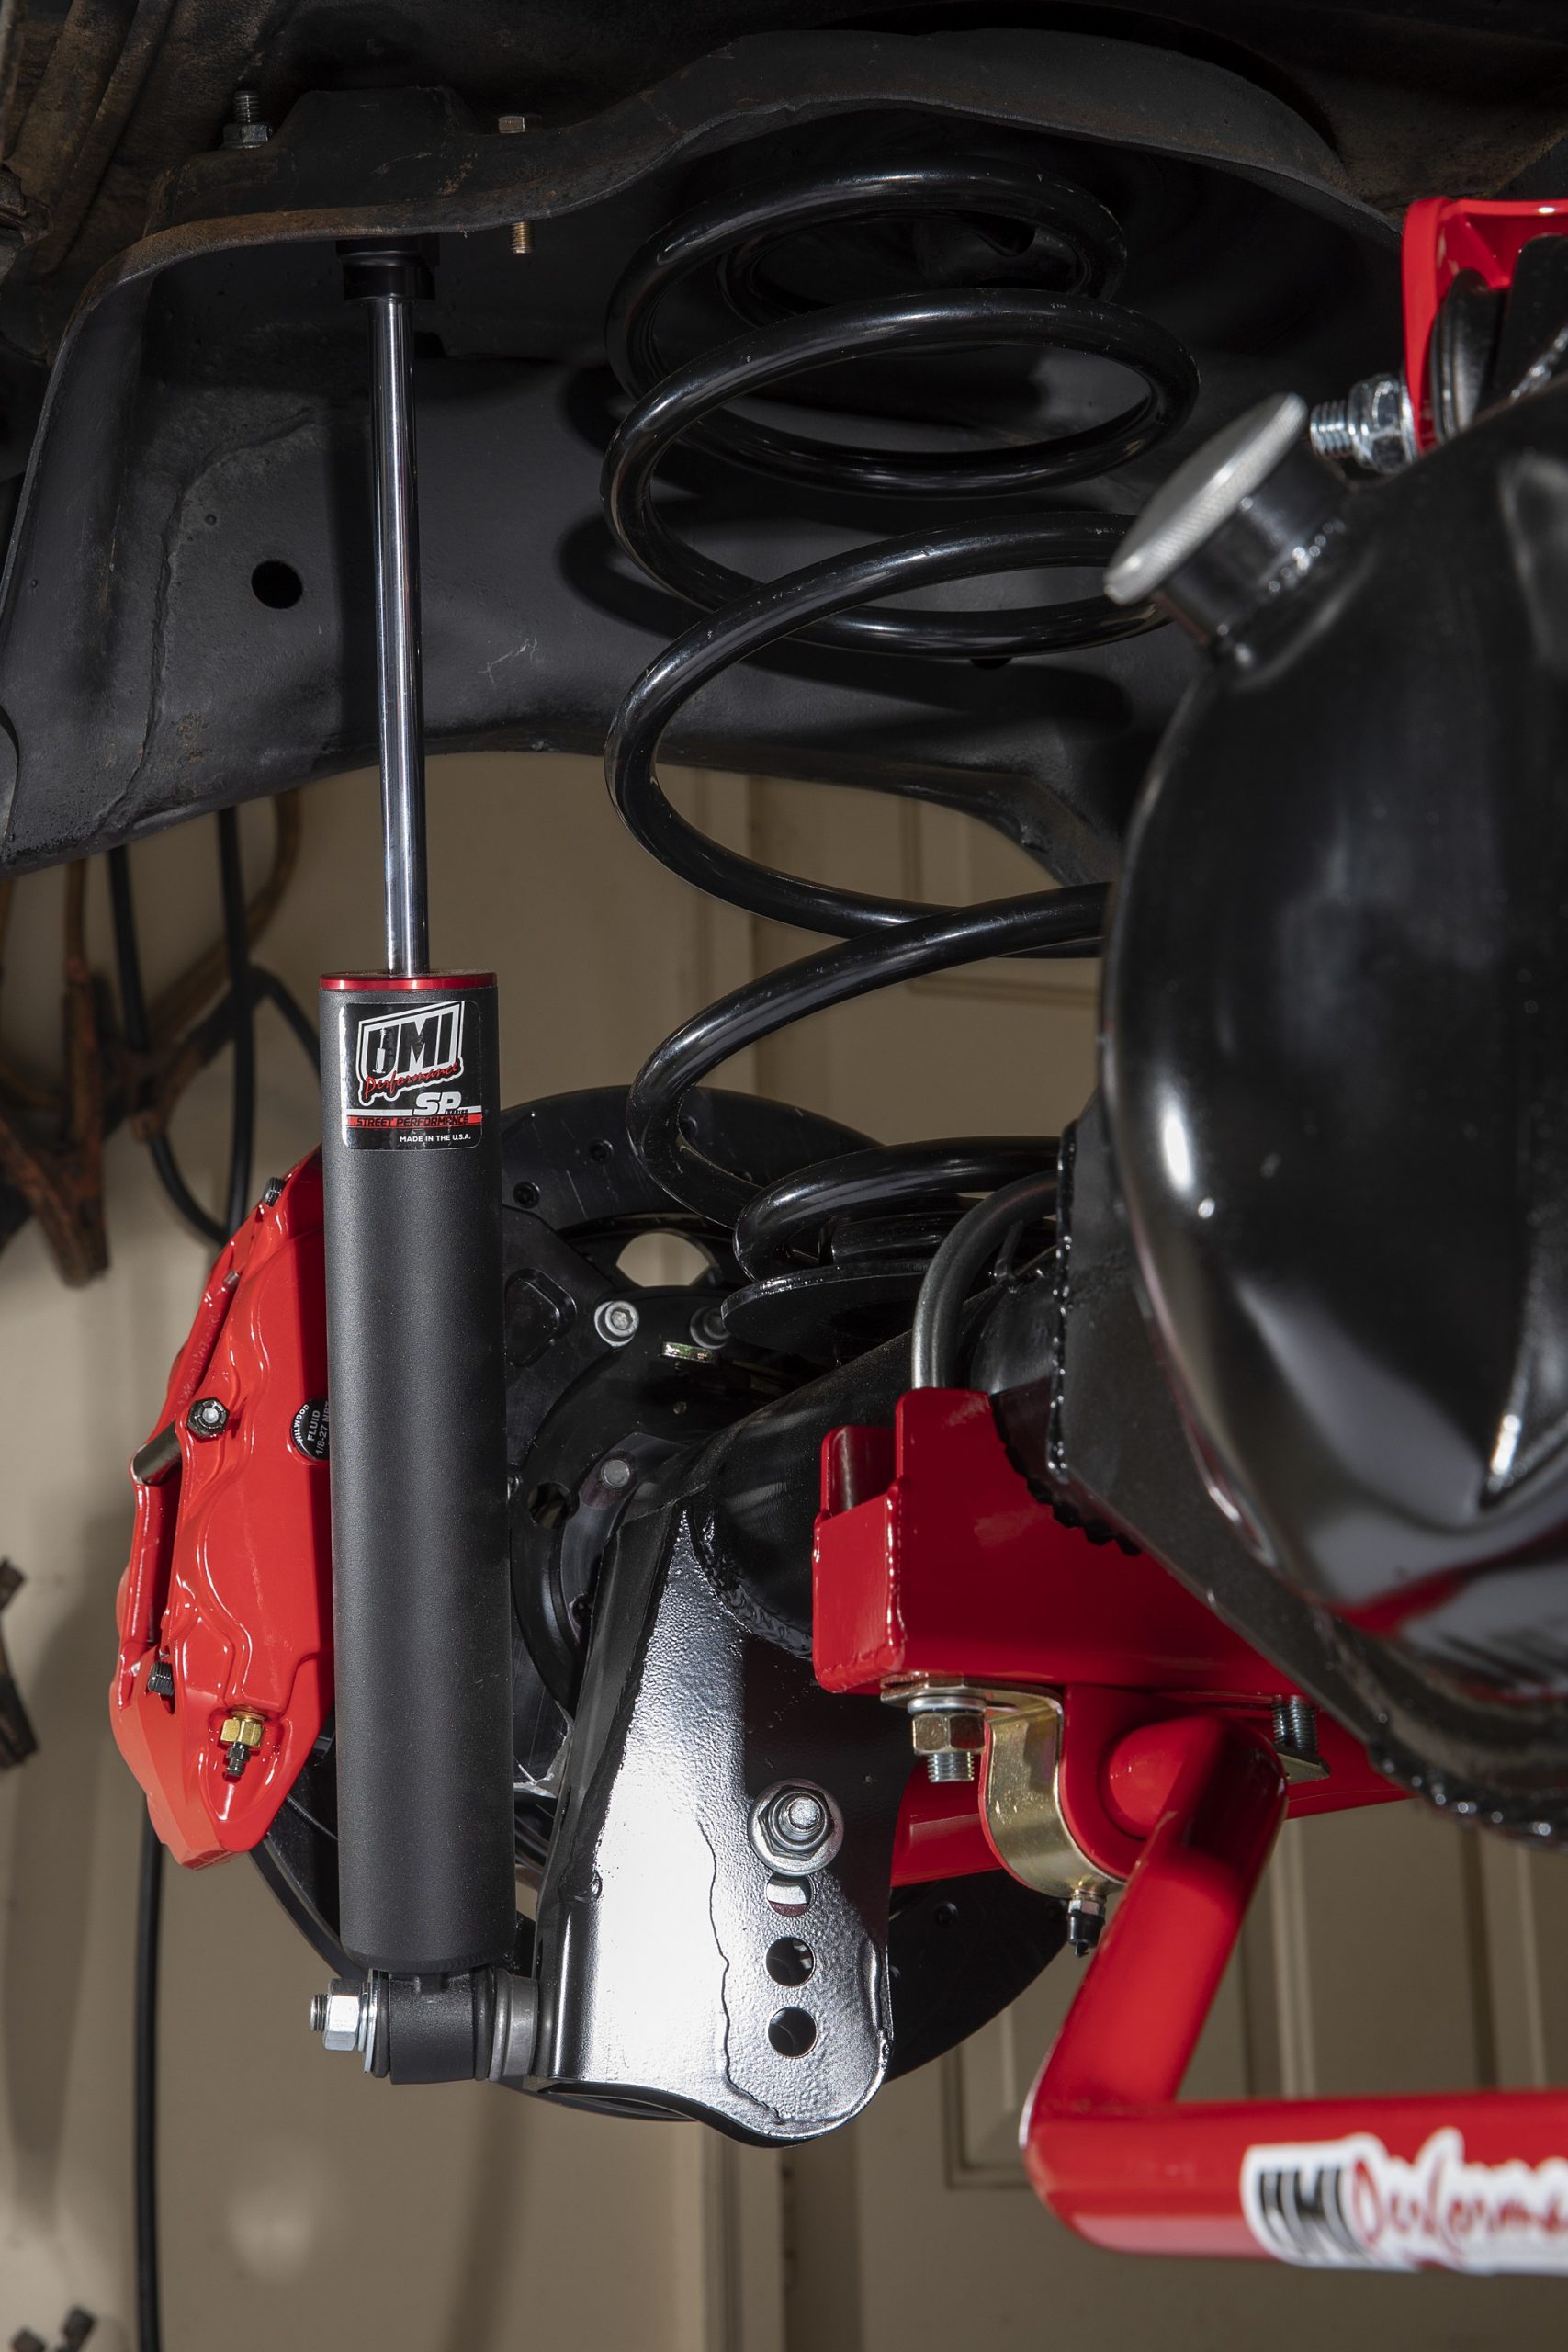
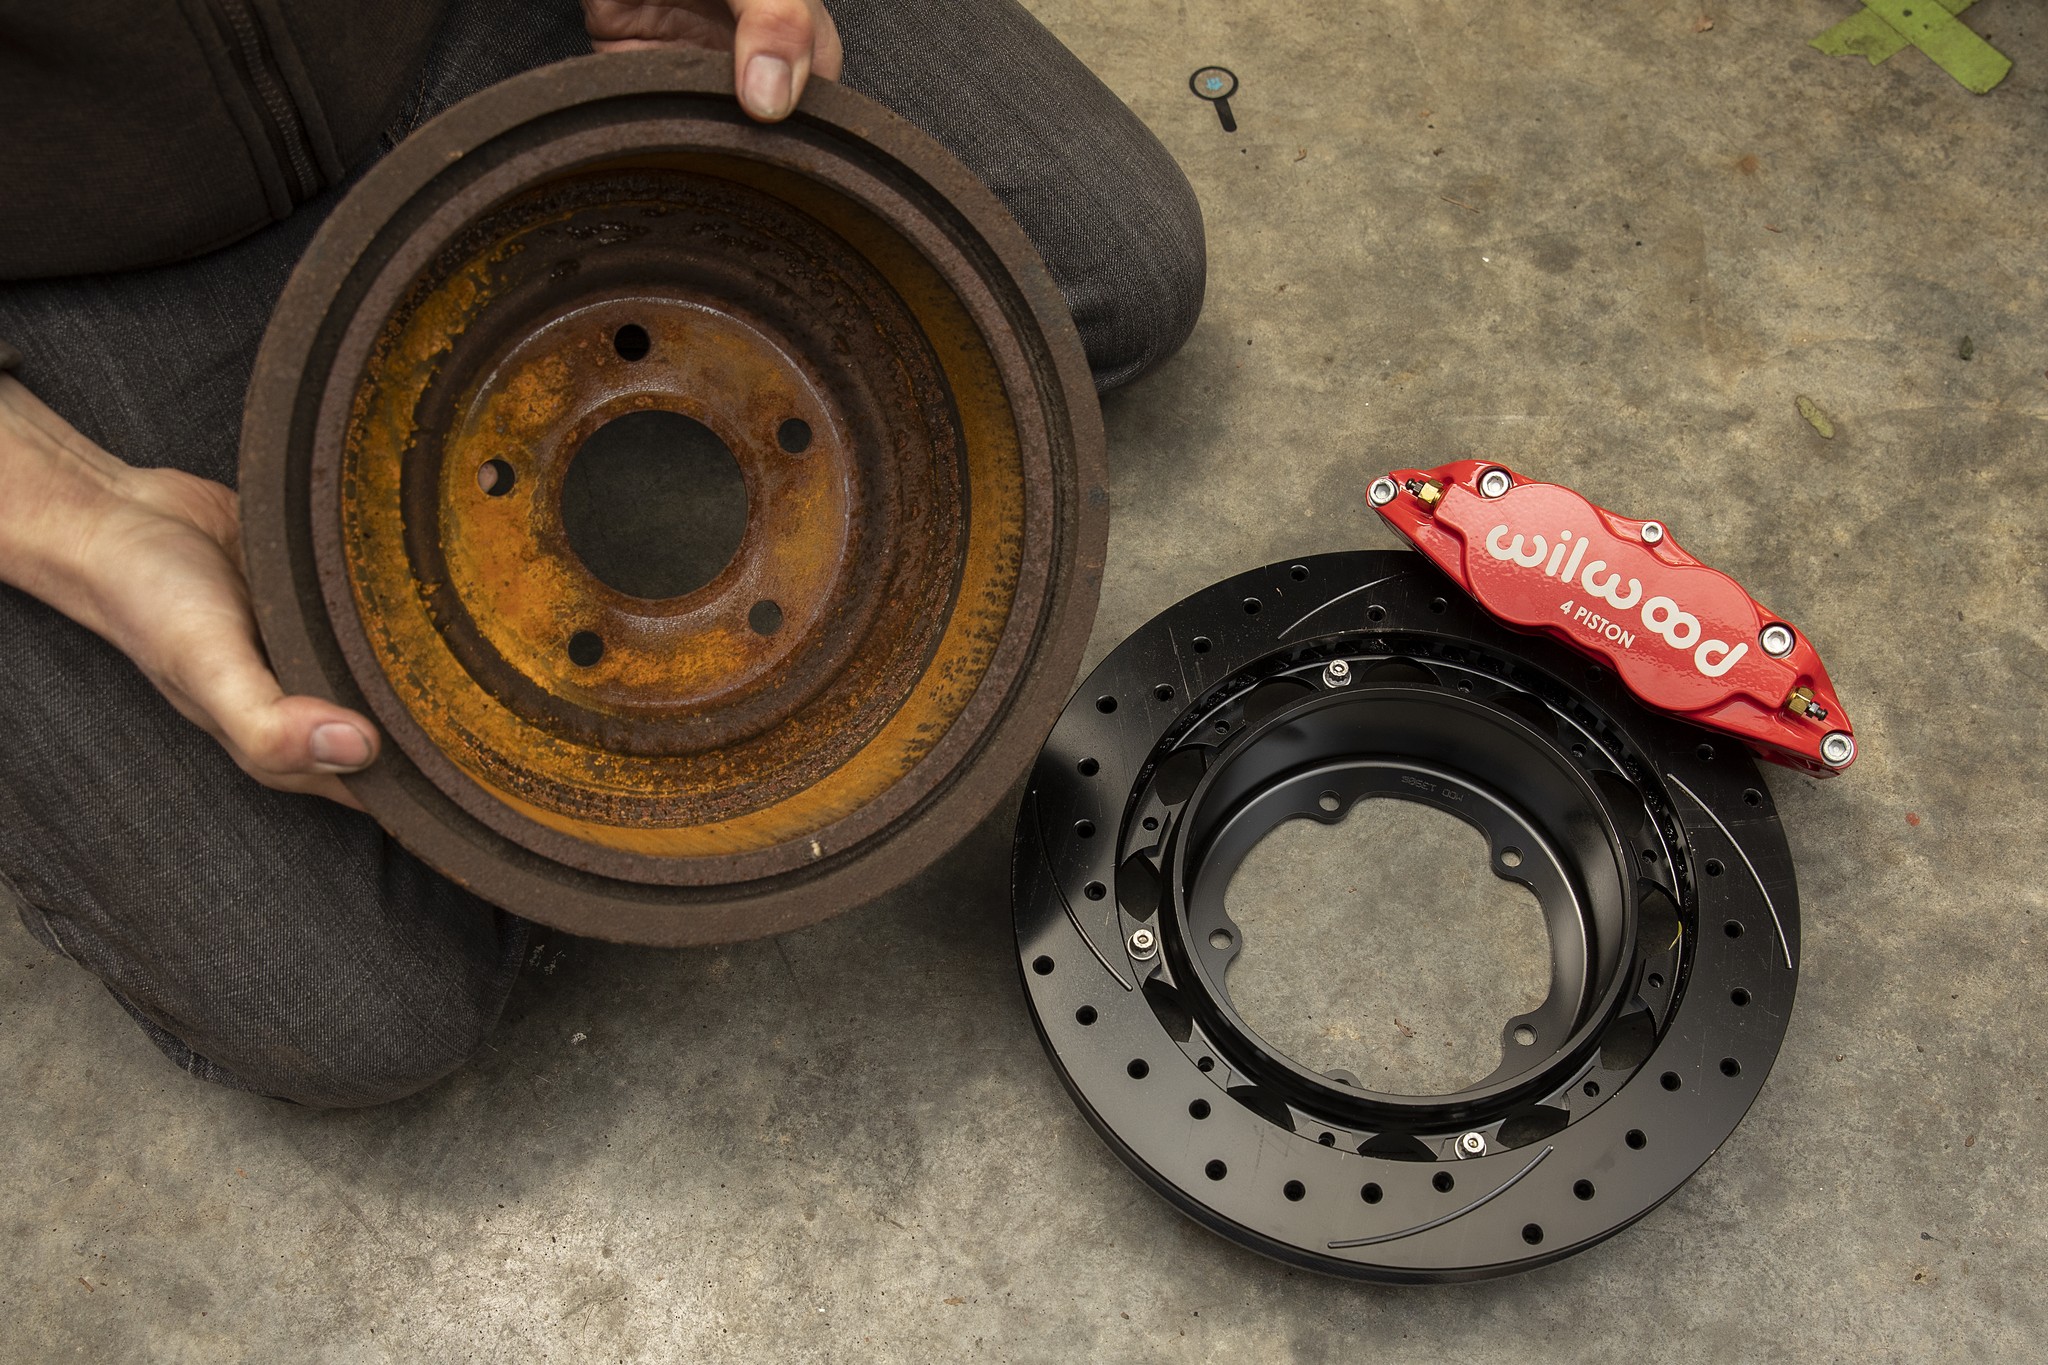
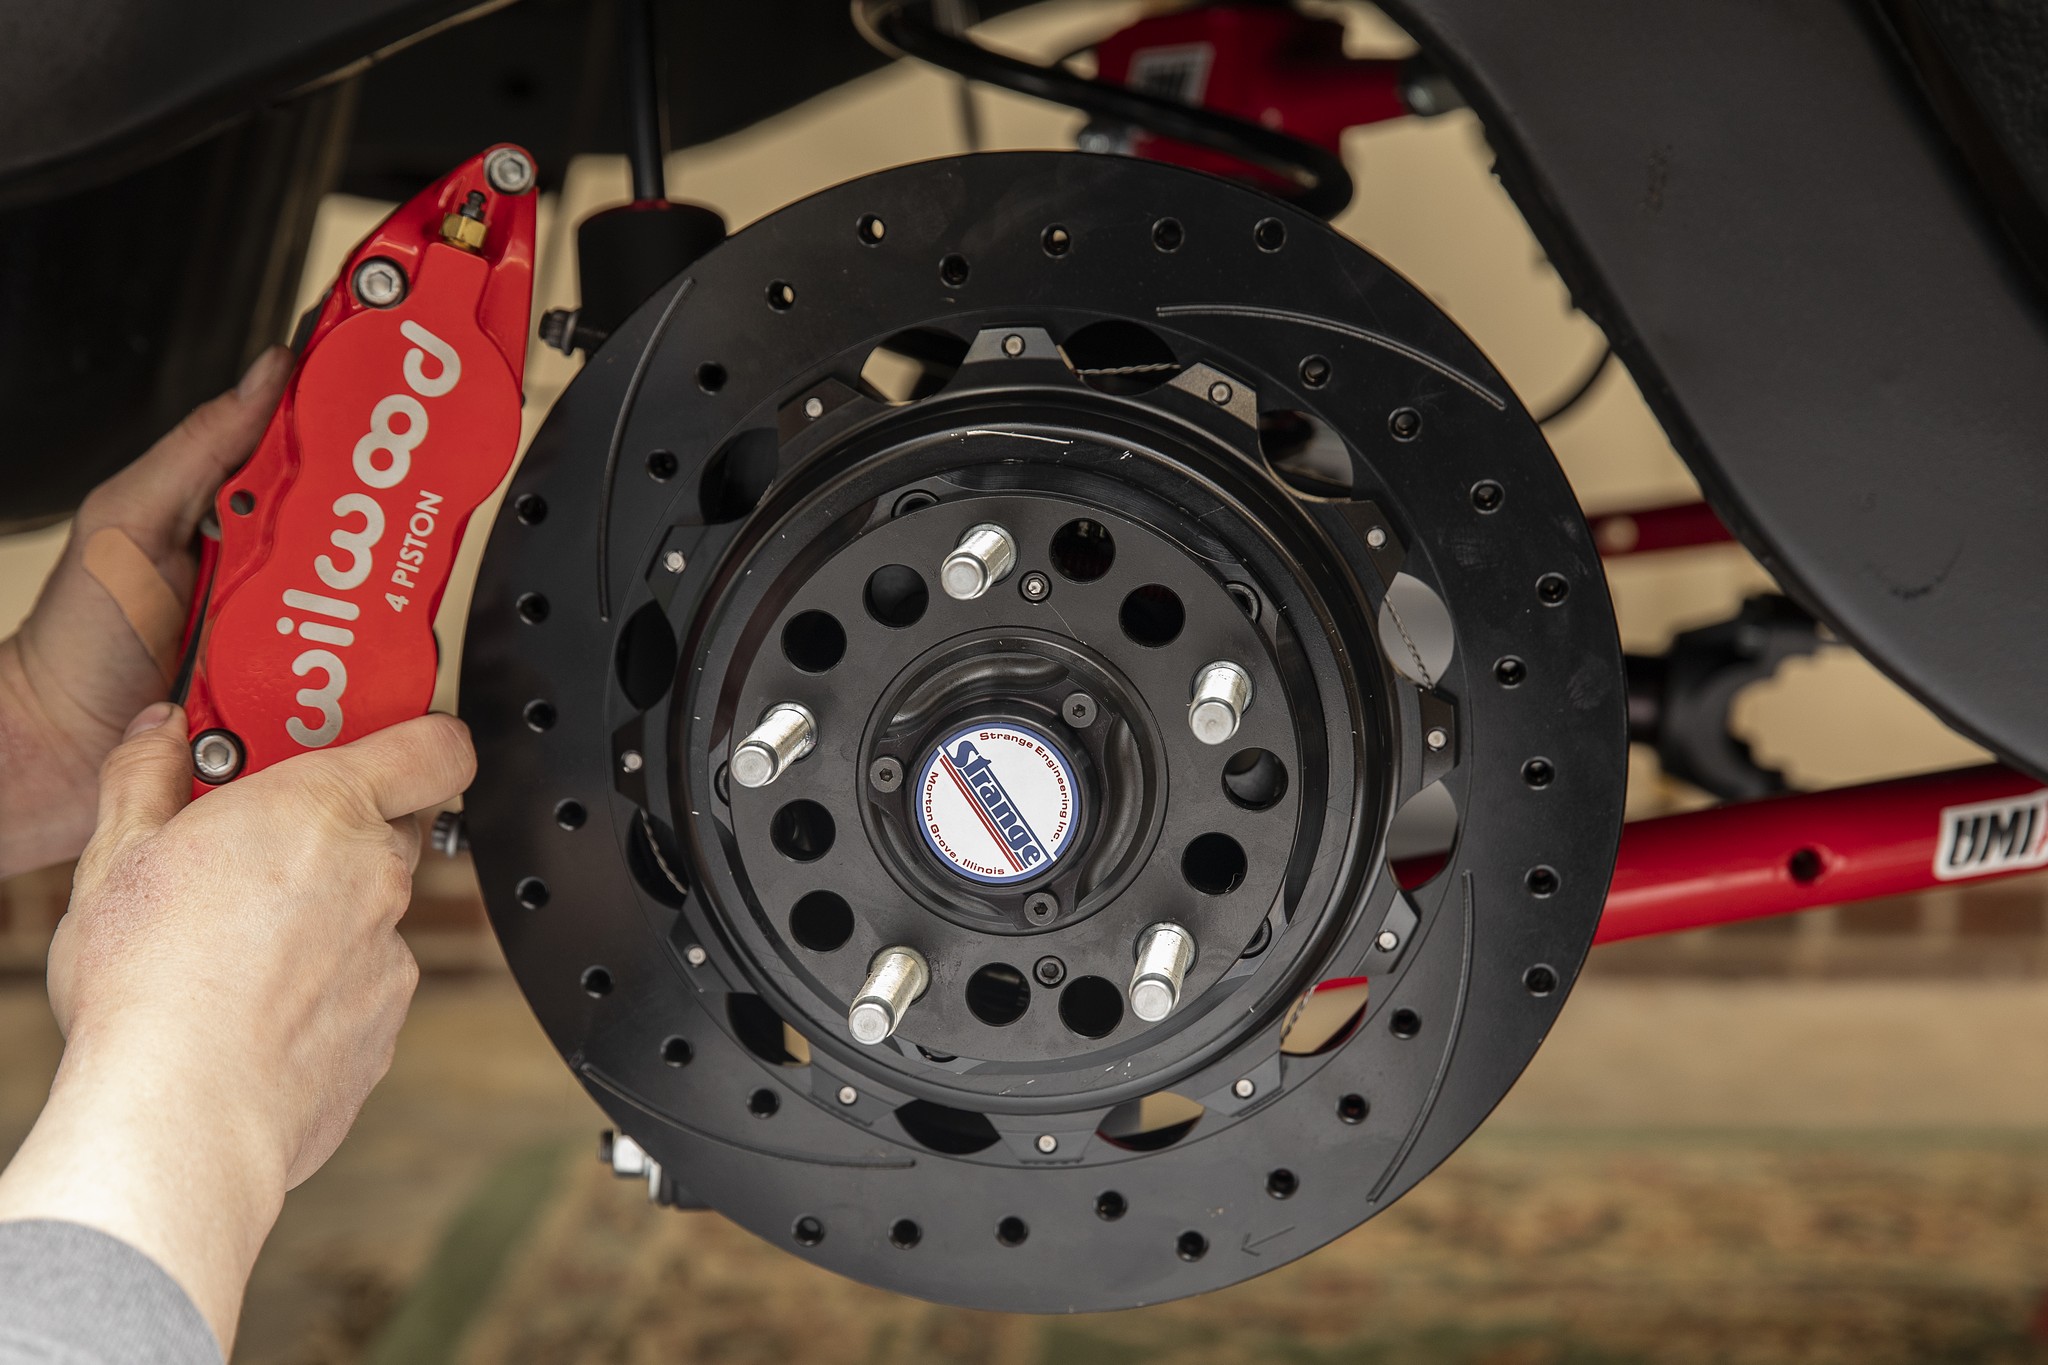
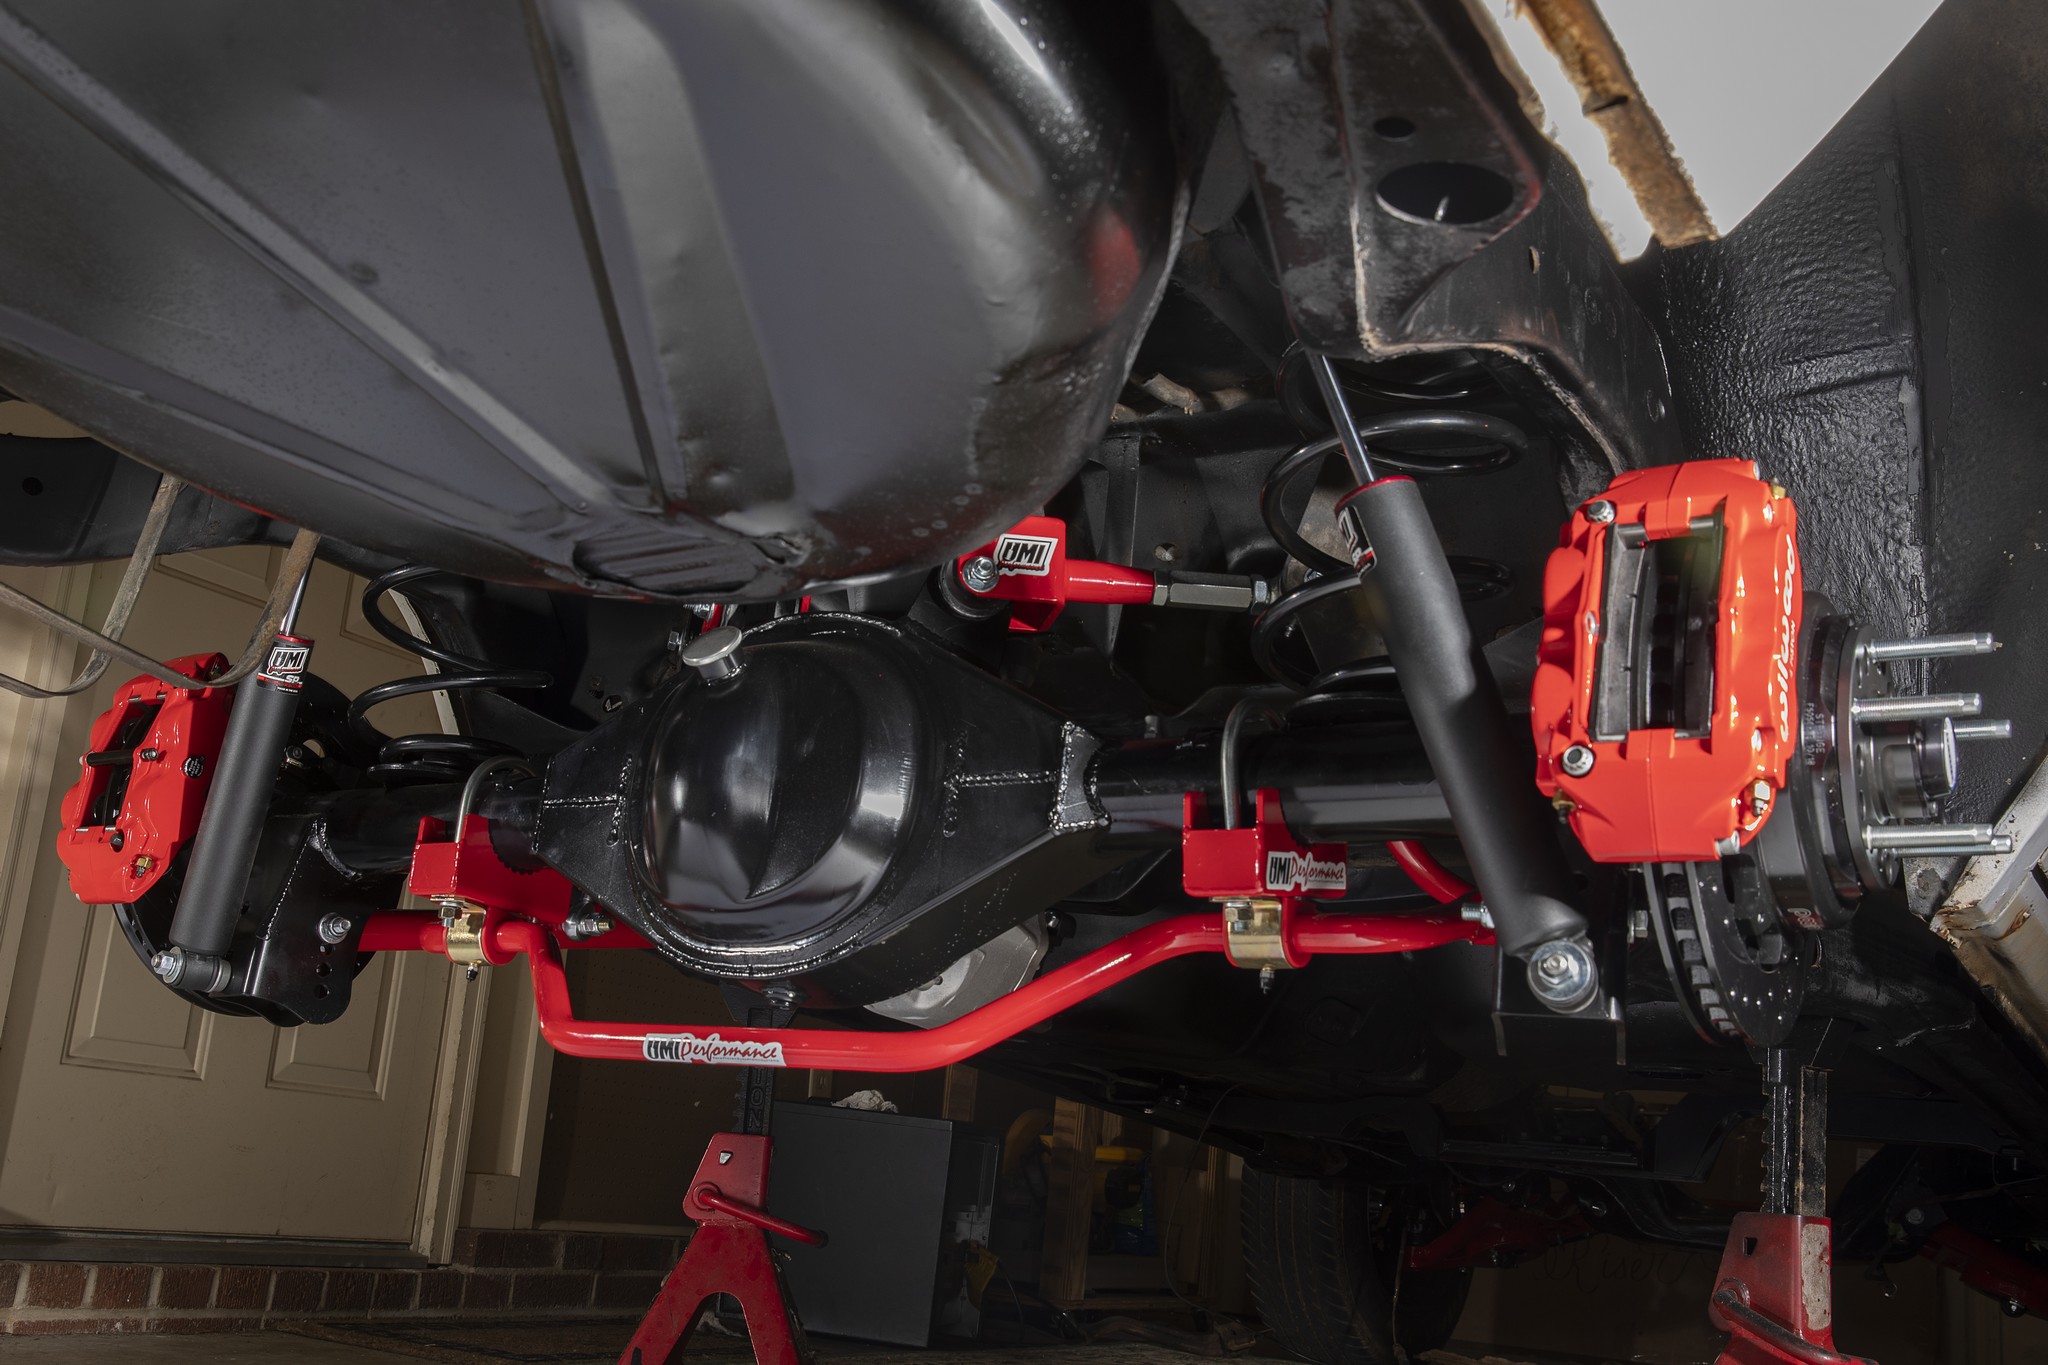
Strange Engineering and Wilwood developed a floater brake package with six different options, ranging from $900 to $2,100. Our Superlite 4R 4-piston caliper, 13-inch drilled, slotted, and Electro-coated rotors pair with our front system, which uses the same rotors and 6-piston calipers.

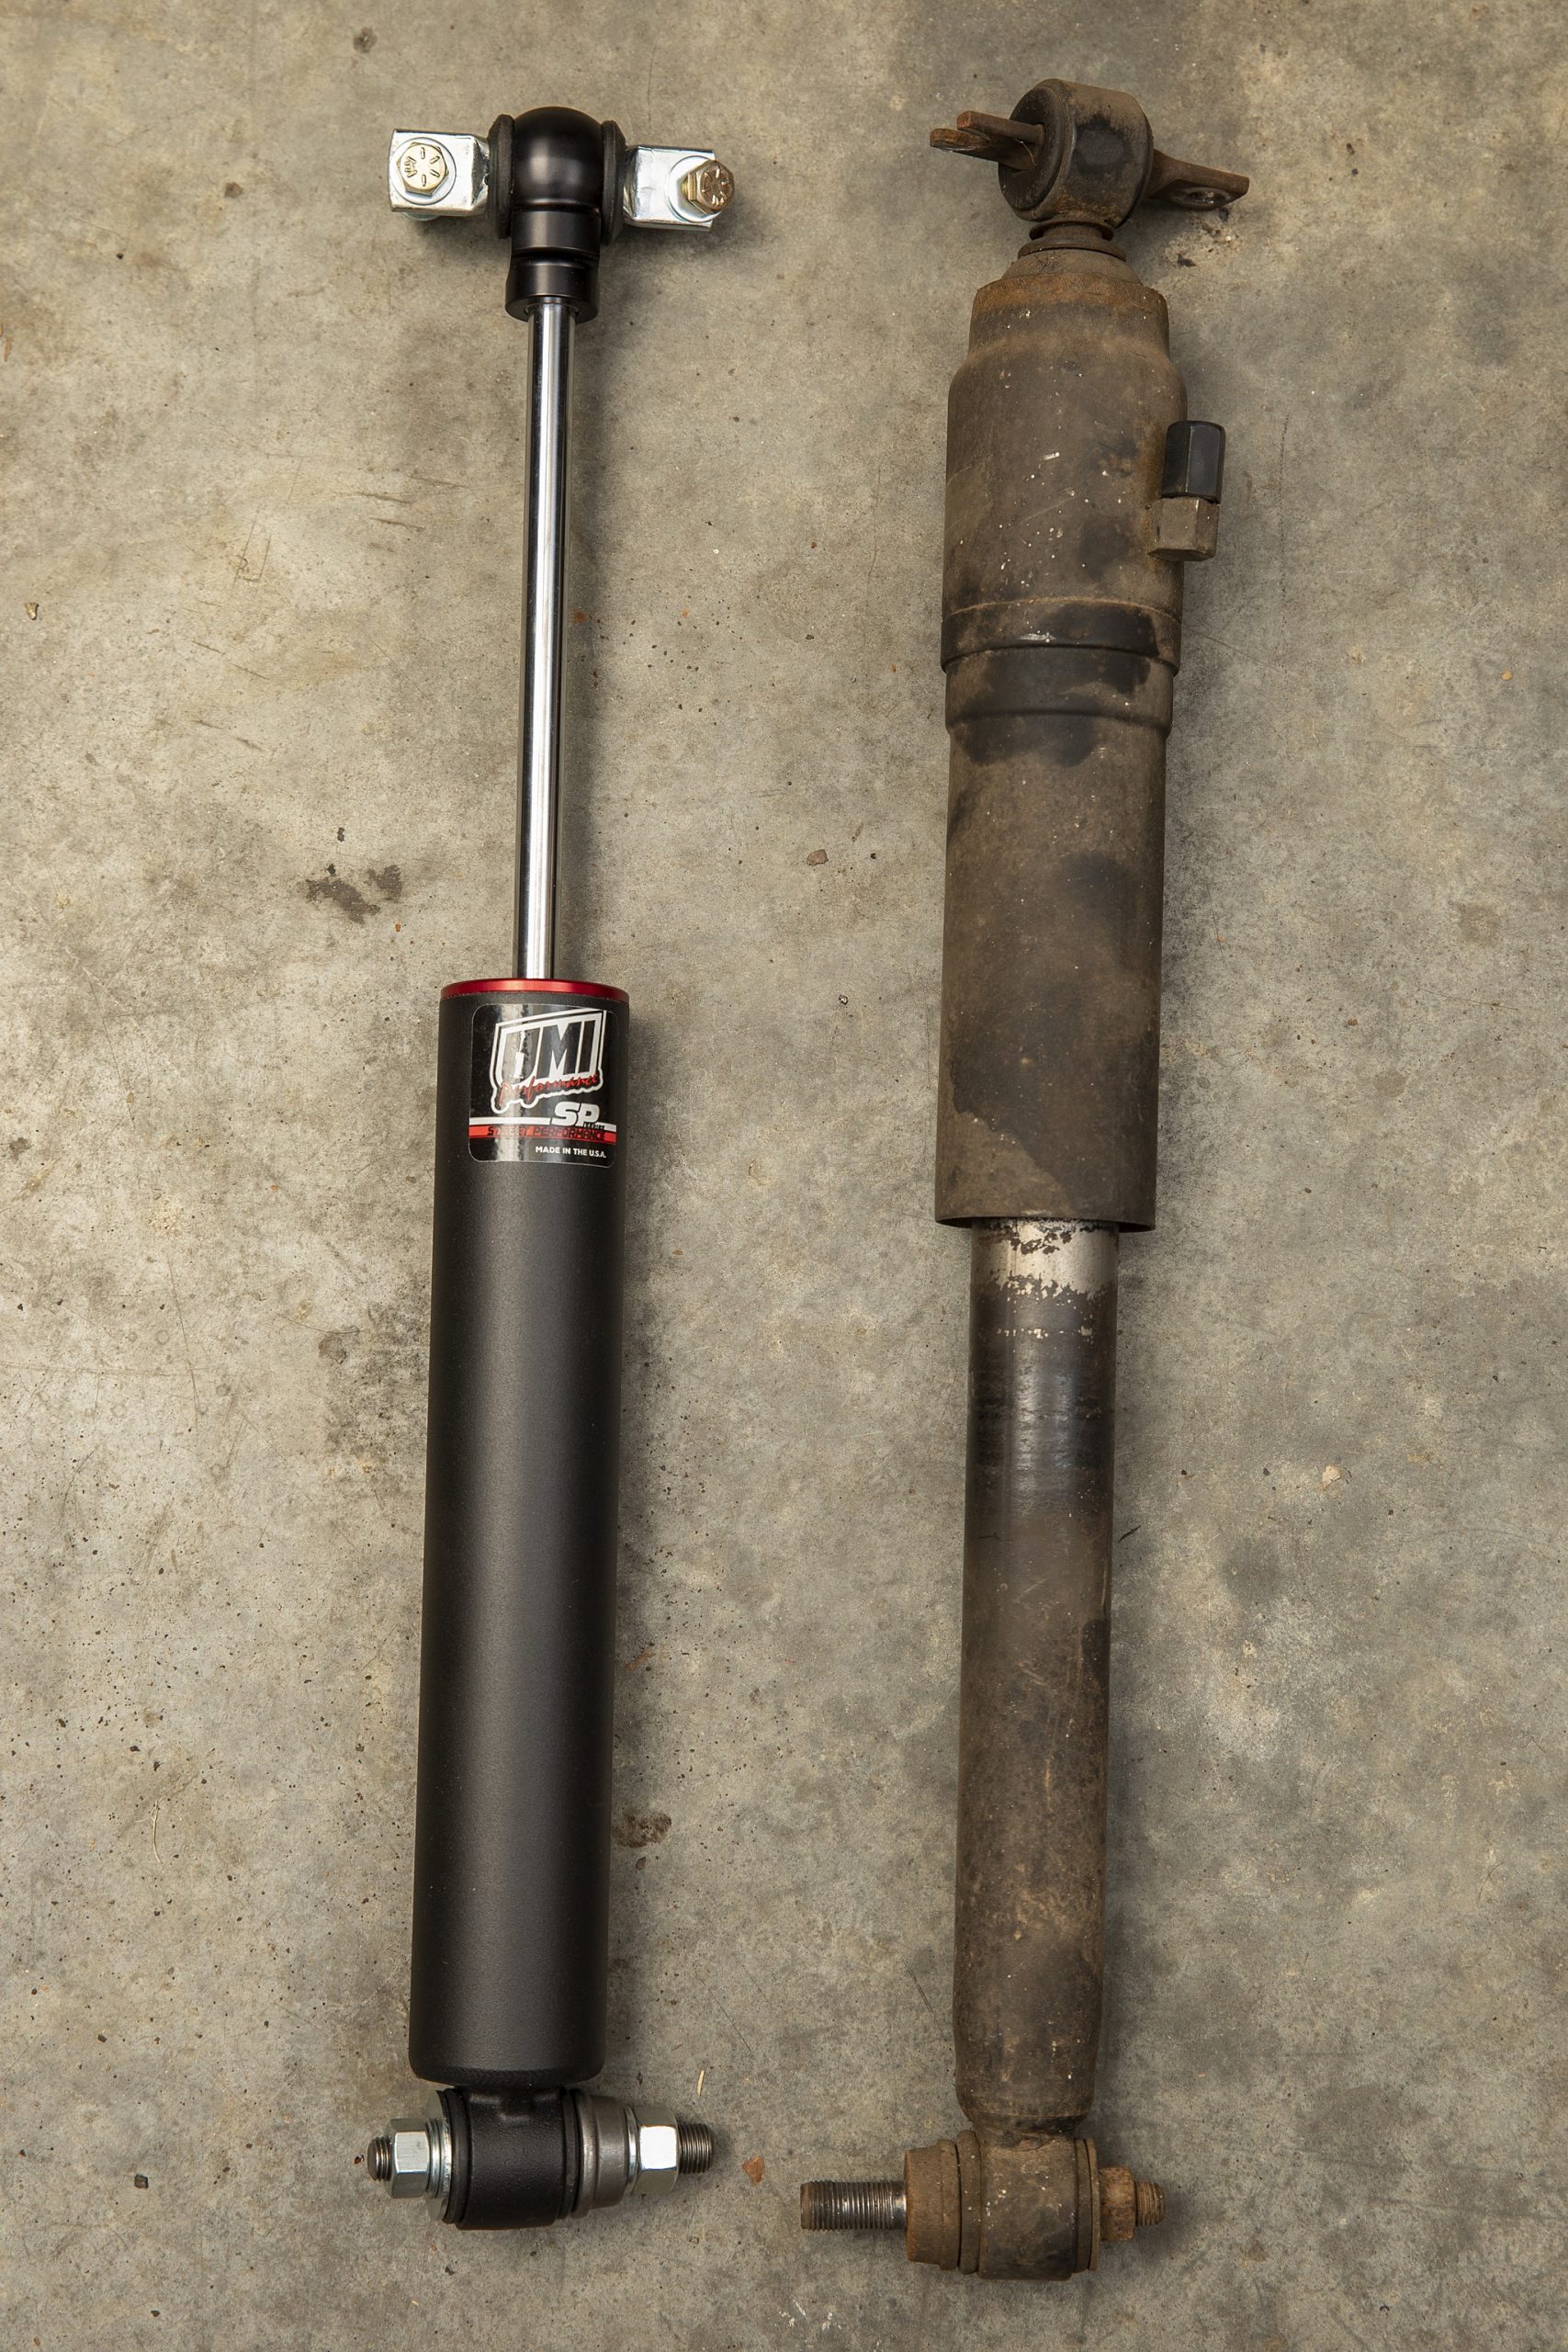
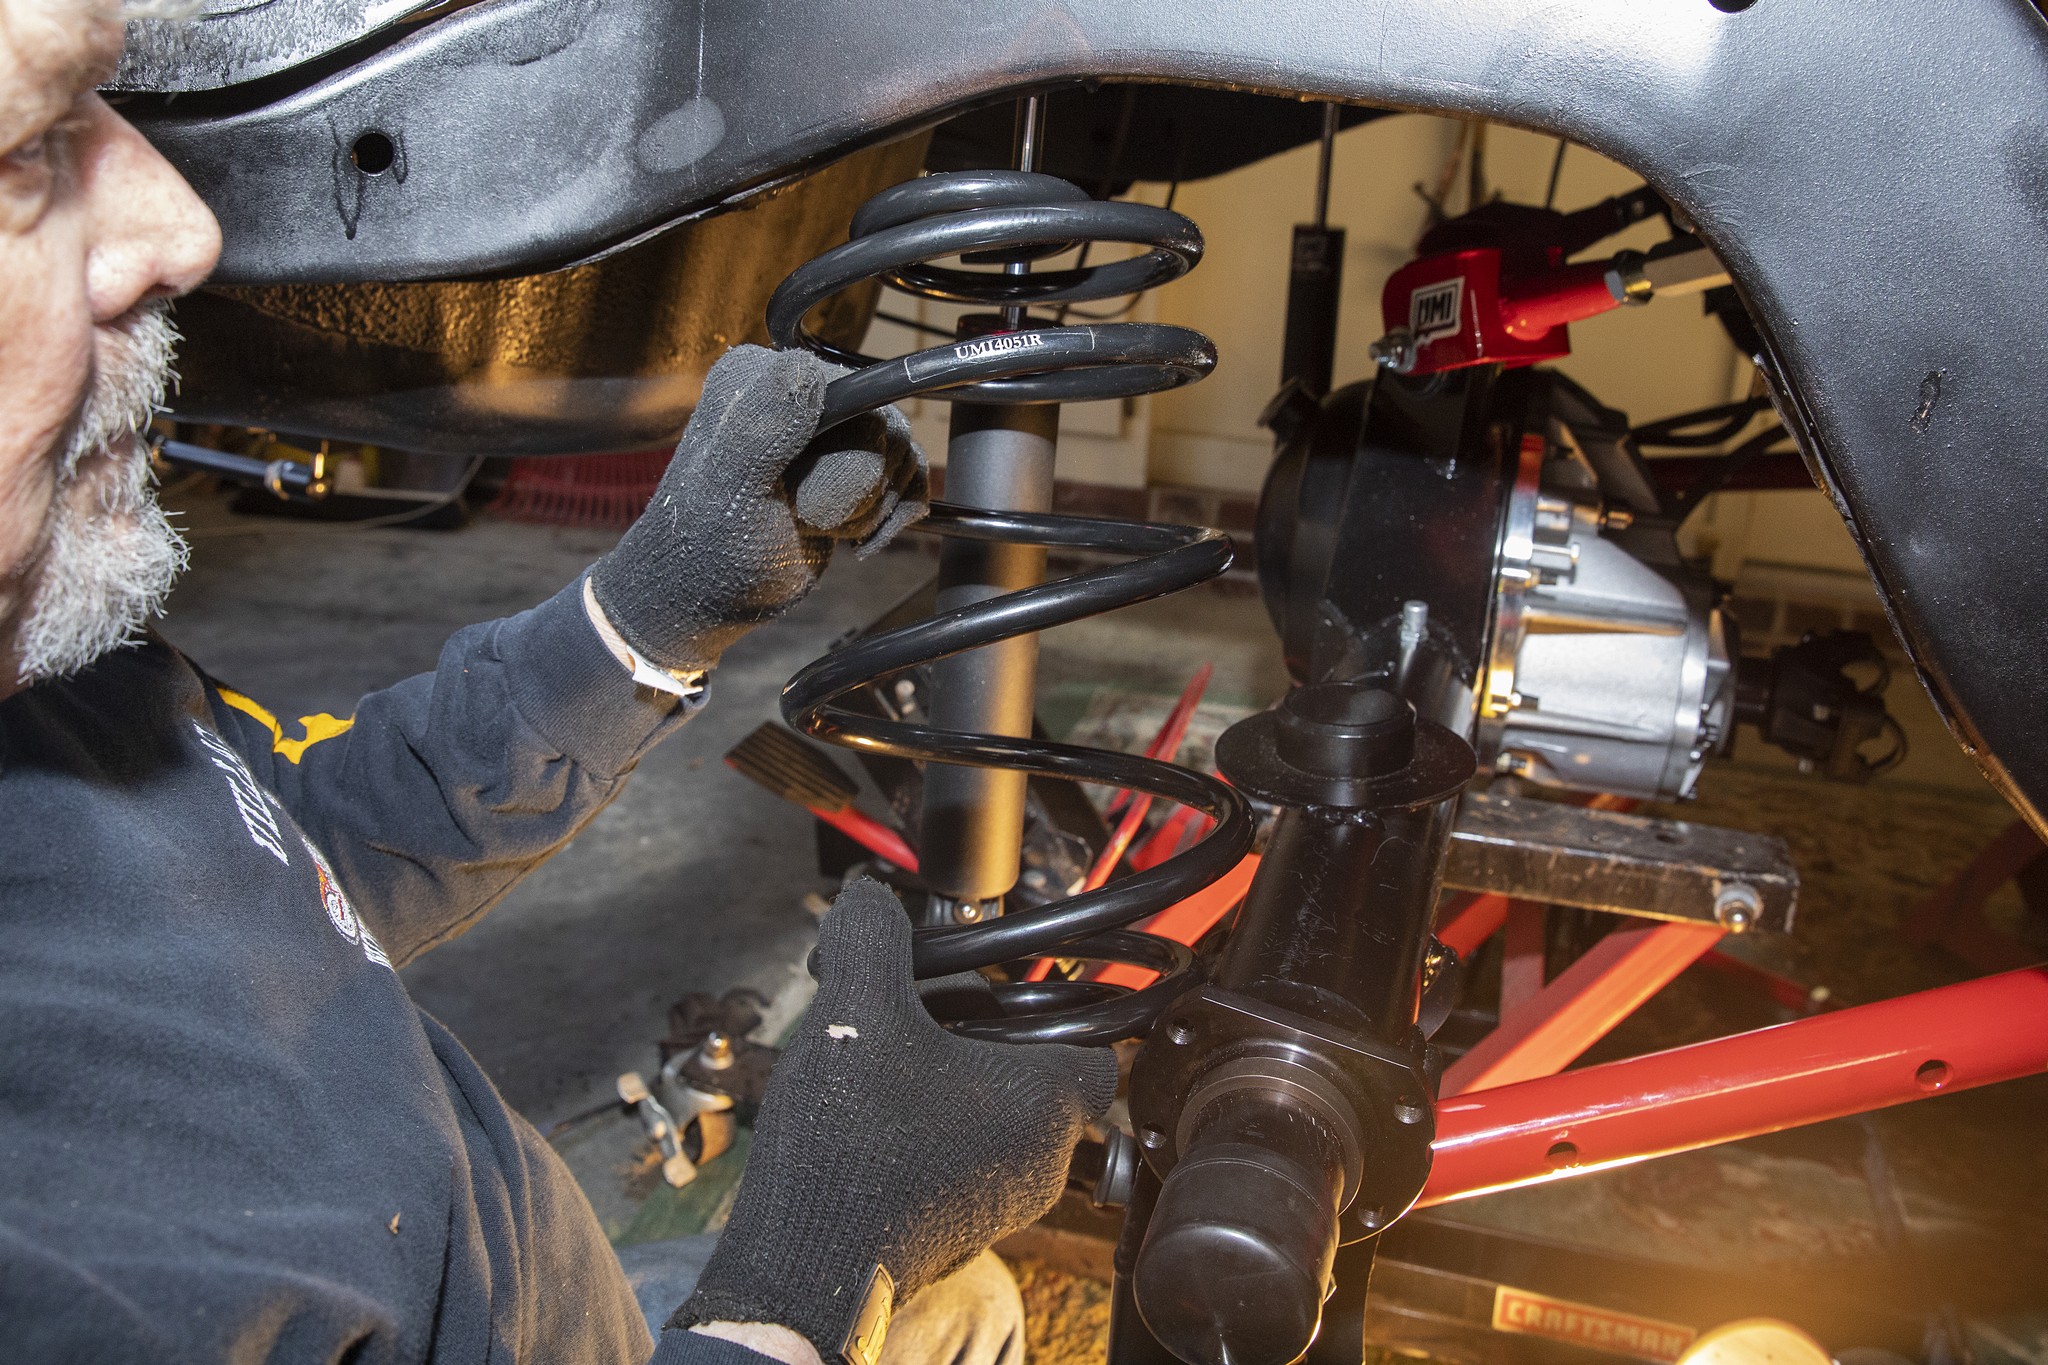
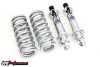
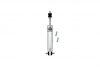
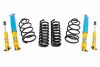
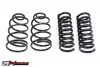
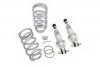
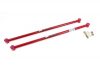
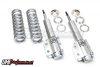
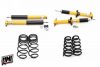
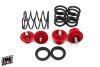
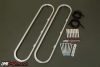
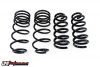
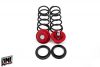
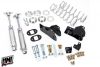
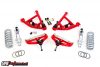
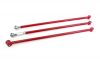
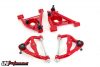
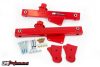
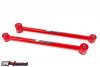
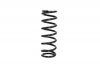
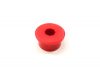
Before we finished bolting our shocks in place, we stabbed in our 2-inch lowering springs, which feature a 130 lb/in rate. UMI Performance offers 1-inch lowering springs as well. The lower control arms feature provisions for a stock sway bar, but we’re running the UMI chassis-mounted sway bar.
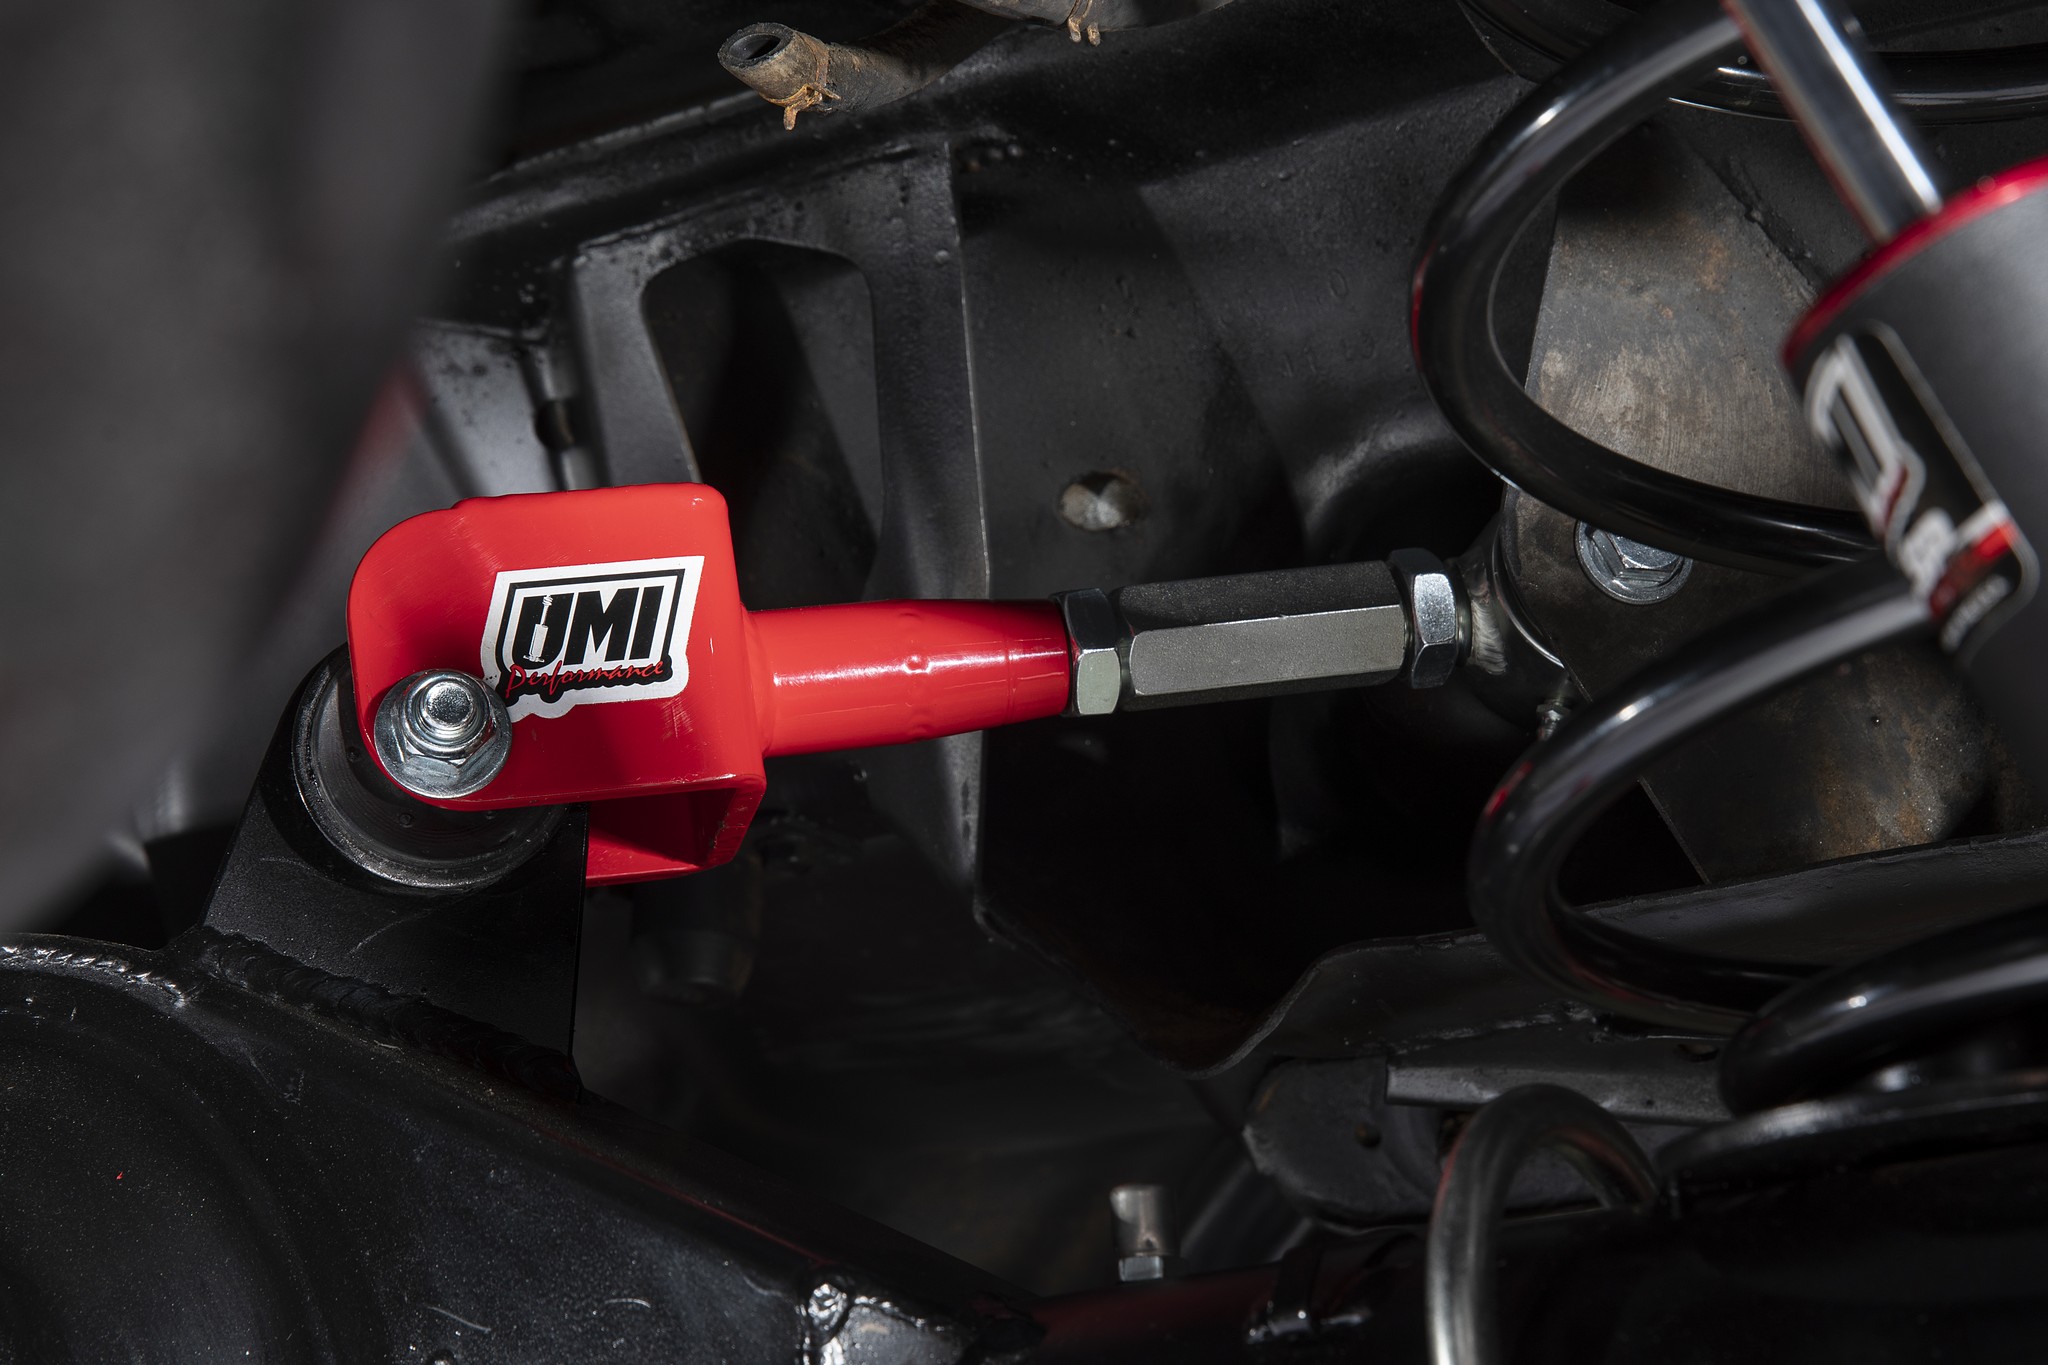
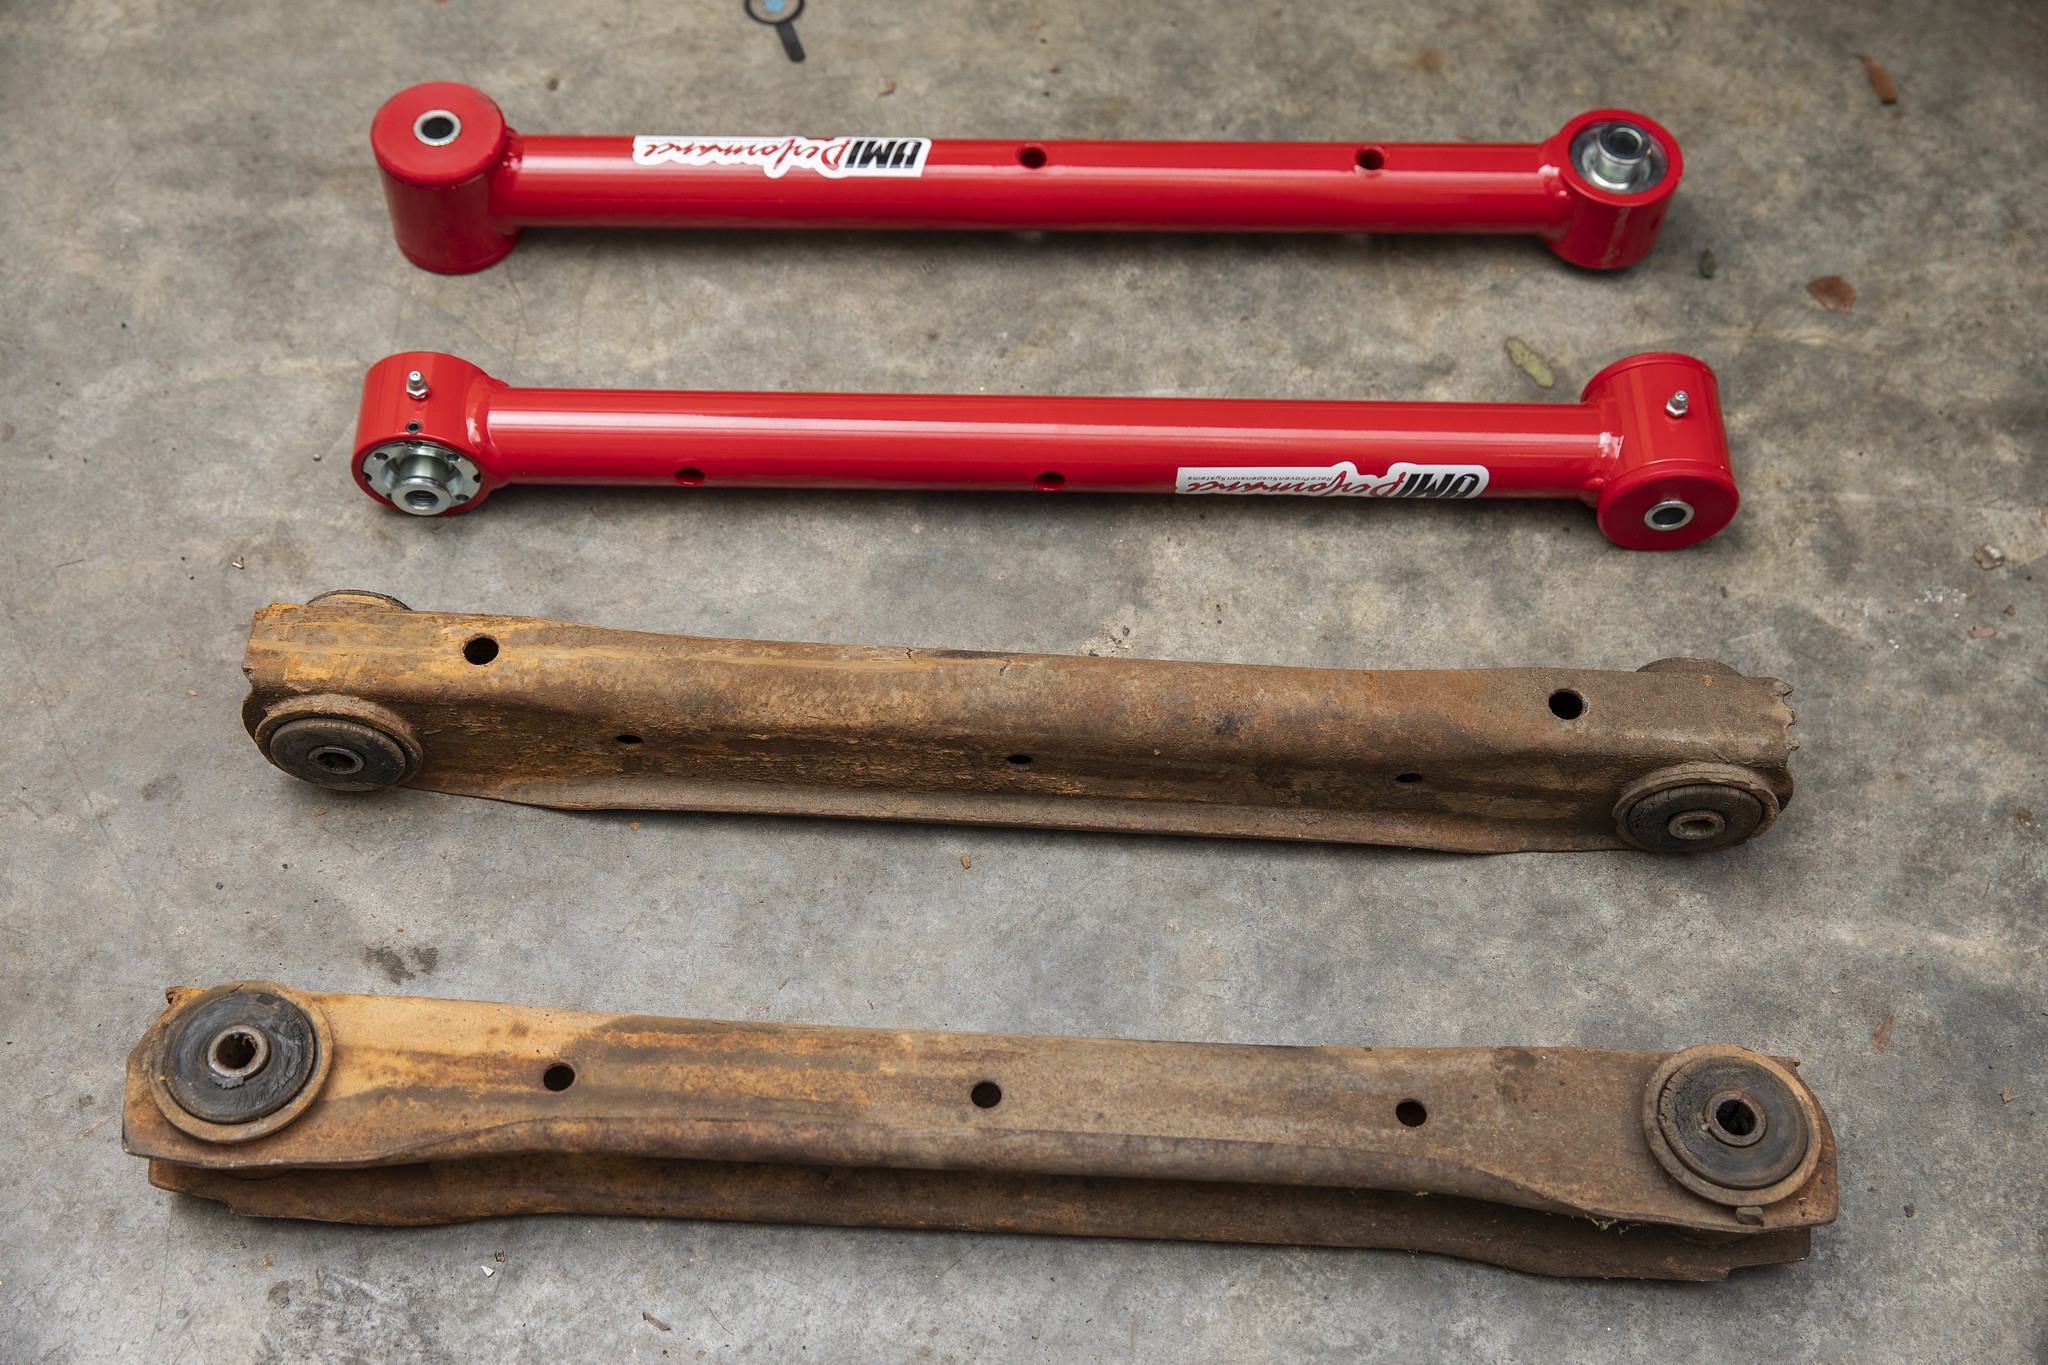
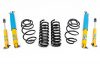
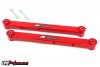
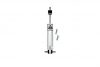
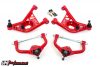
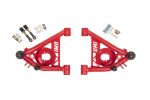
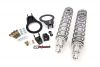
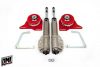
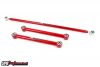
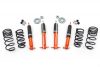
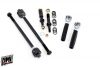
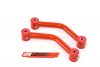
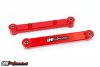
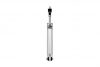
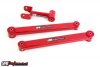
For our street/road course plans, UMI Performance suggested their Street Performance Monotube shock with 20 rebound settings (PN S131; $229) and 2-inch lower springs, on all four corners. The lower control arms are made from 0.120-inch wall thickness mild-steel tubing, and allow the use of a stock sway bar, something the wagon doesn’t have. The upper, rear control arms feature UMI Roto-Joints for the frame mount, and Moog bushings for the axle side, producing a balanced setup between comfortable and competitive.
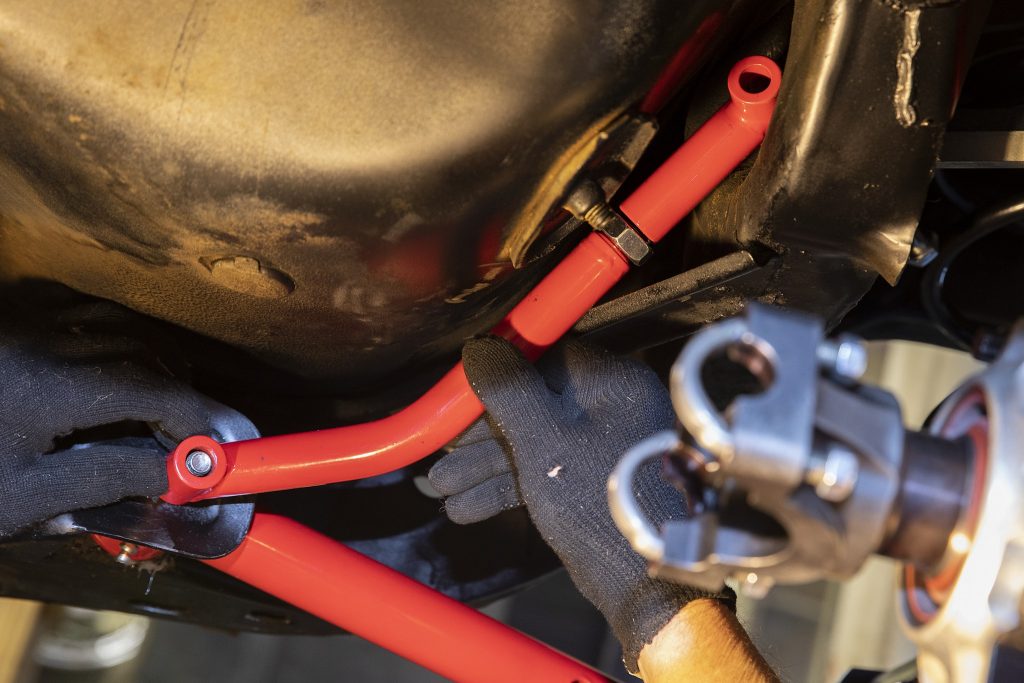
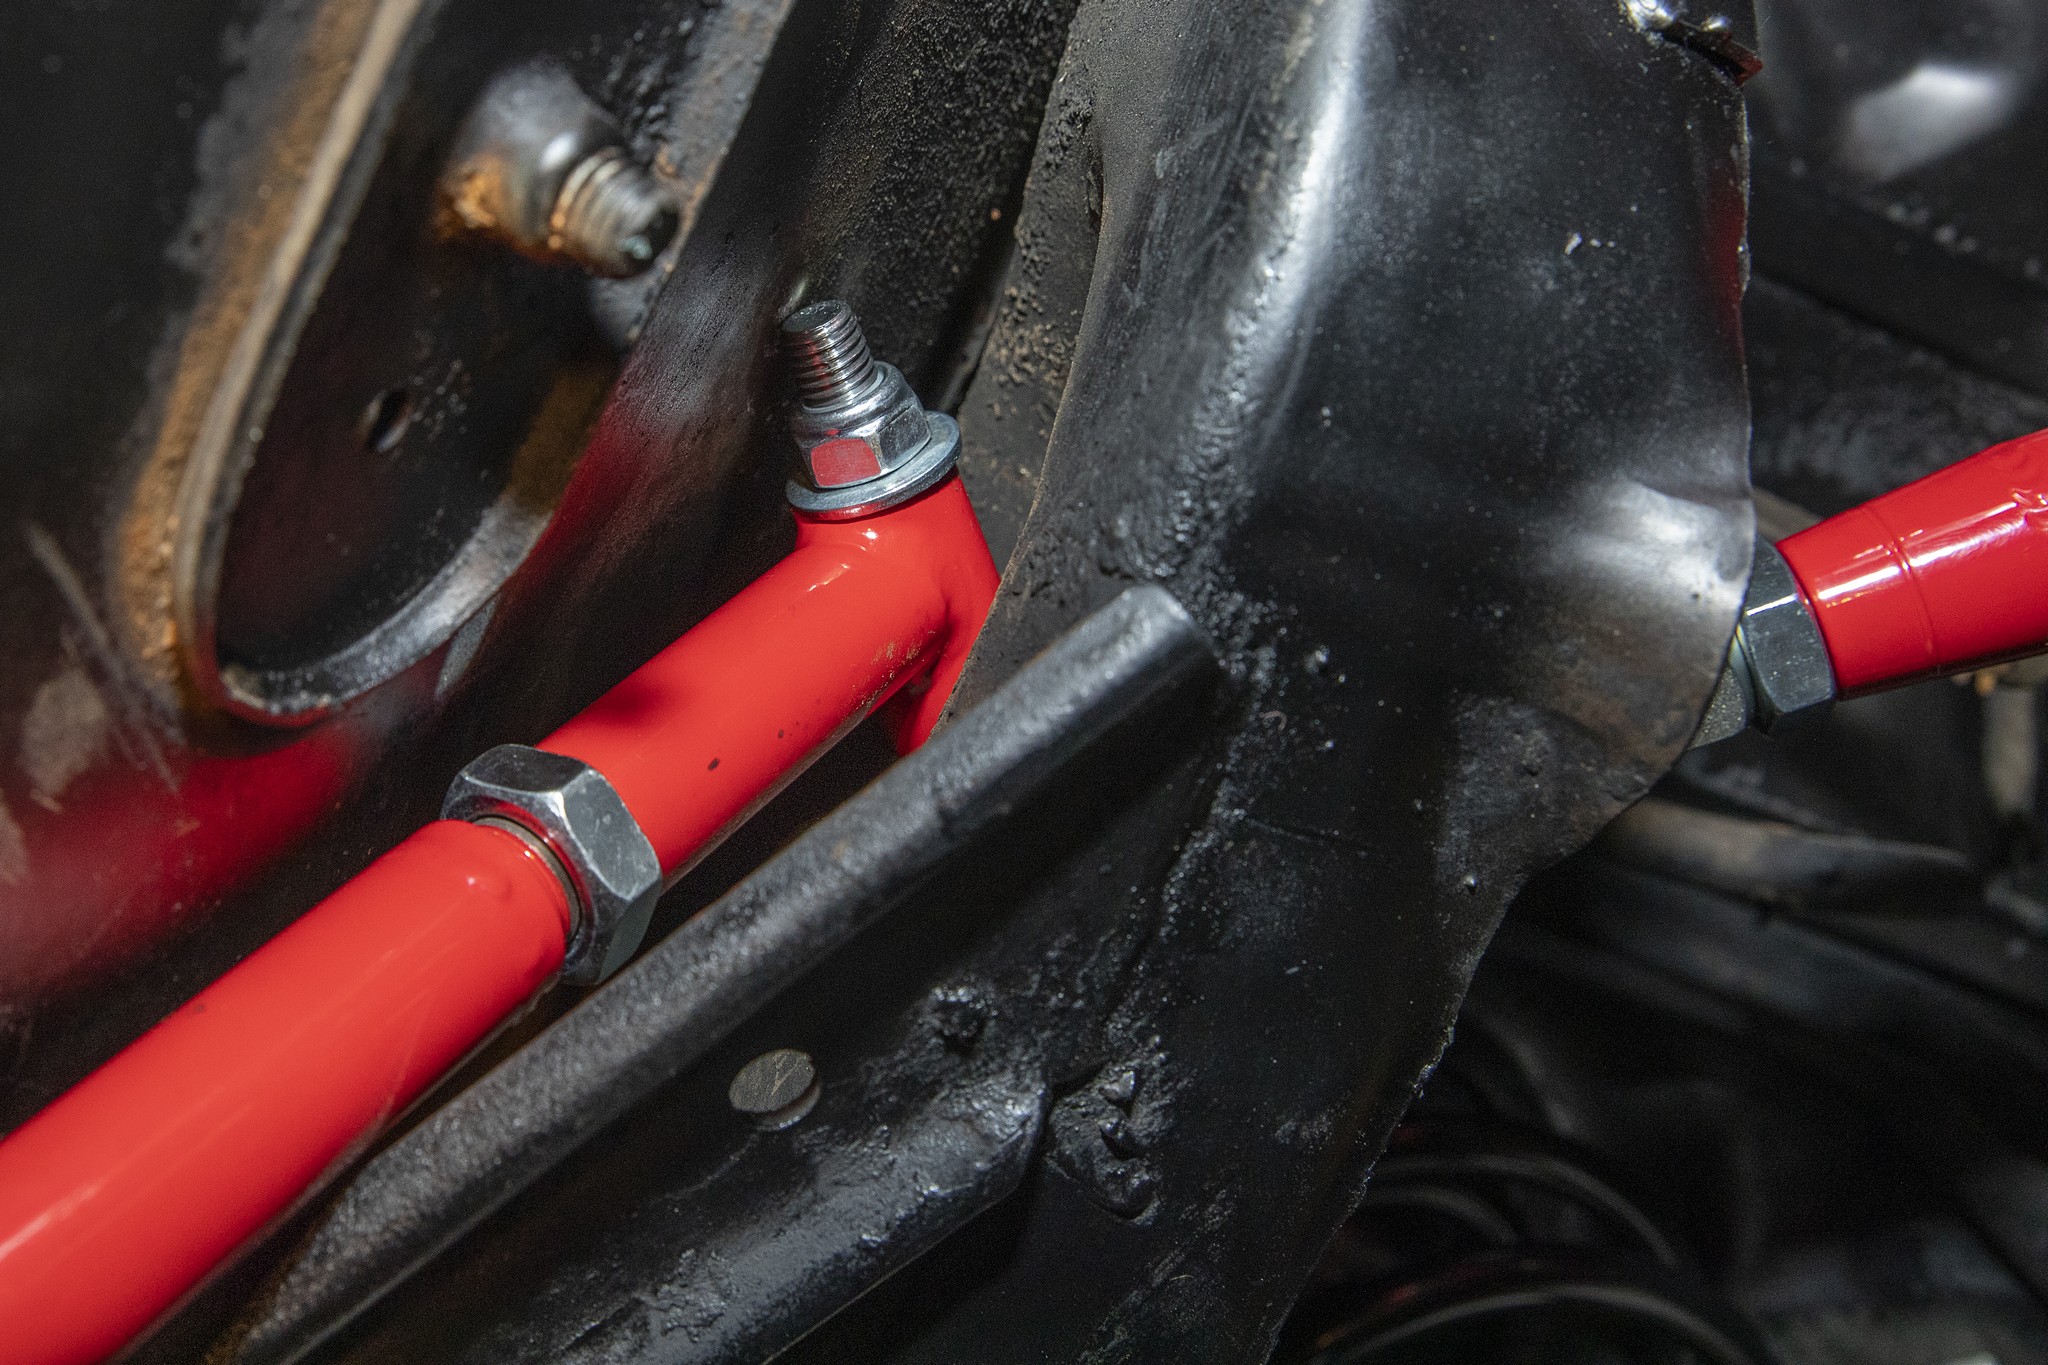
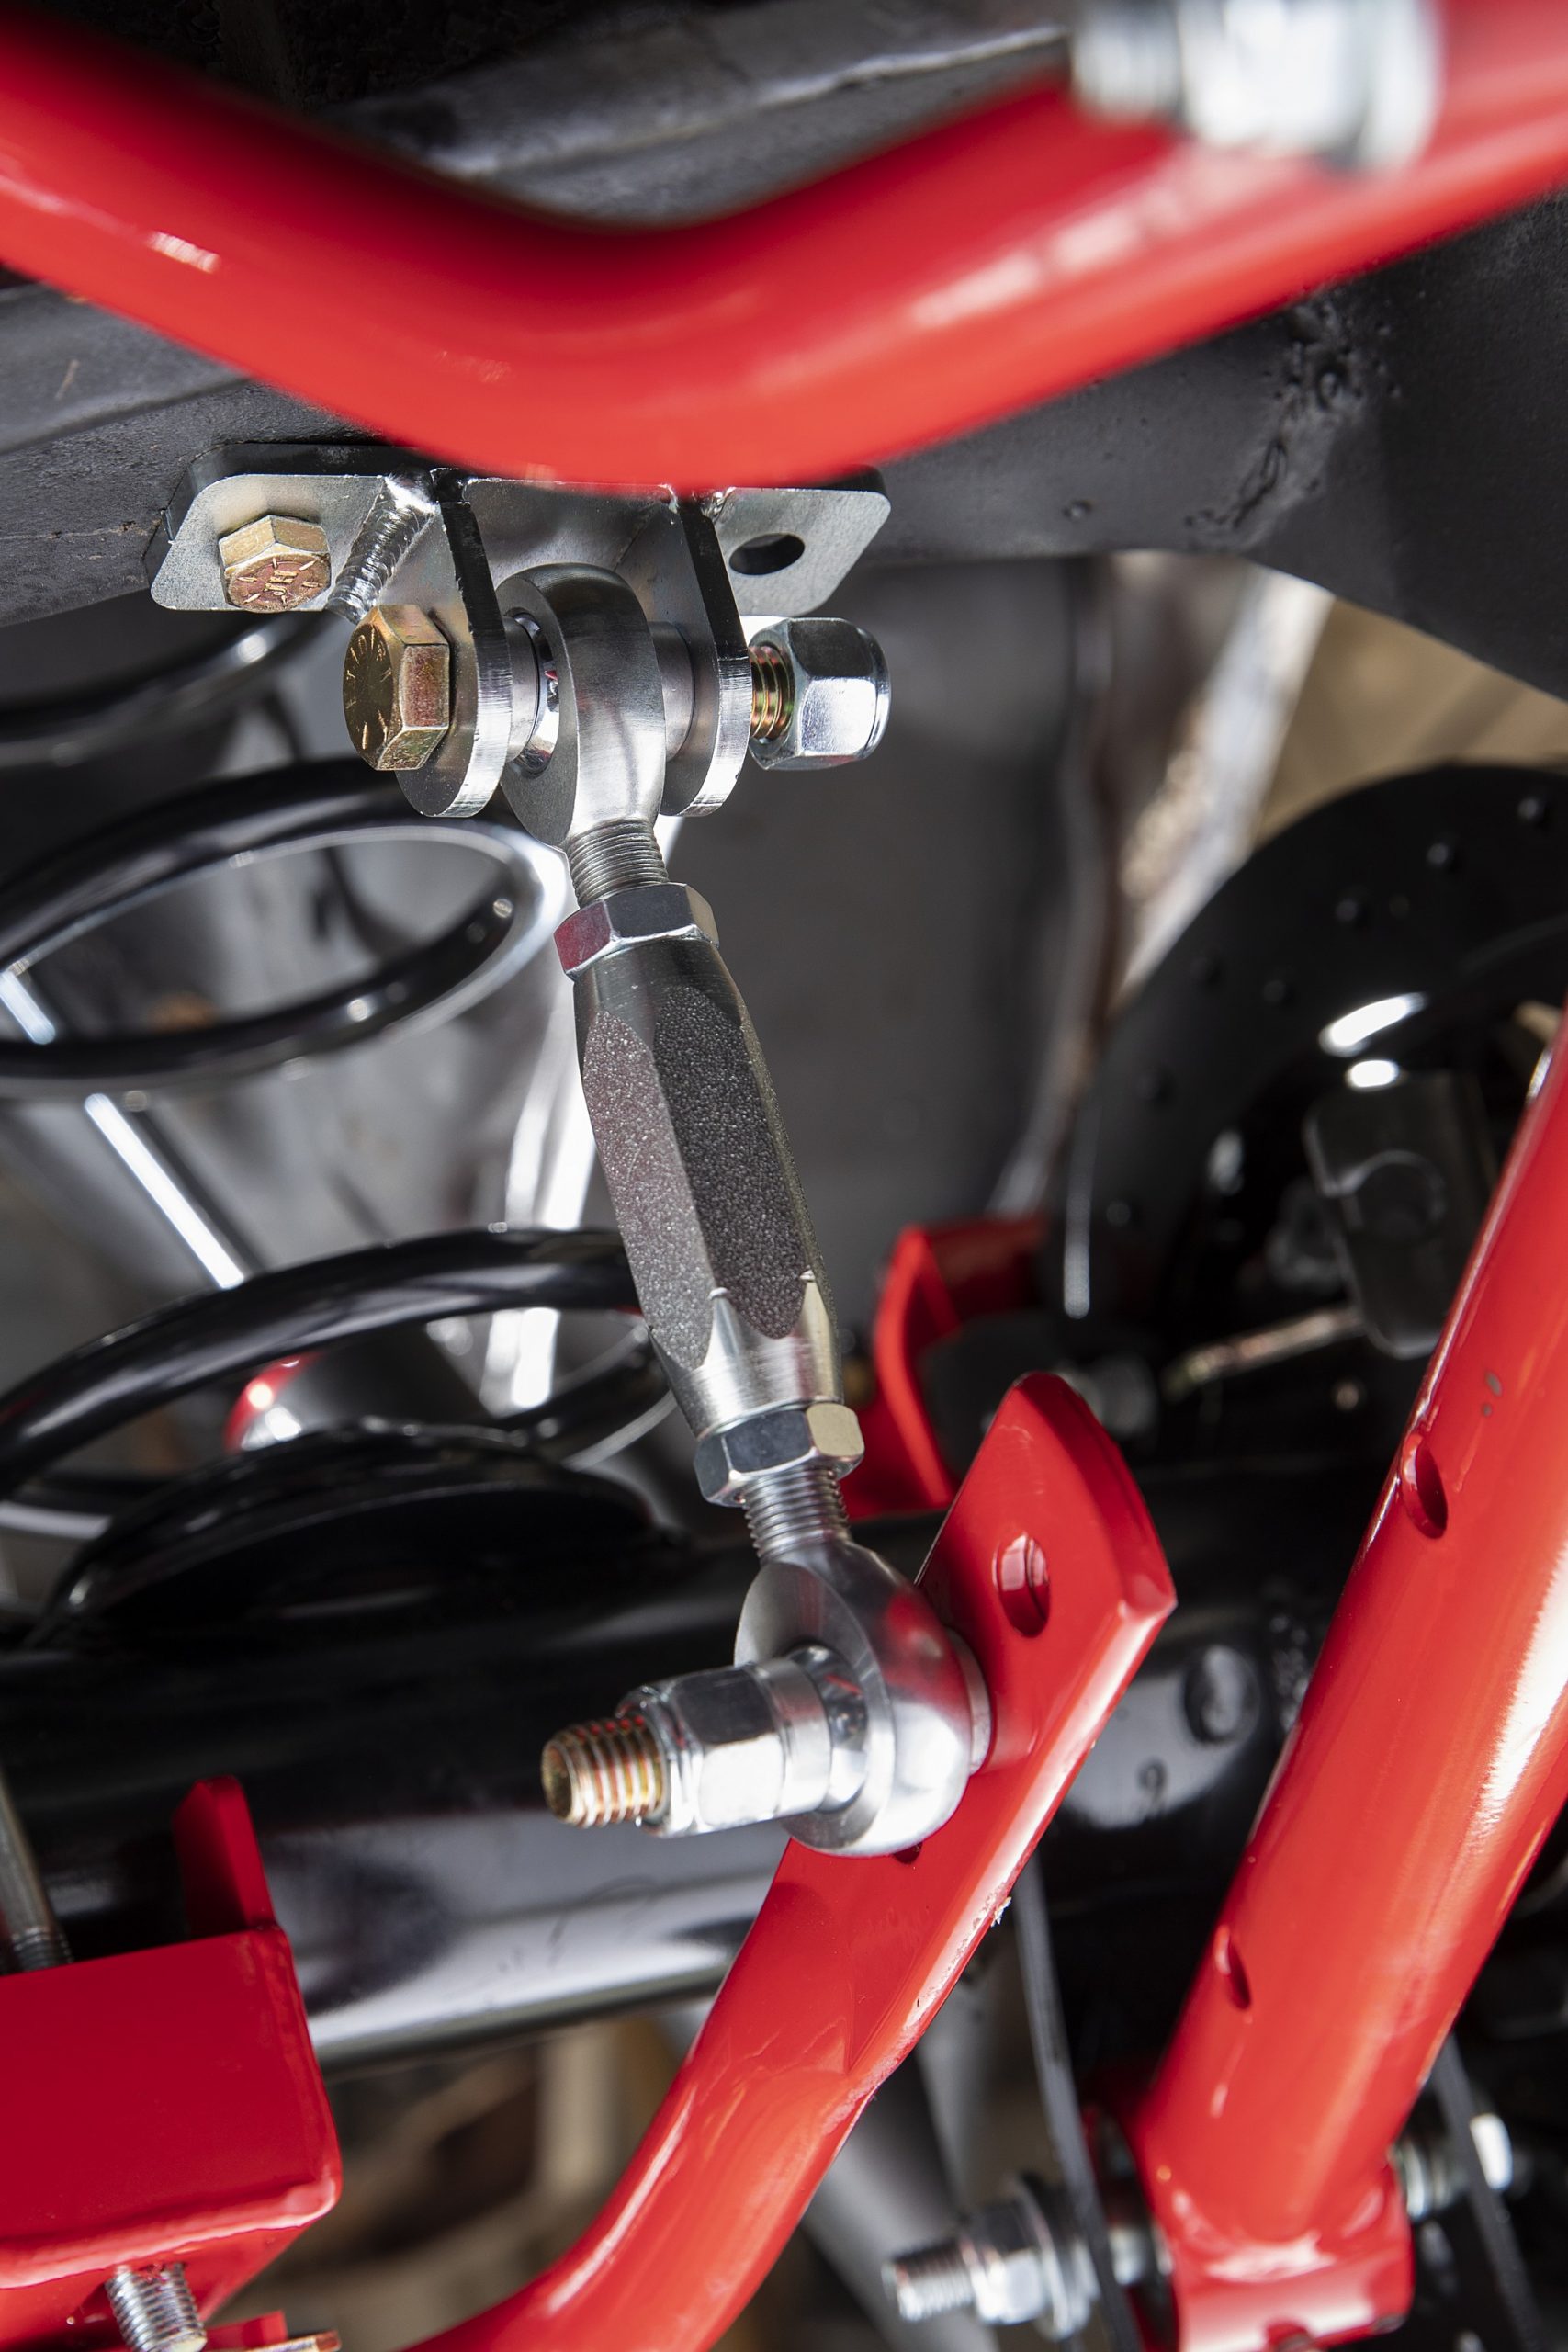
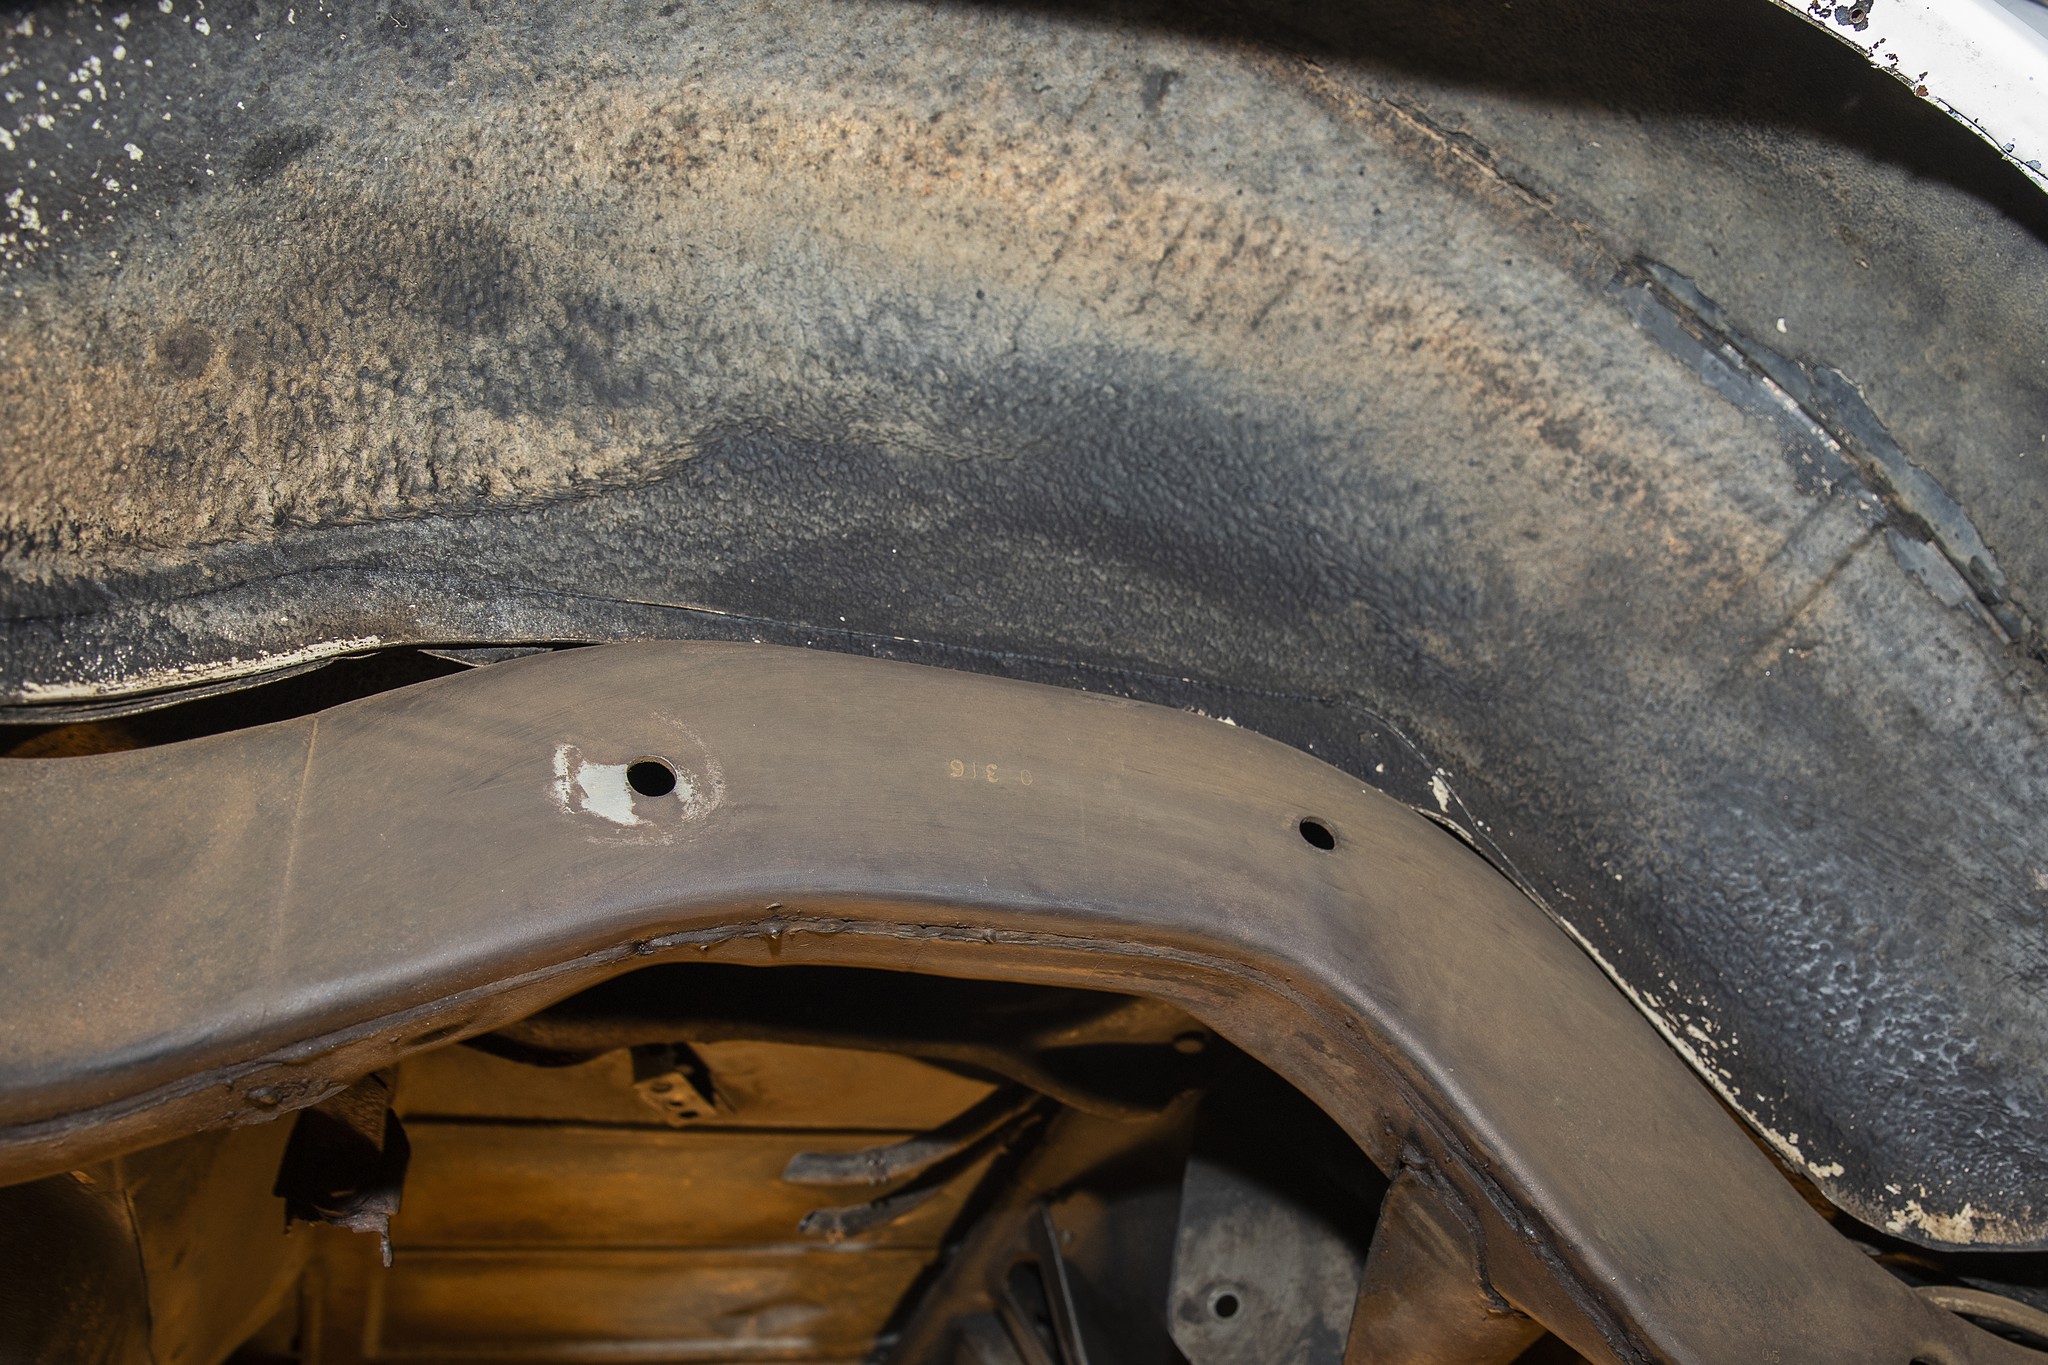
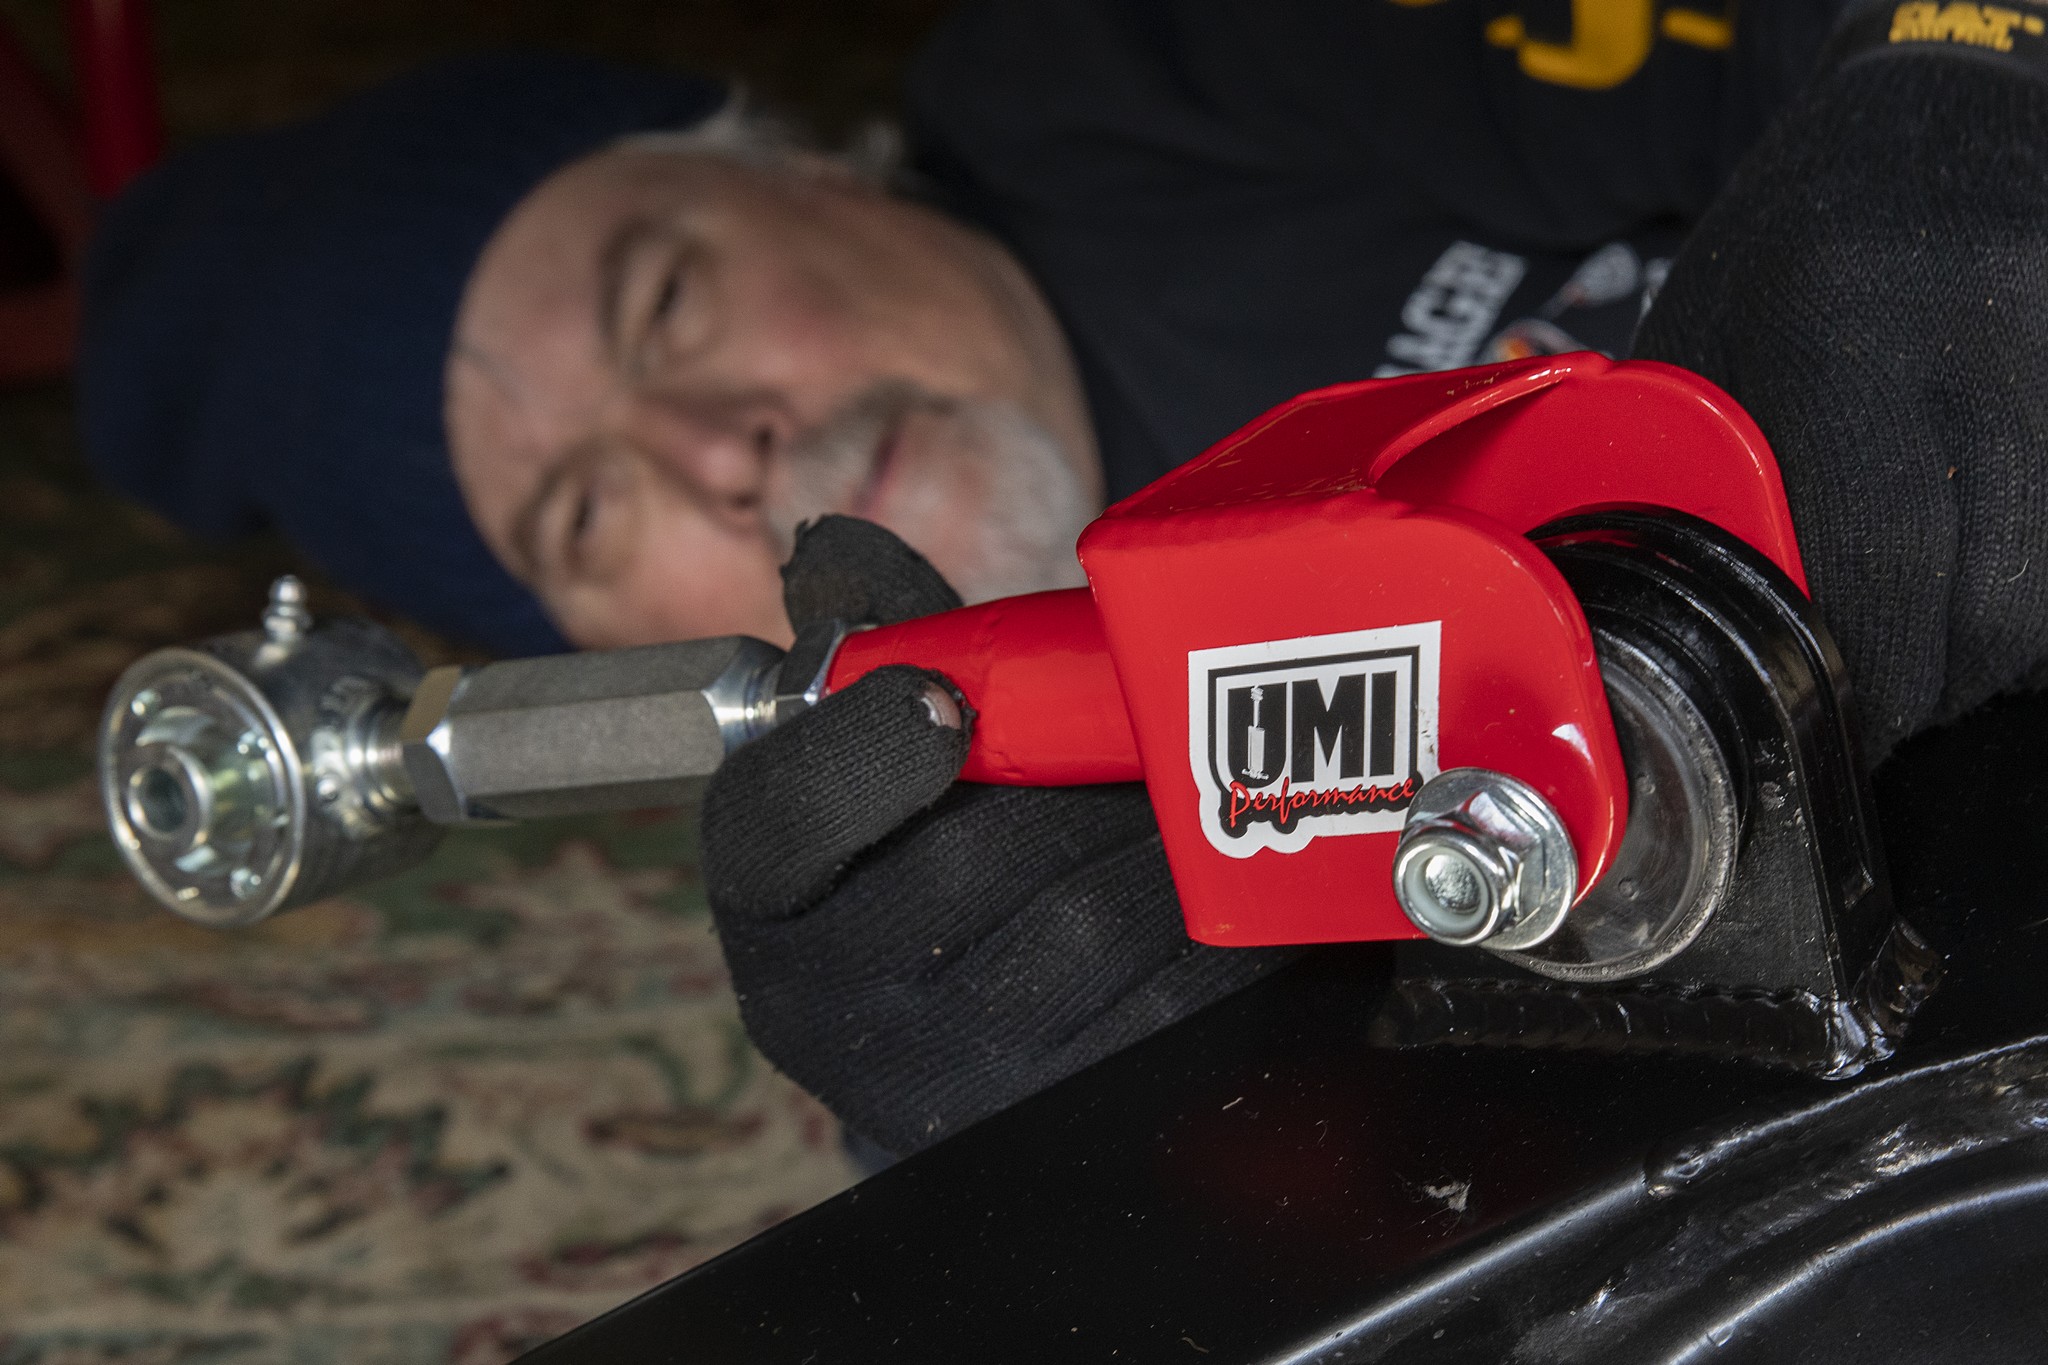
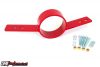
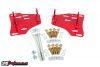
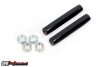
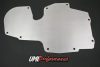
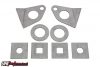
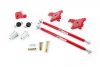
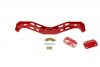
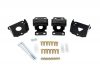
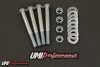
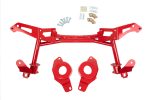
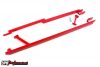
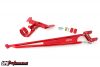
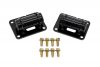
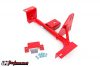
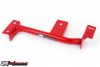
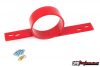
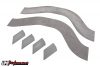
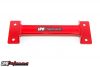
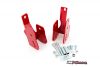
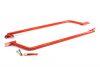
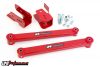
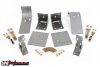
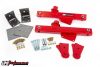
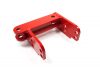
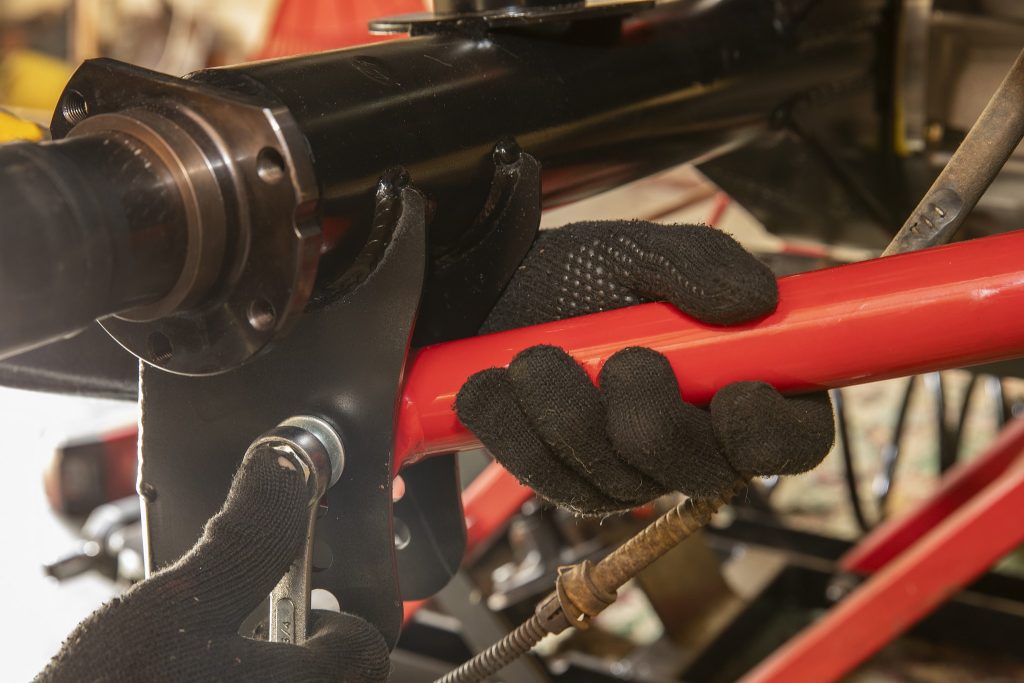
The rear control arm frame mounts are thin pieces of metal welded to the frame. Despite a thin factory brace from the frame to cross member, there’s still flex in this area. UMI Performance includes a brace and grade-8 hardware to connect the upper and lower control arms. The brace is adjustable merely to aid in fitment. Our frame has a minor deflection on the driver’s side and required an extra turn of adjustment.
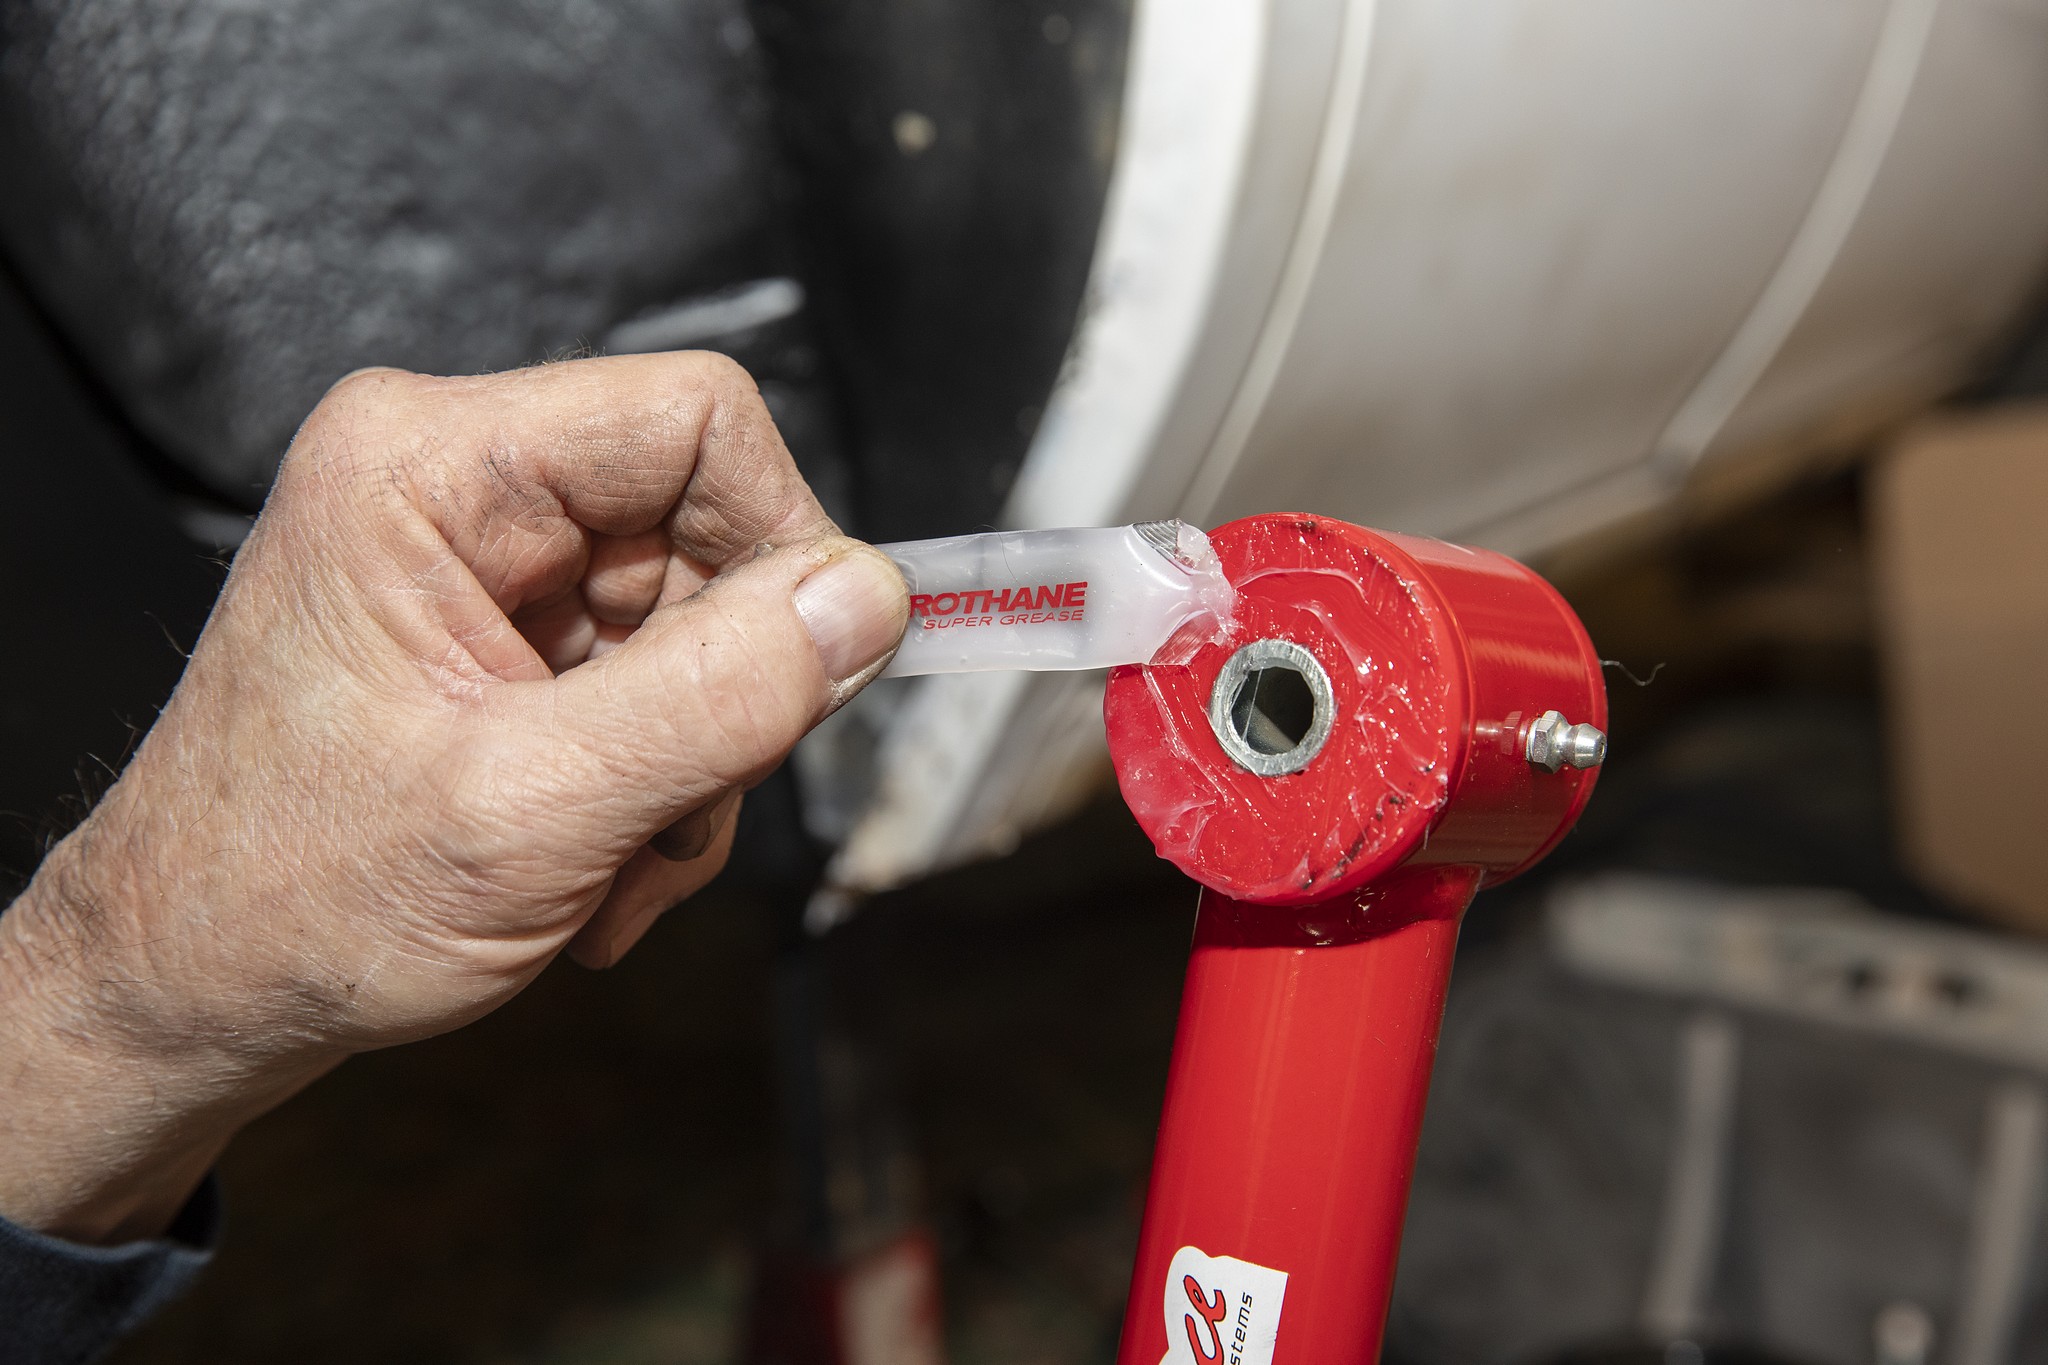
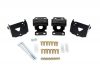
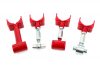
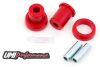
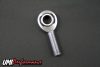
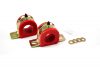
UMI’s Roto-Joints allow for 28 degrees of total rotation with no restrictions. They’re designed to keep the suspension traveling up into the wheel wells and prevent it from moving sideways. The rubber in standard bushings will flex, allowing the rear axle to shift side to side. During heavy cornering, banking, or a one-wheel bump, the Roto-Joints work to reduce that lateral movement. It’s possible to run all solid ends on the rear control arms, which would nearly eliminate all lateral movement from the rear axle. UMI offers adjustable rod ends on the lower arms and Roto-Joints on the upper arms. Our combination, with polyurethane lower bushings and Roto-Joint uppers, sacrifices some performance for comfort, as solid joints can be noisier and produce a harsher ride. It’s the porridge that’s just right.

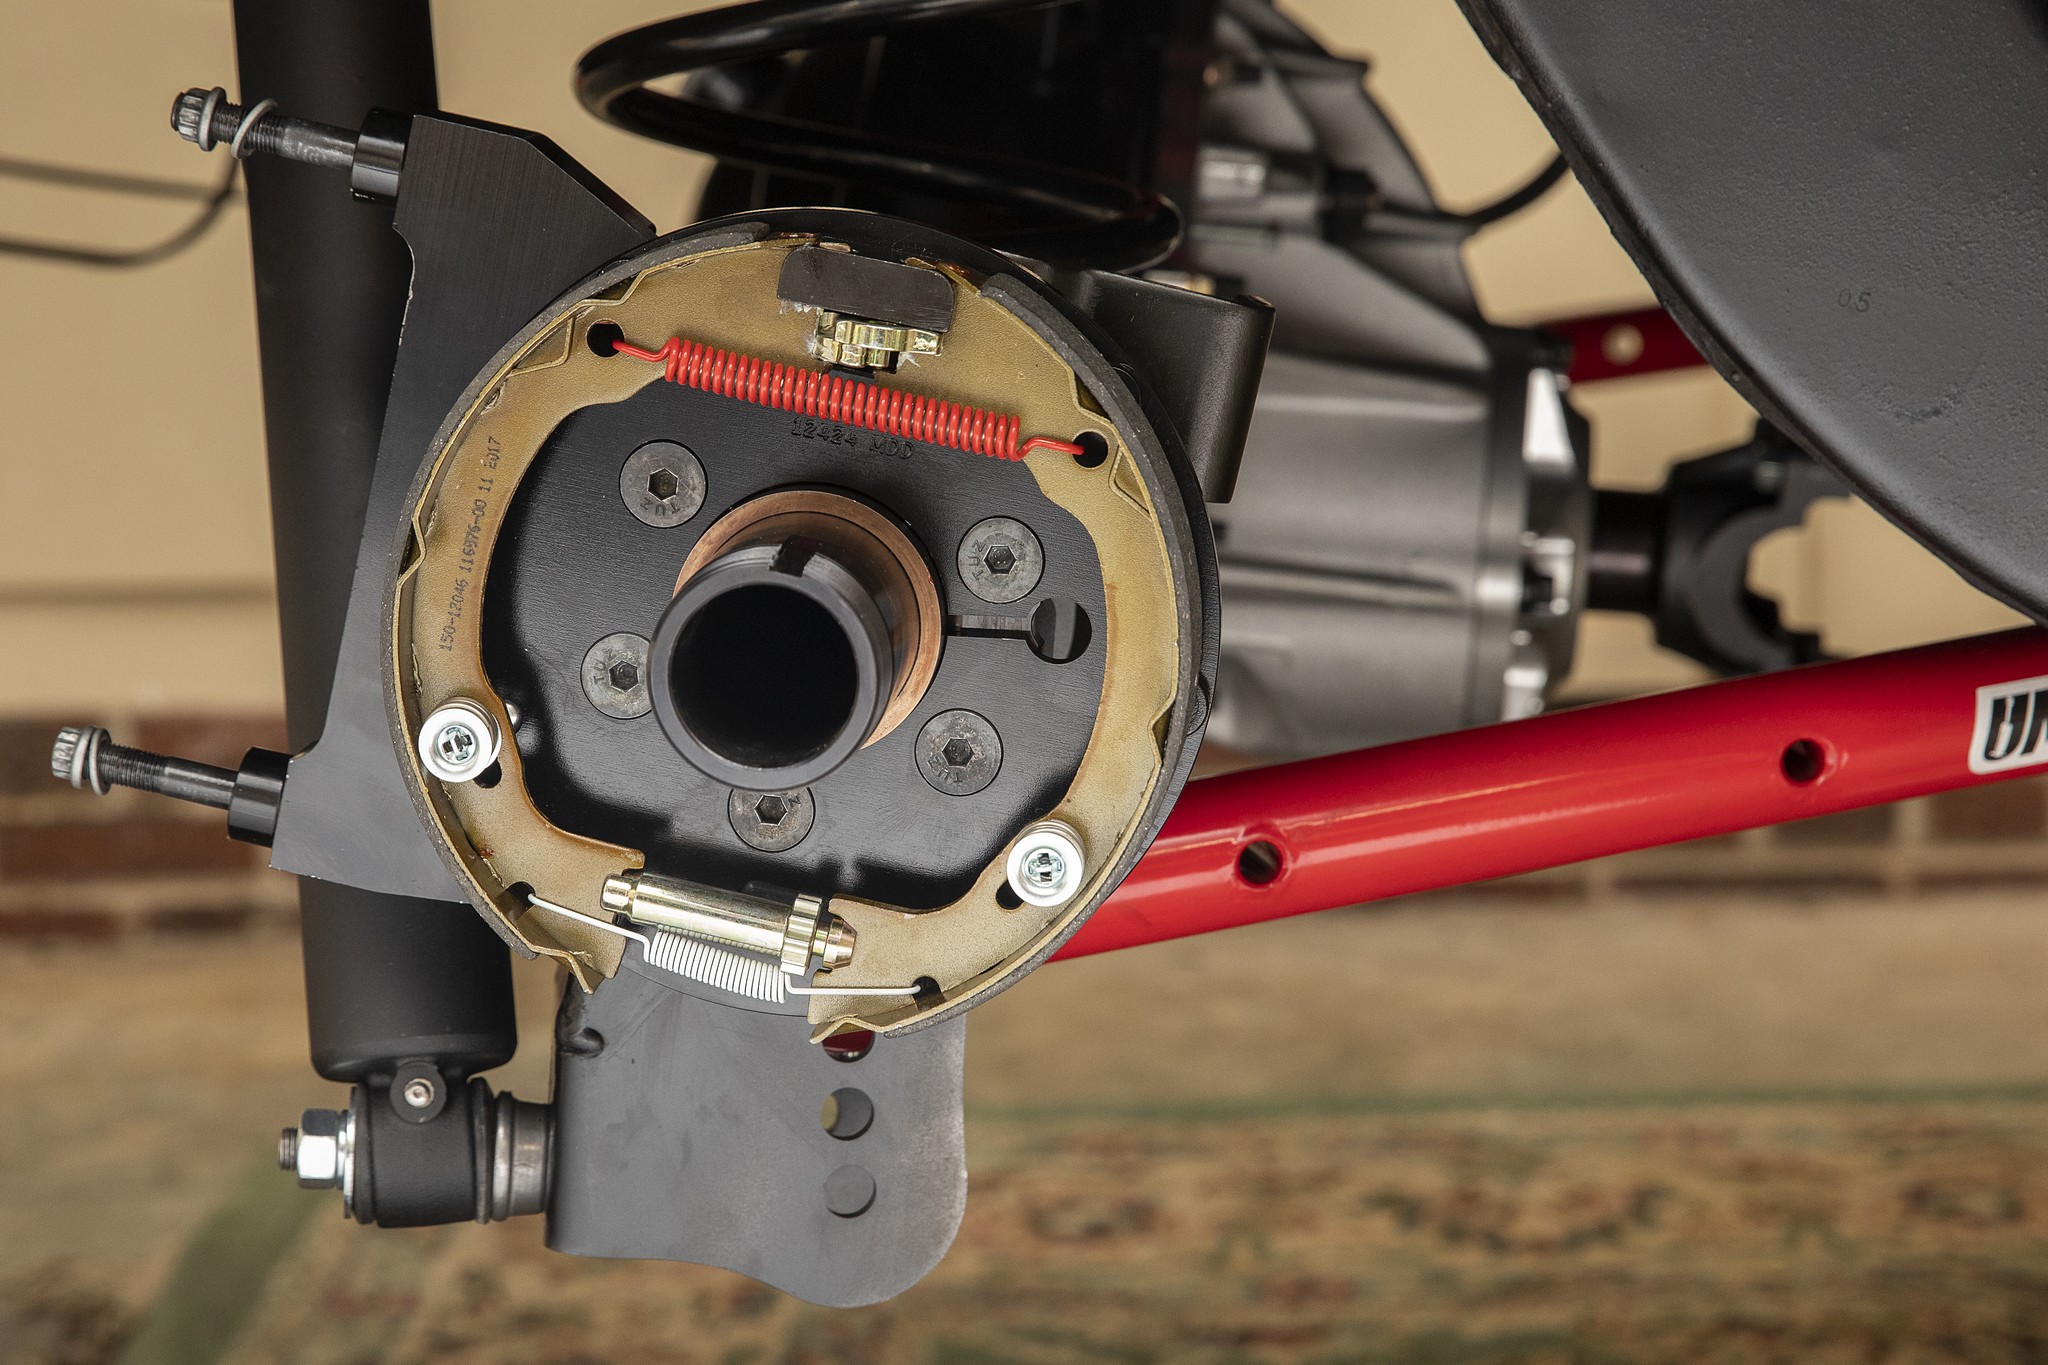
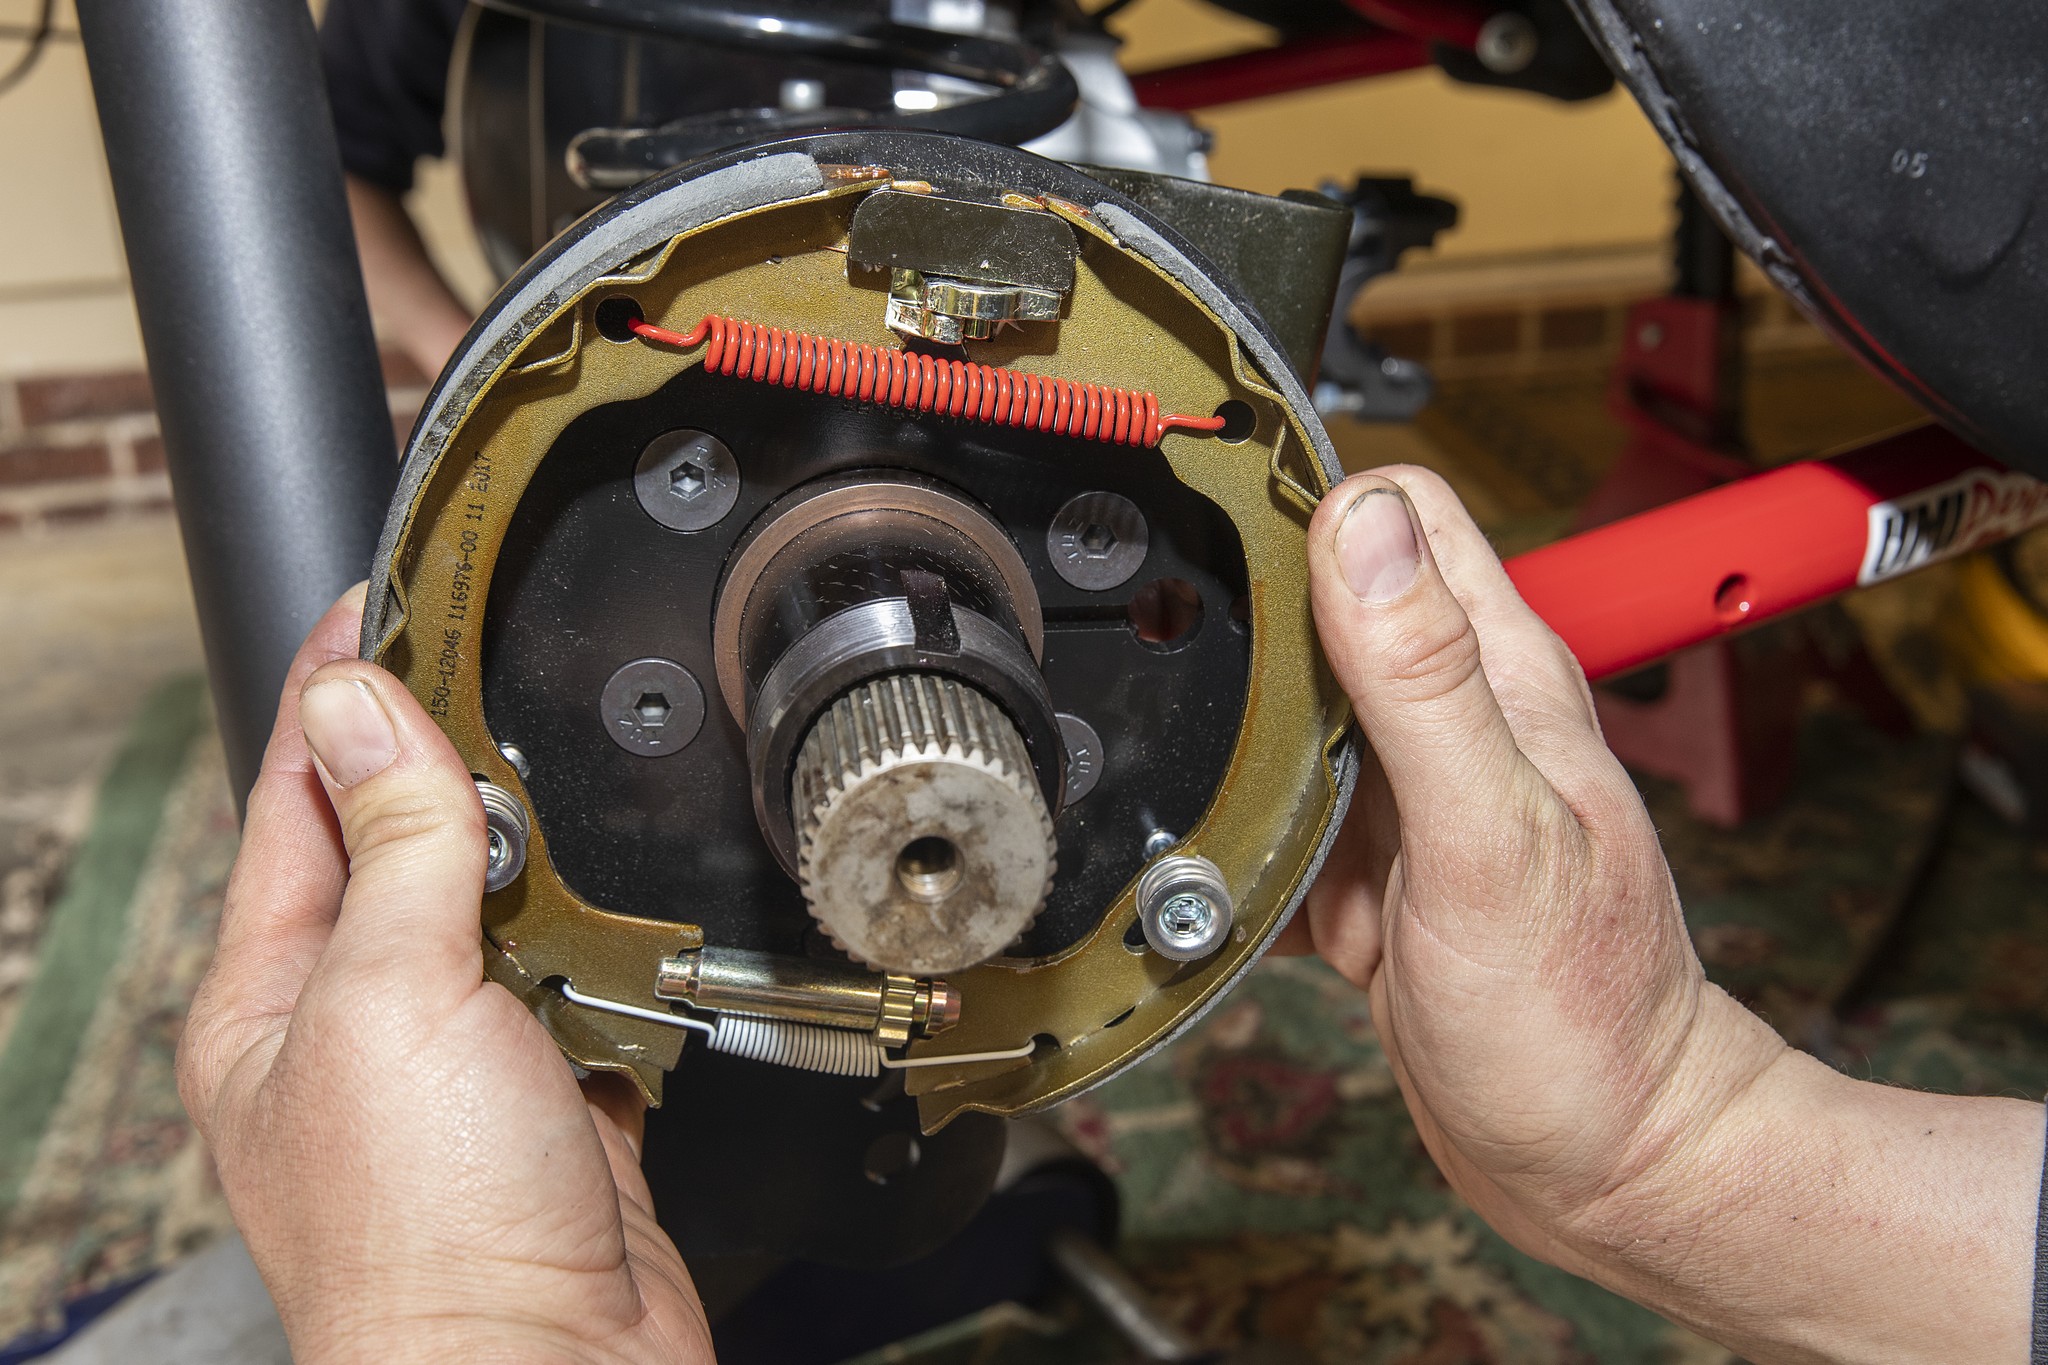
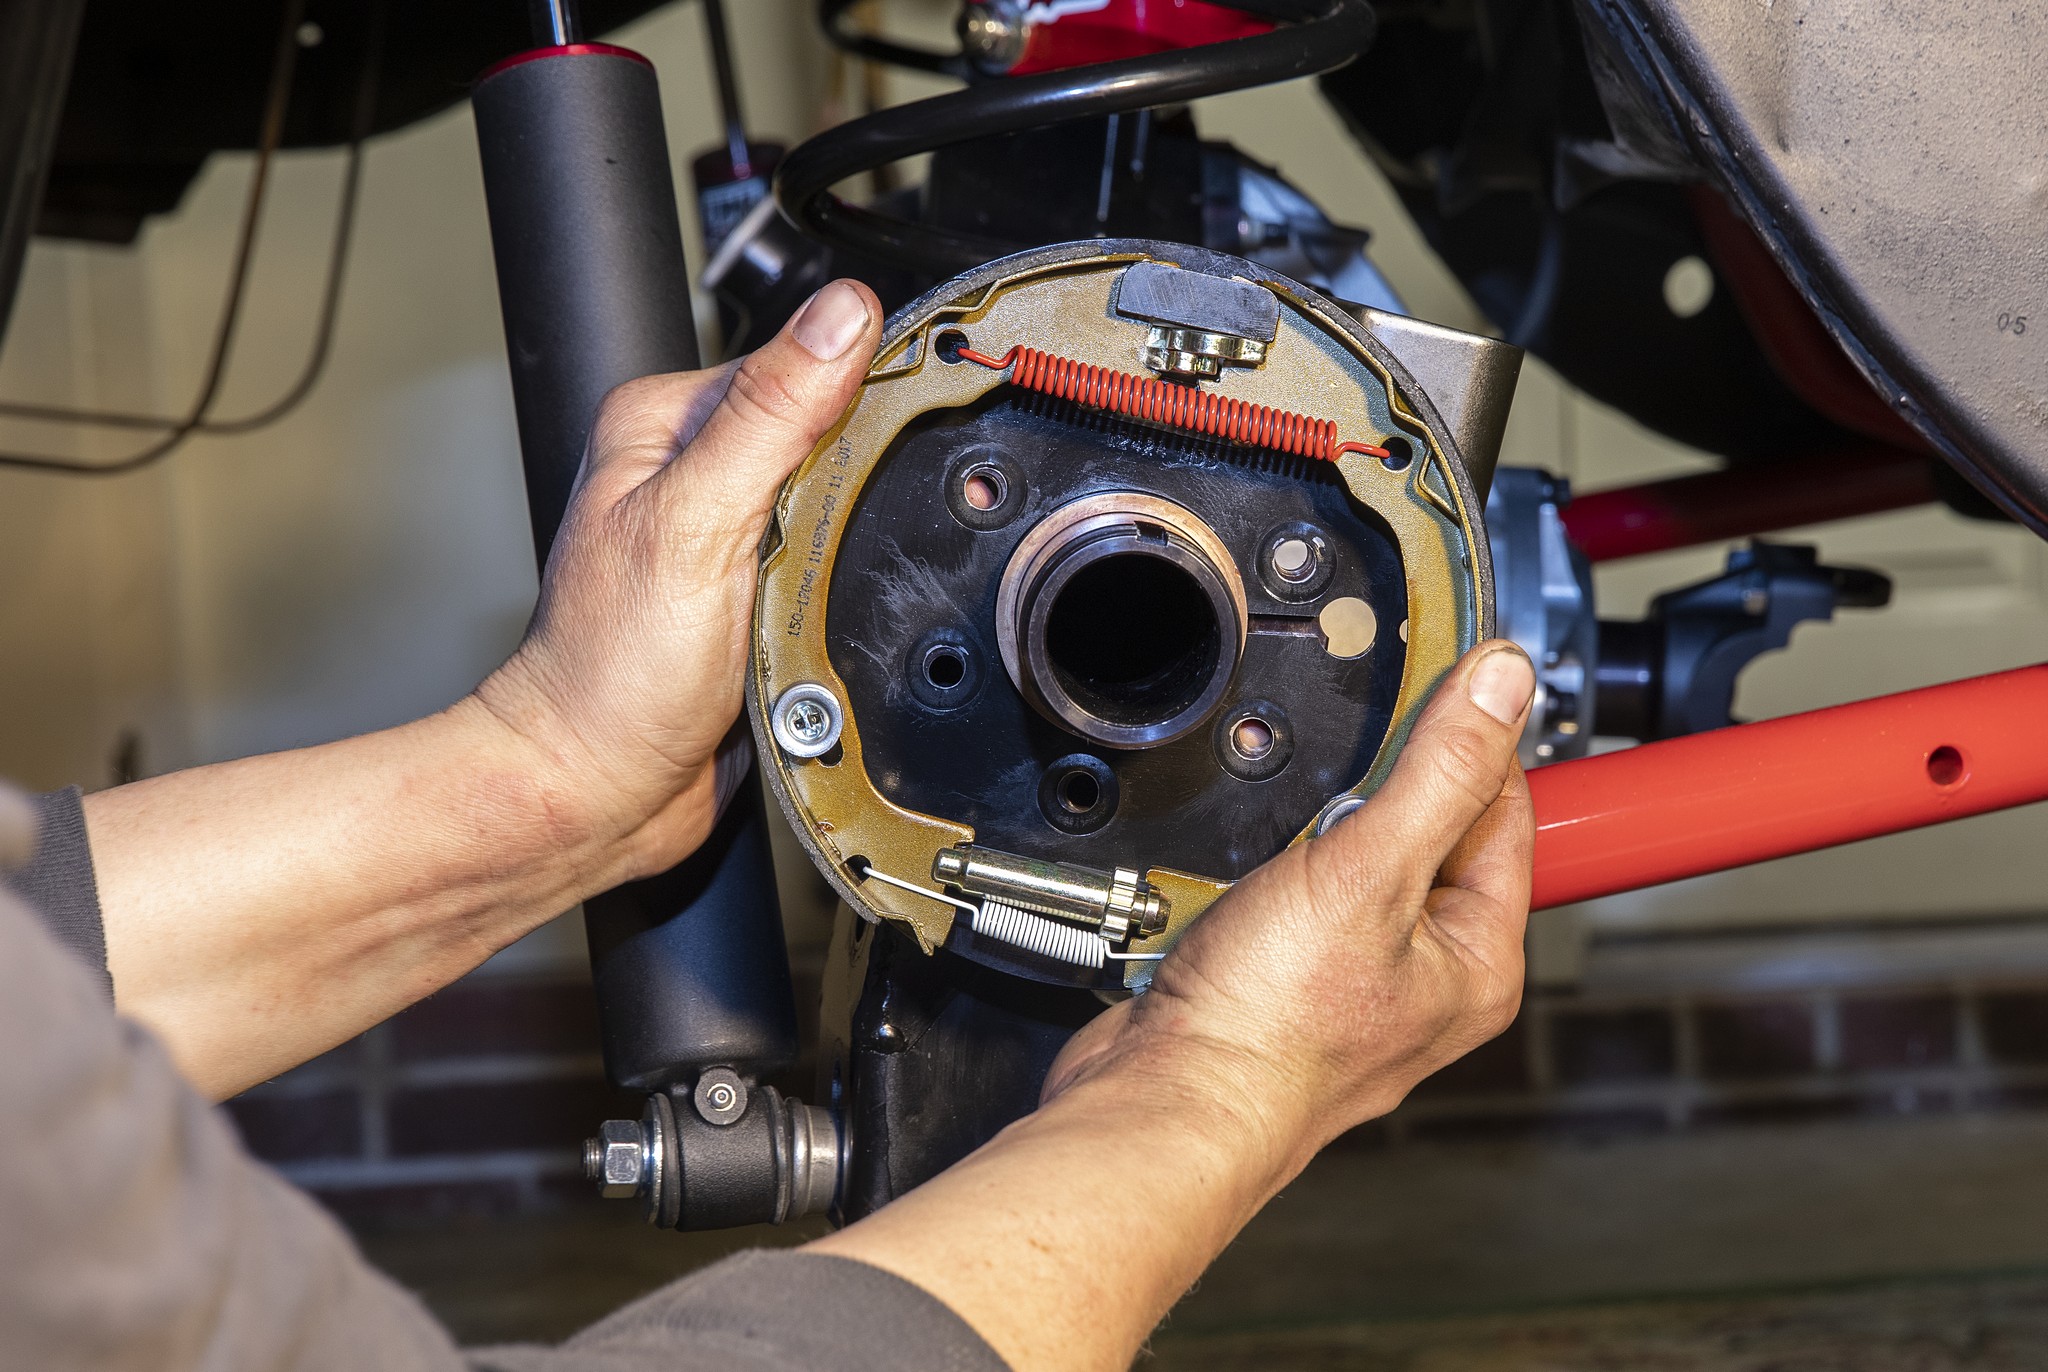
Our conveniences often add complexity, such as adding a parking brake. Luckily, the Wildwood brake kit is relatively simple. It’s essential to test-fit without red Loctite first. We needed to remove the backing plate three times to get the right caliper shims. The caliper needs to be centered on the rotor by changing the shims between the caliper and bracket mounts. We required the addition of a parking-brake cable kit (Wildwood PN 330-9317; $129.54).

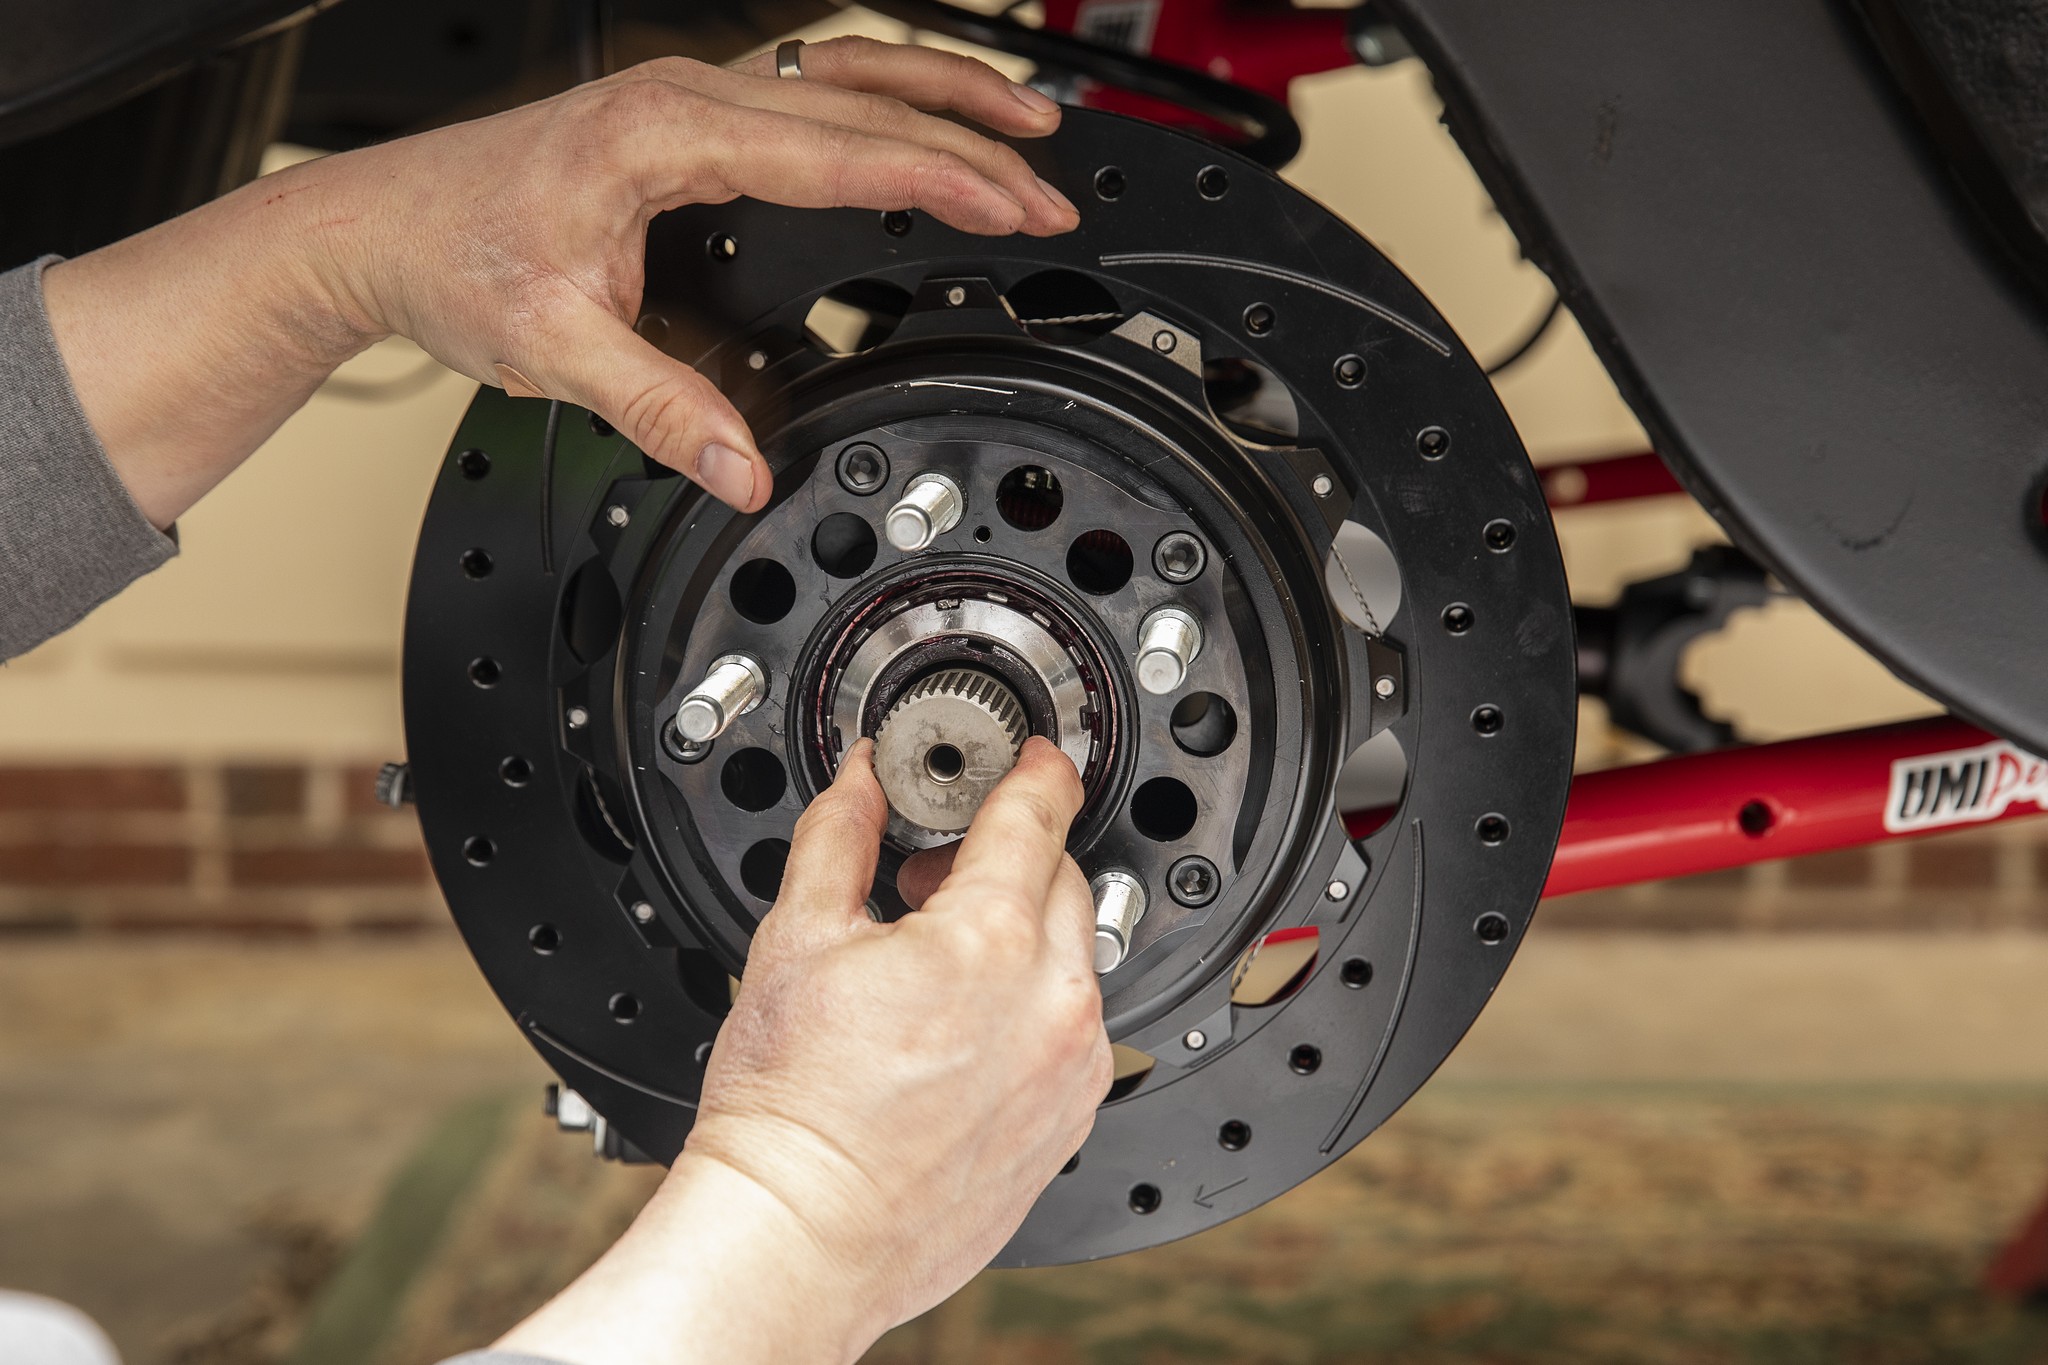
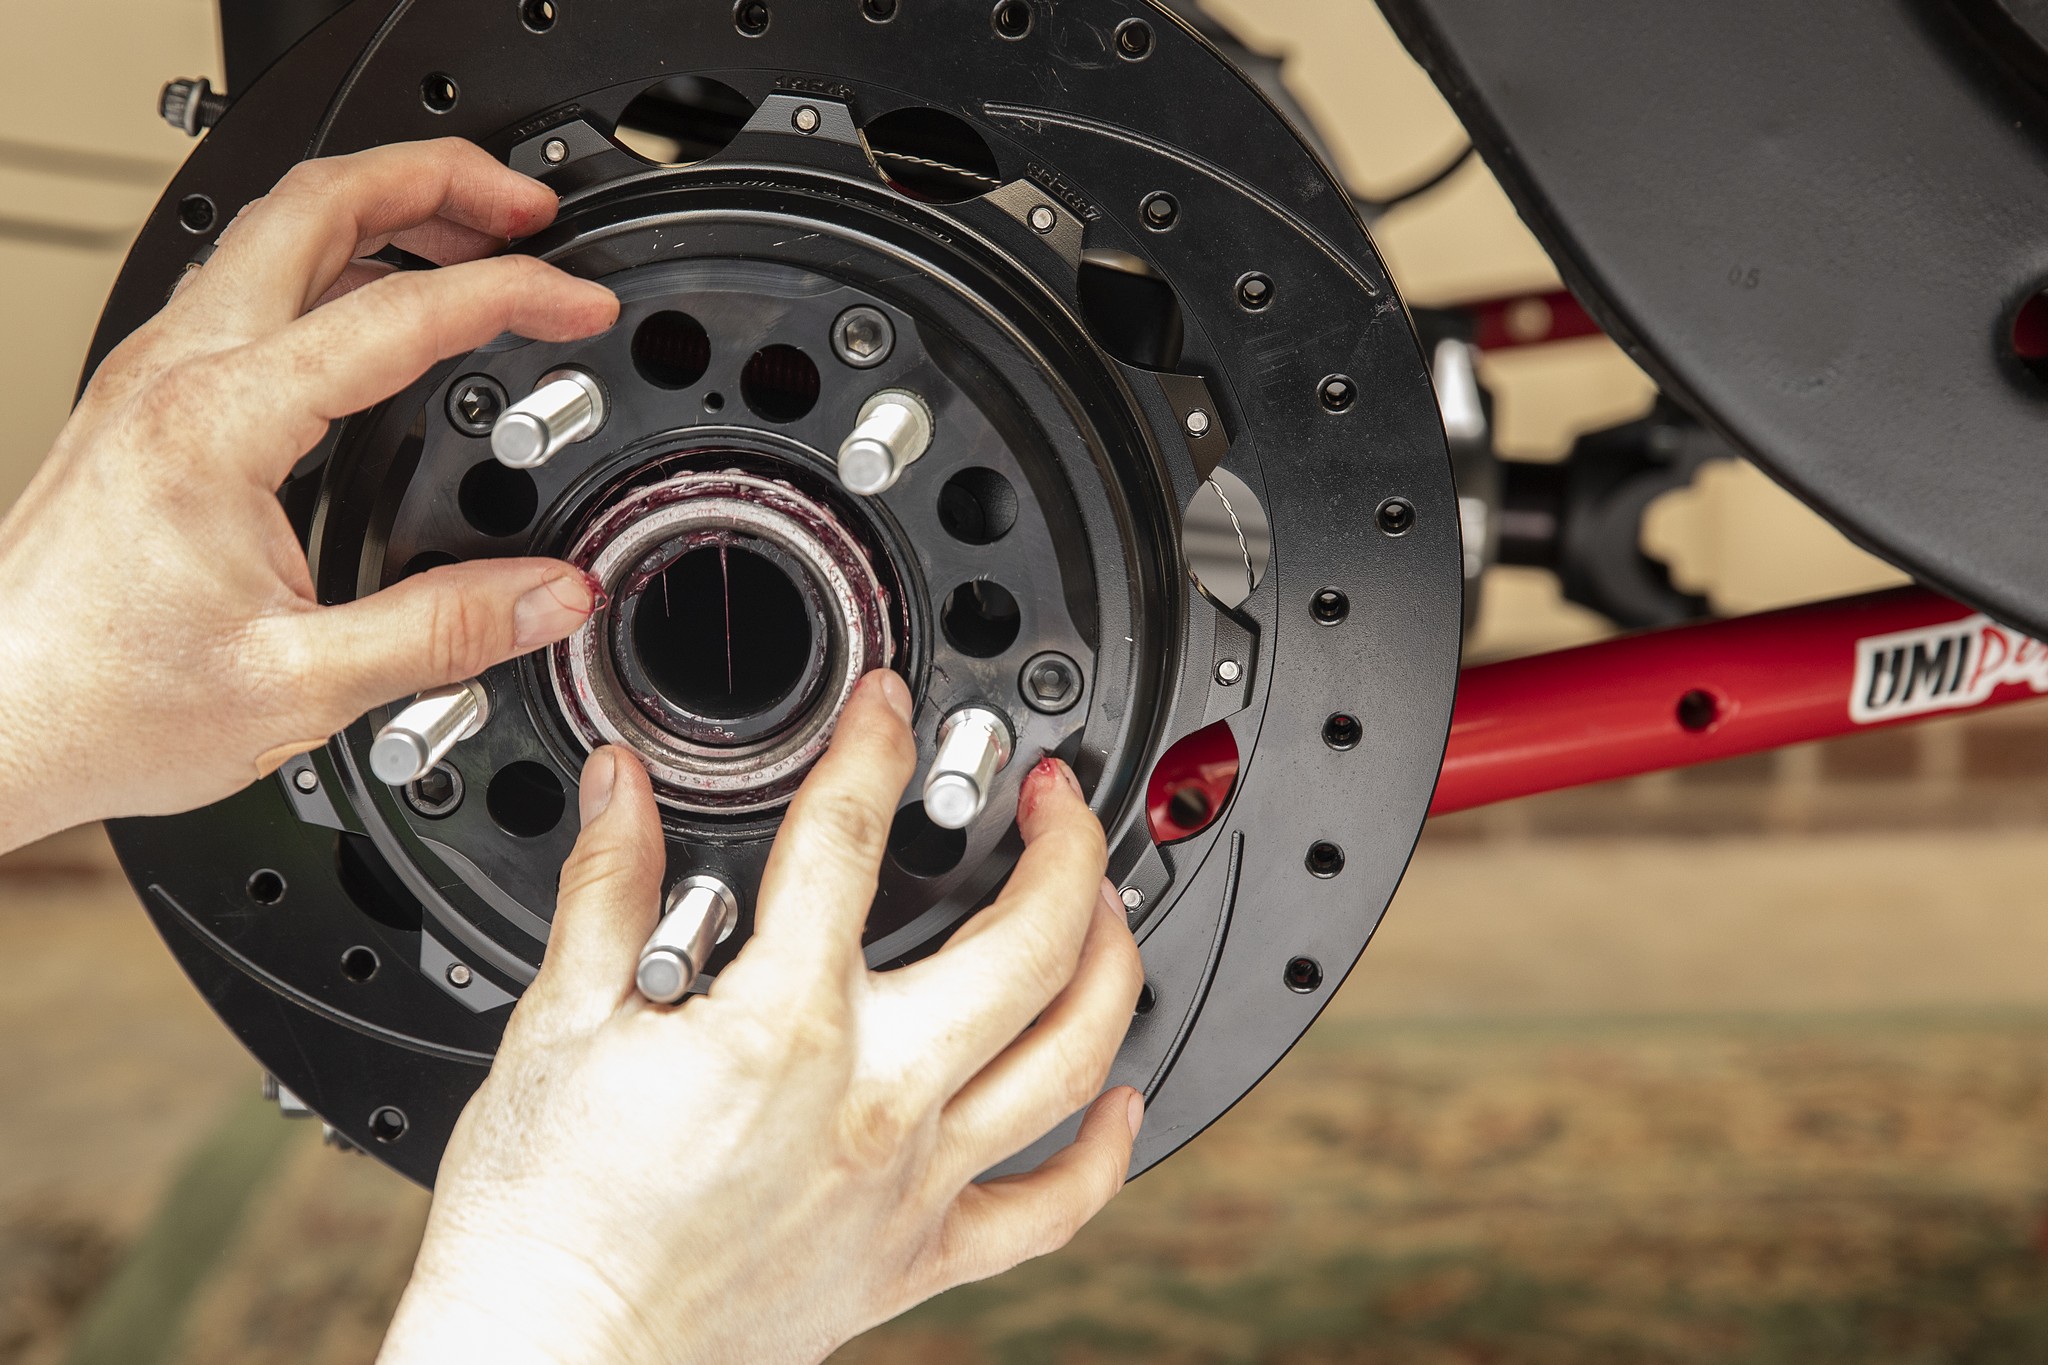
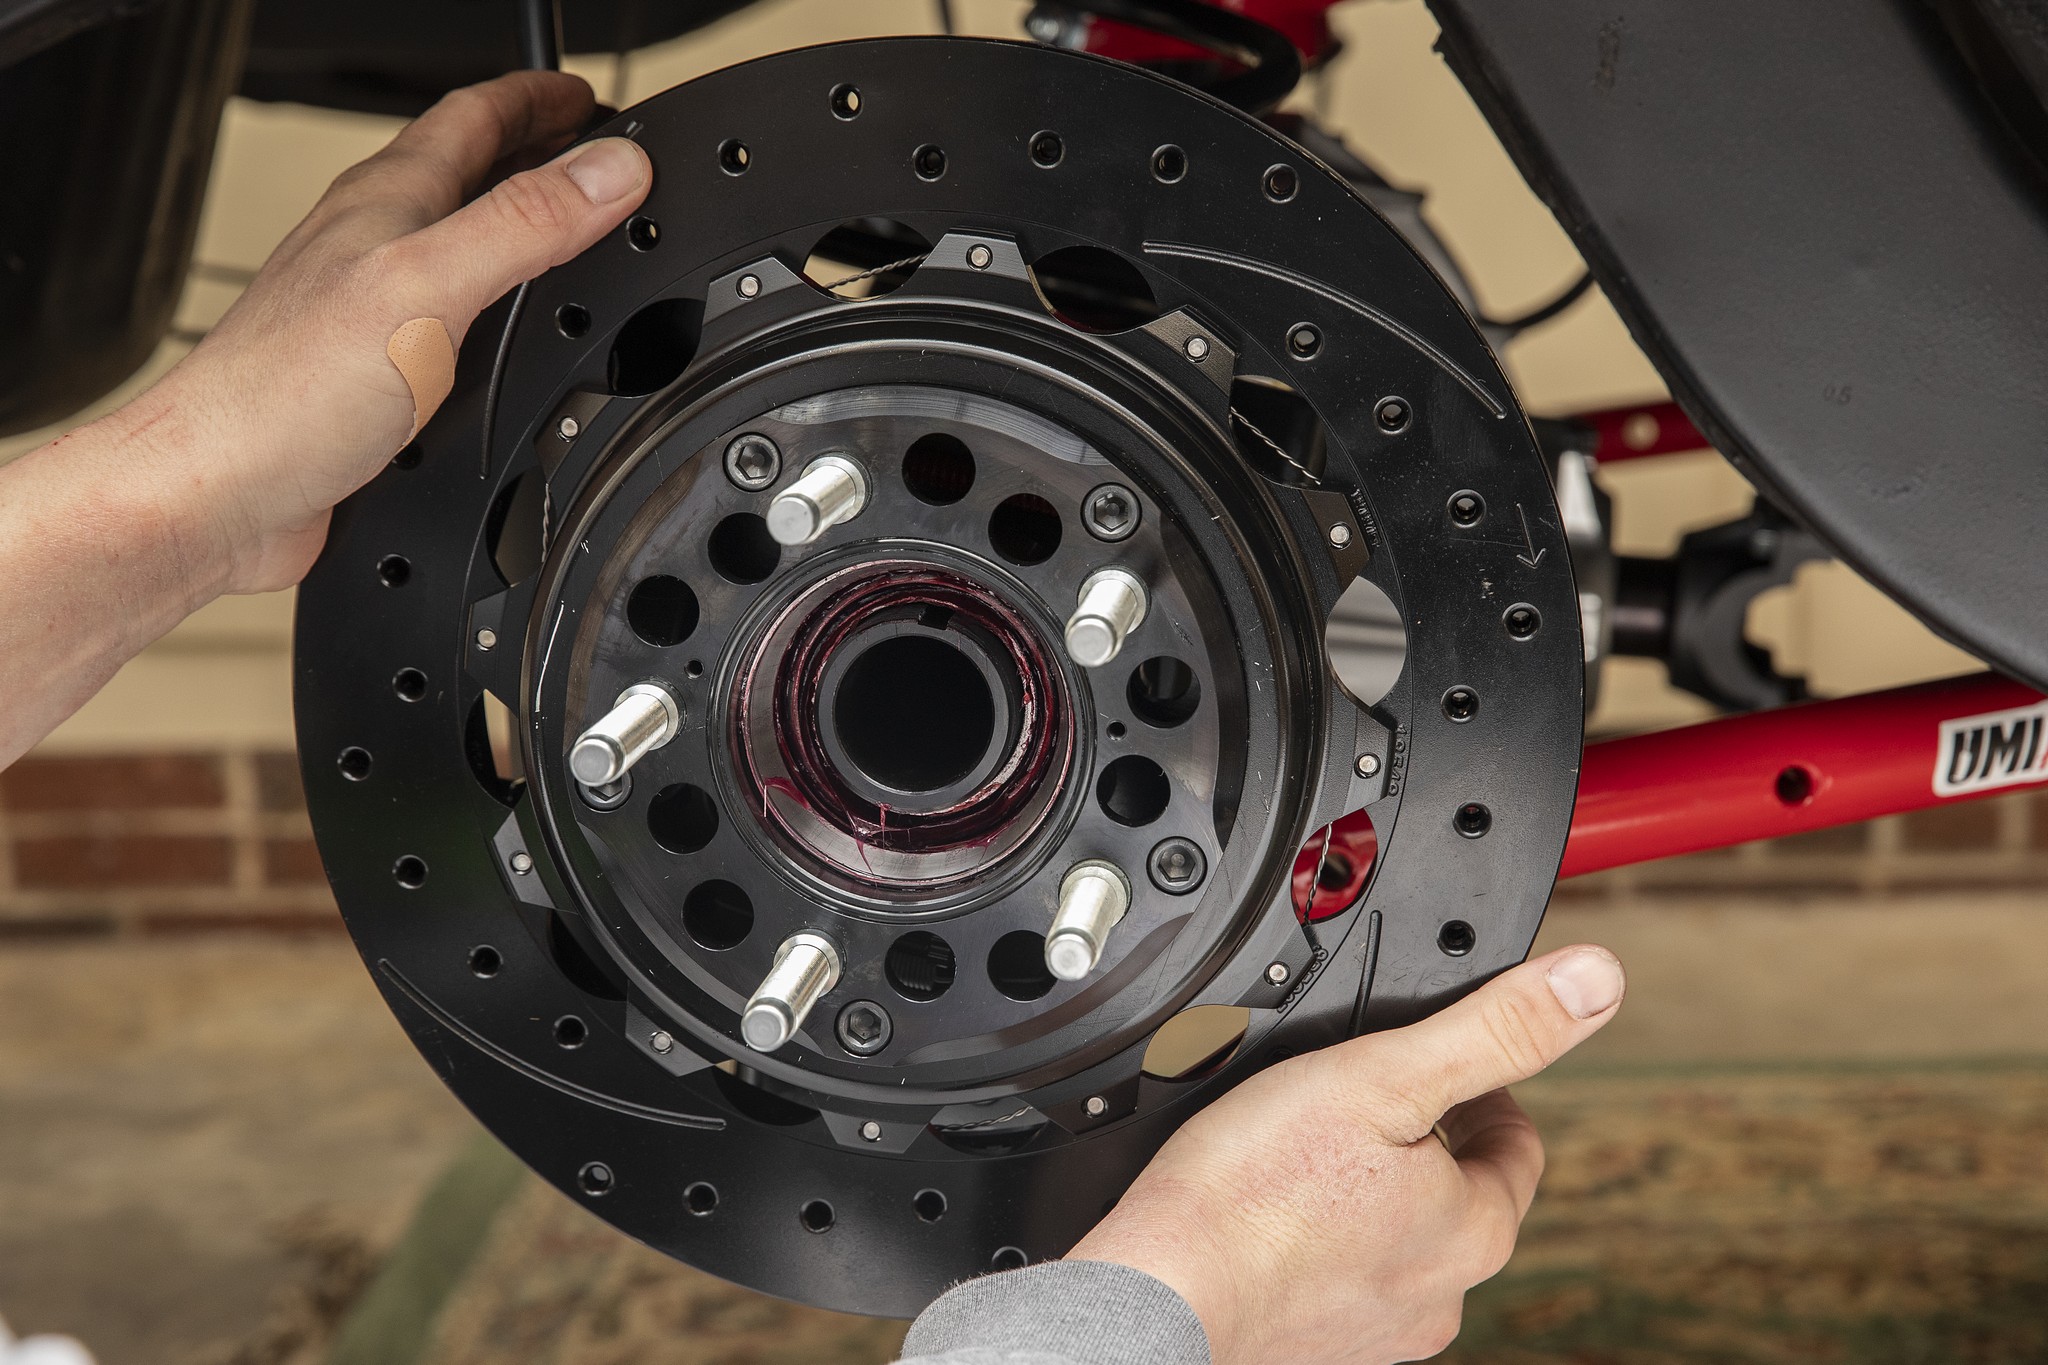
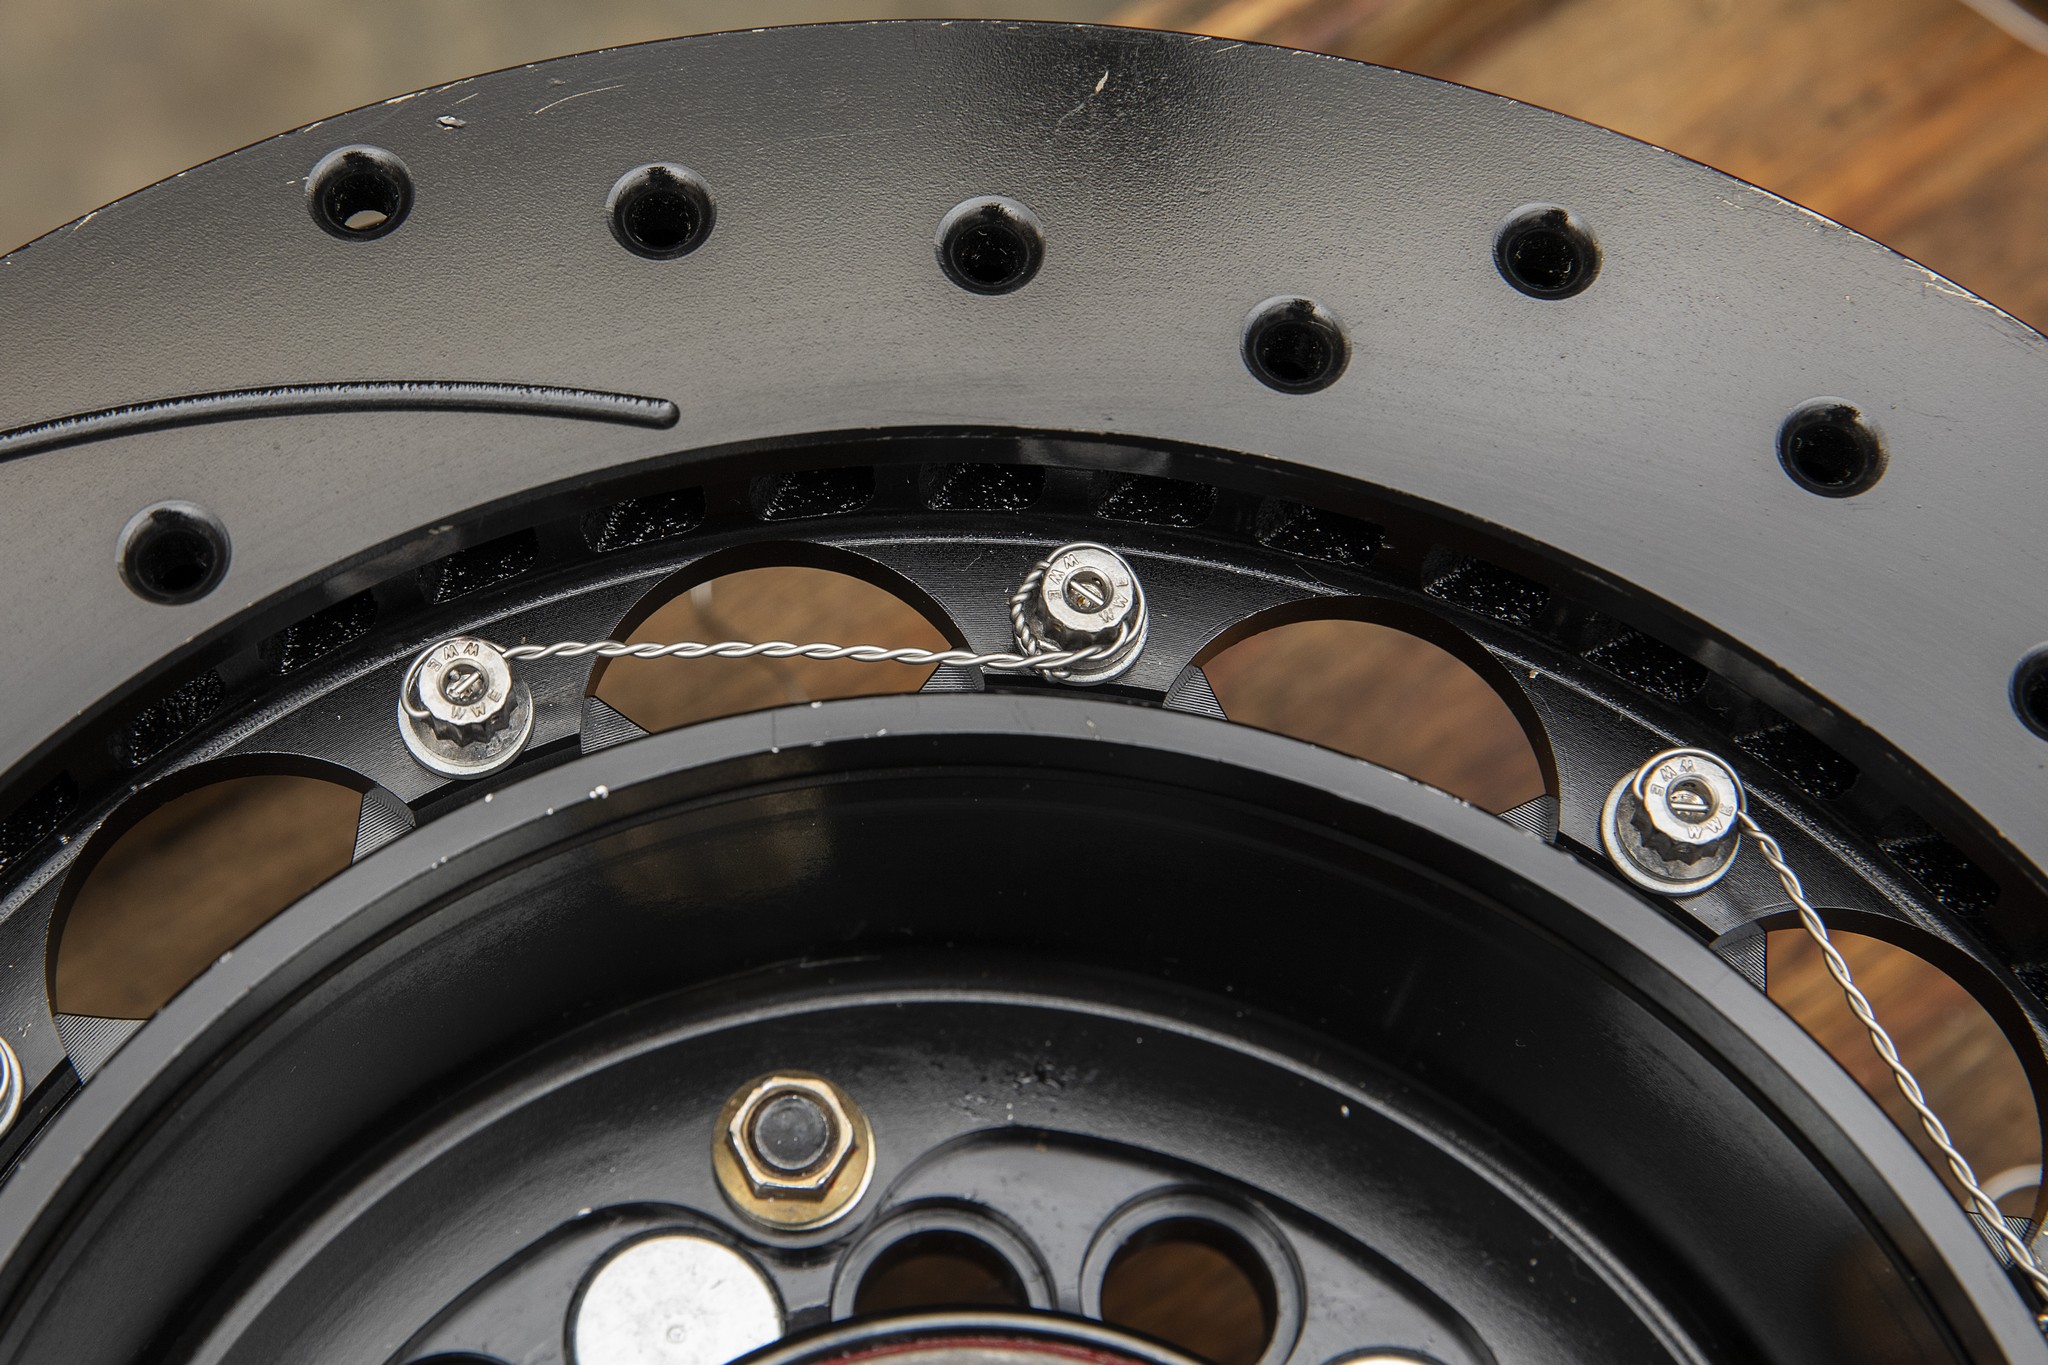
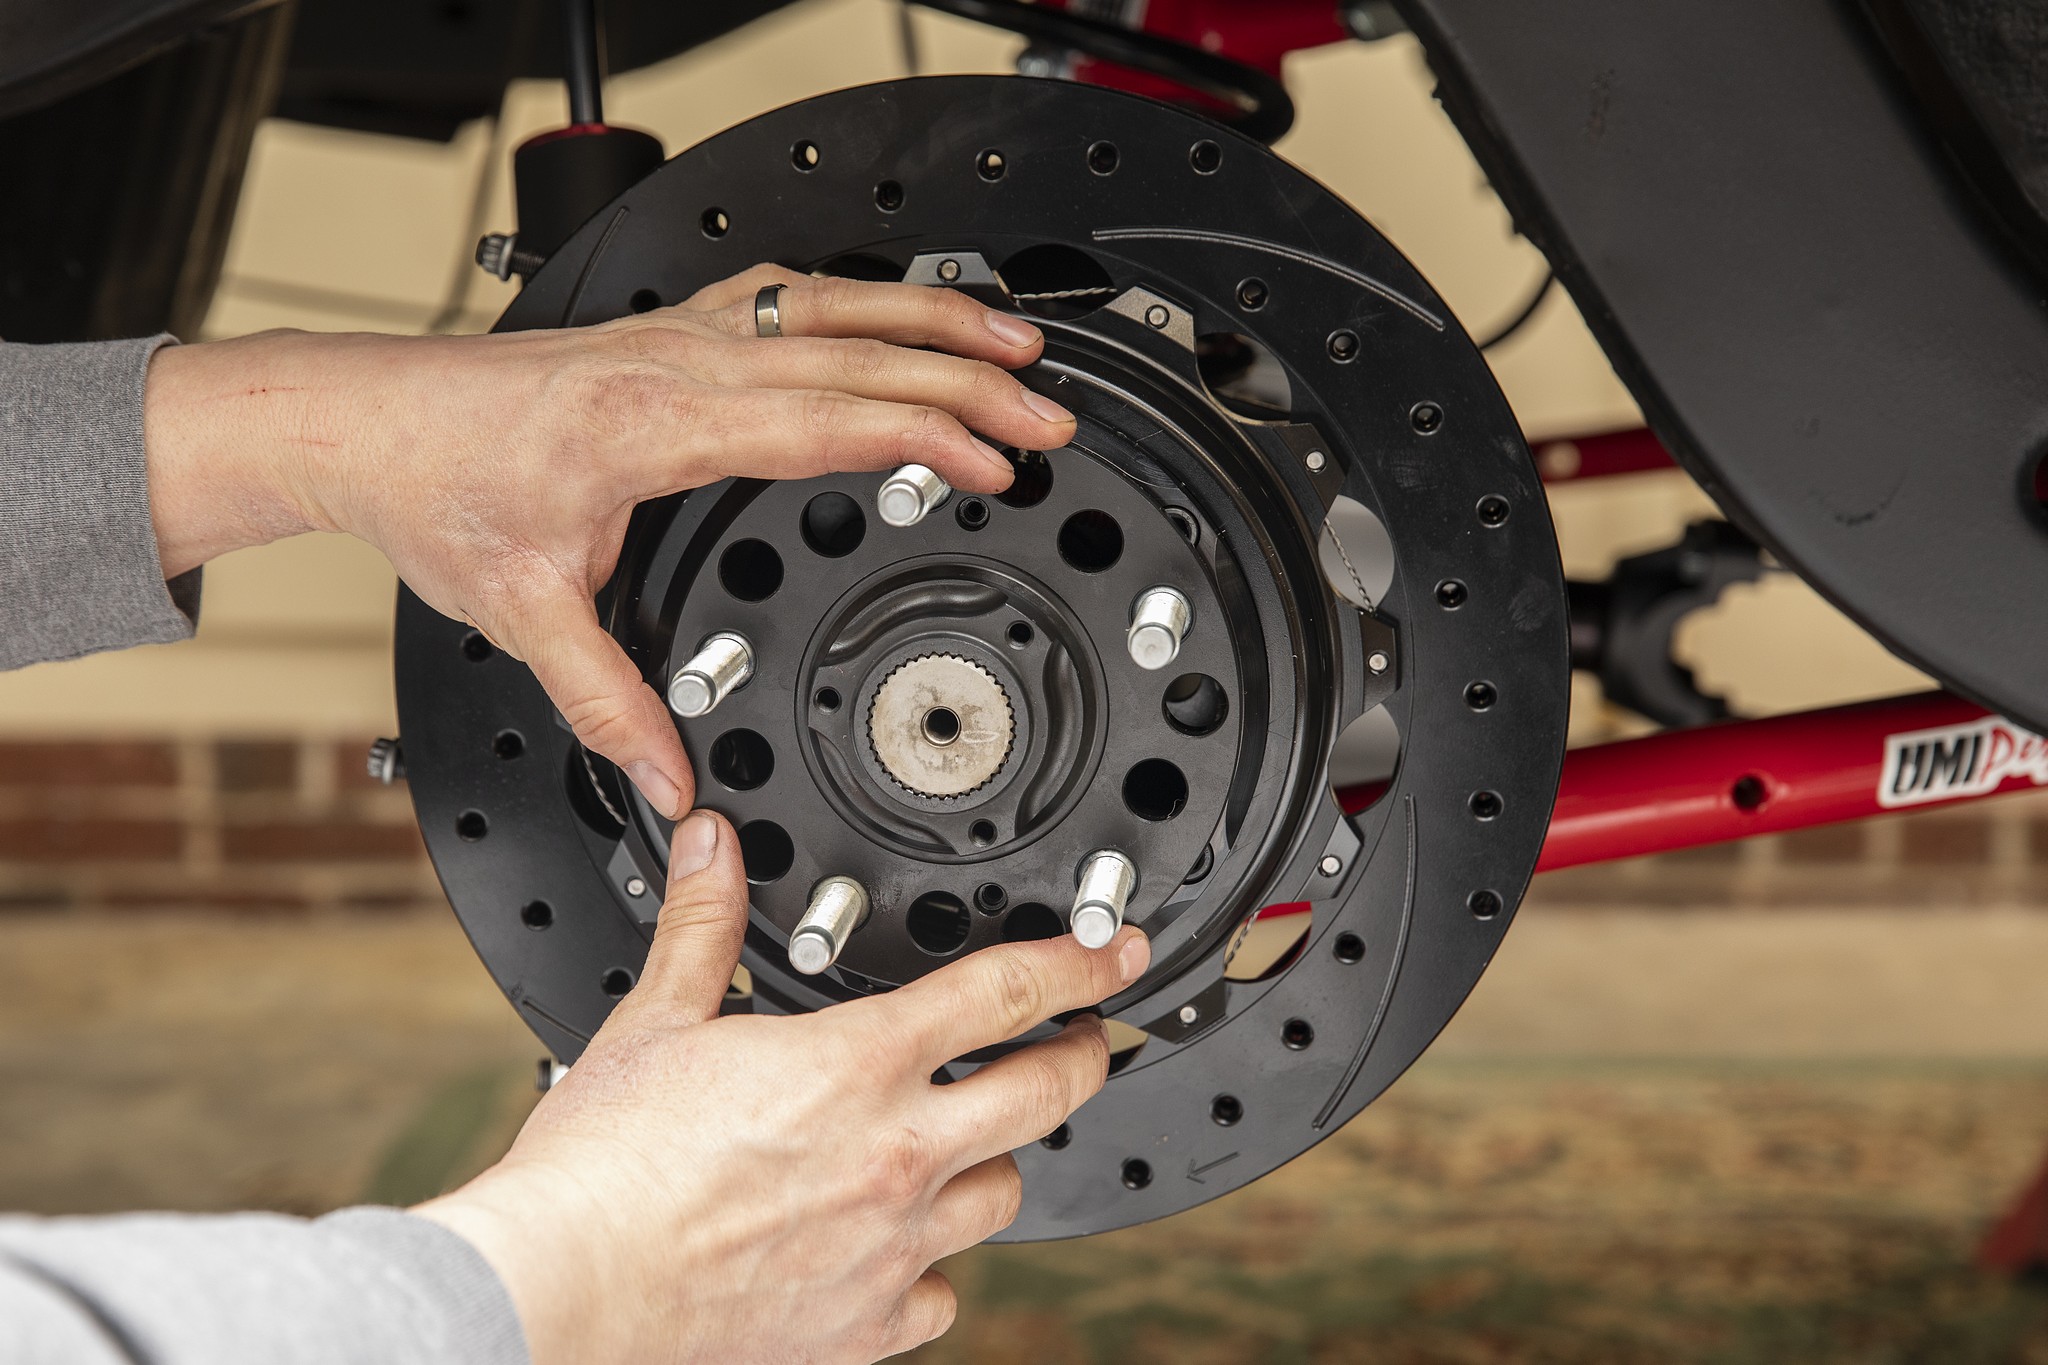
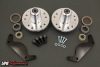
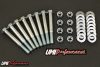
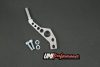
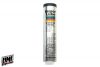
We built half of the Wildwood 13-inch rotor on the bench, safety-wiring the bolts with .032-inch stainless-steel safety wire from McMaster-Carr (PN 8860K63; $13.29) and some Harbor Freight wire twisting pliers (PN 45341; $12.59). The hub is bolted to the disc using Red 271 Loctite. The outer bearing races come pre-installed. We pack and lay our inner bearings in place and install the seal.
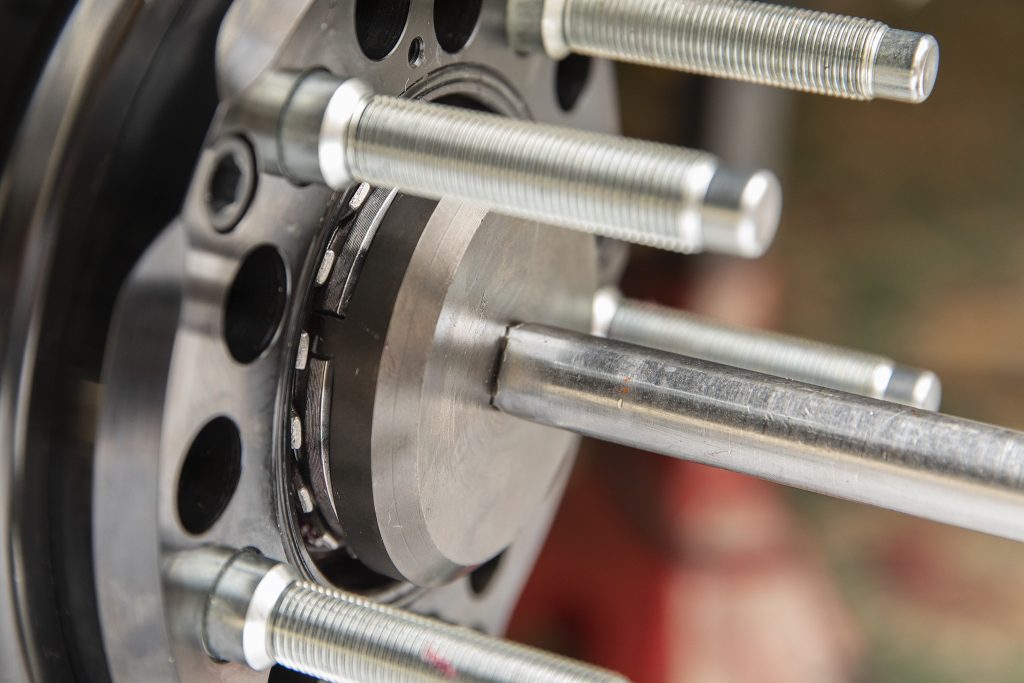
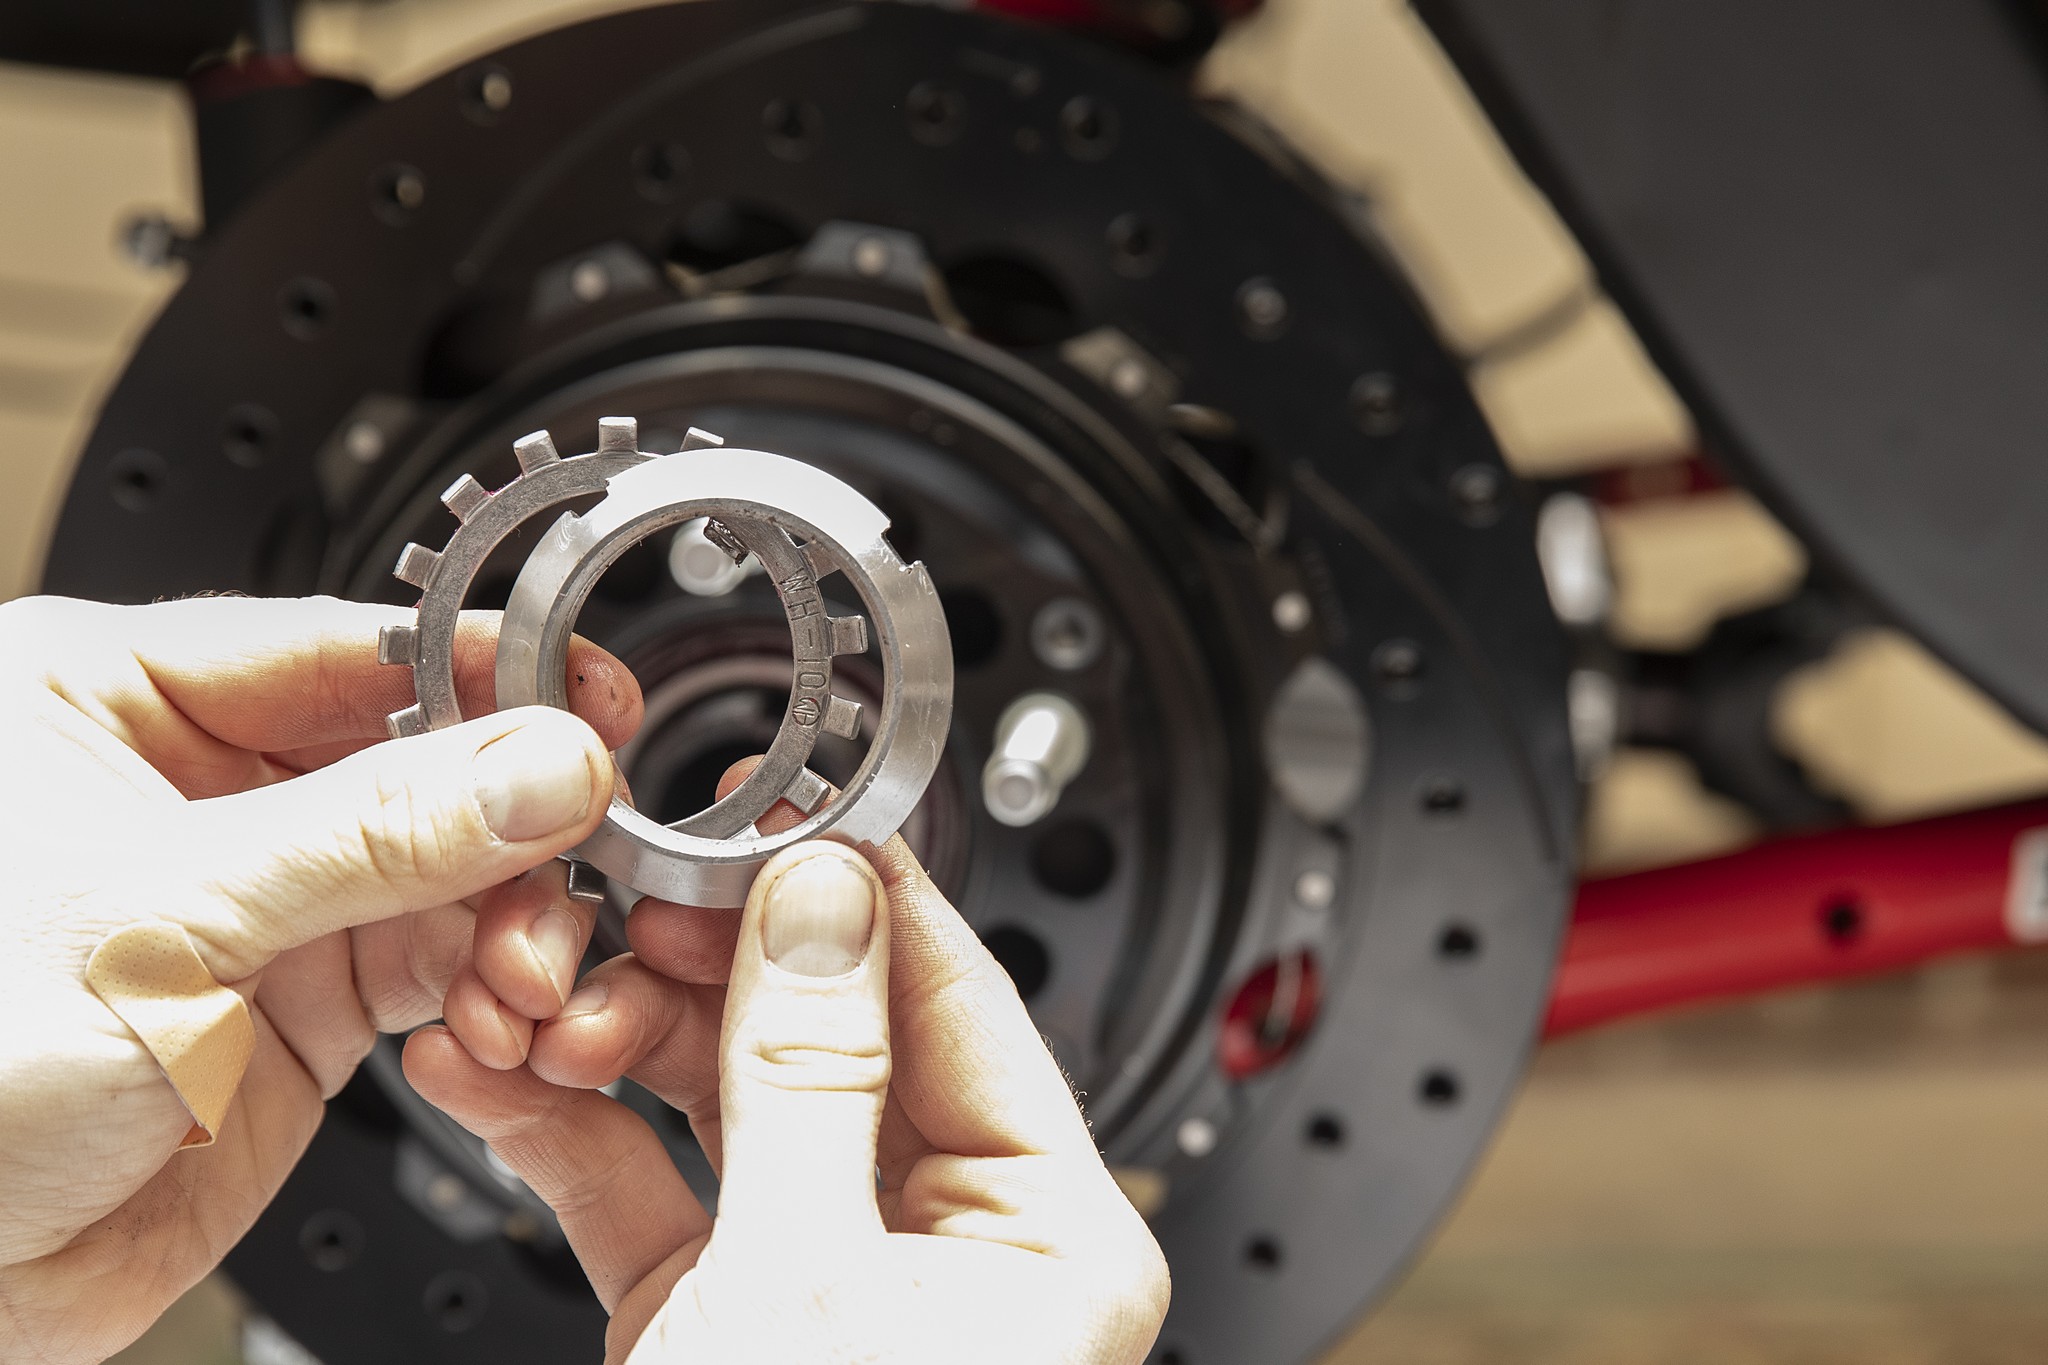
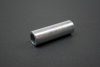
The hub/disc slides onto the spindle on the outside of the axle tube, encasing the parking brake pads. Next, we lay a spacer and a newly packed outer bearing in place. The bearings are held in place by a nut retainer washer followed by a special spindle nut. Strange Engineering supplies a special nut wrench which accepts a ½-inch socket drive. Because the bearings use an inner spacer, the spindle nut torques to spec, without having to spin the hub. We hammer down an ear on the retainer to hold the nut in place.
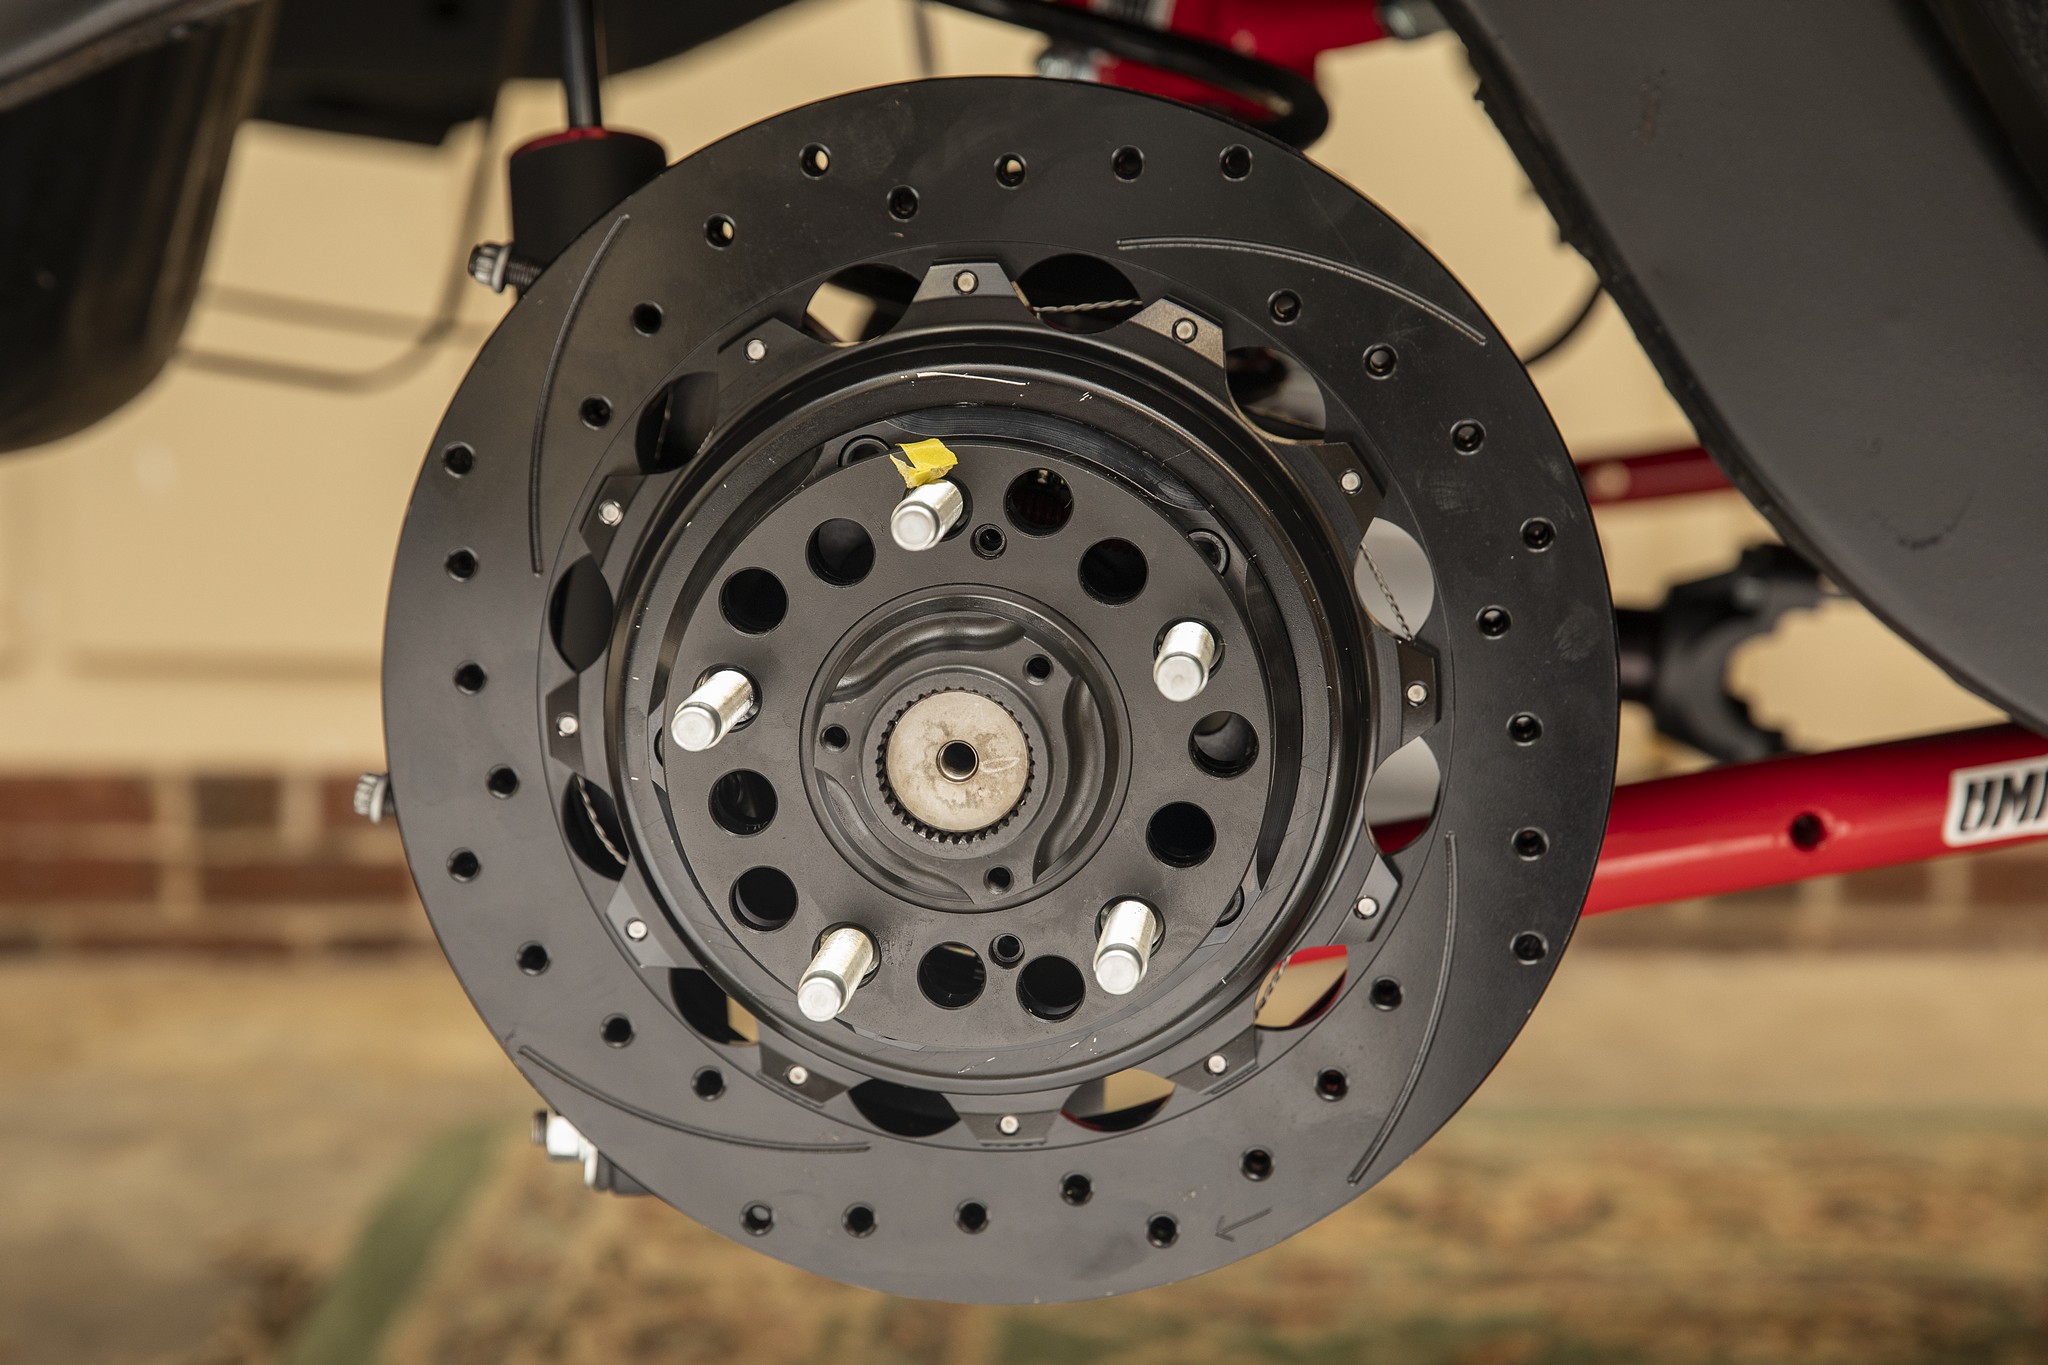
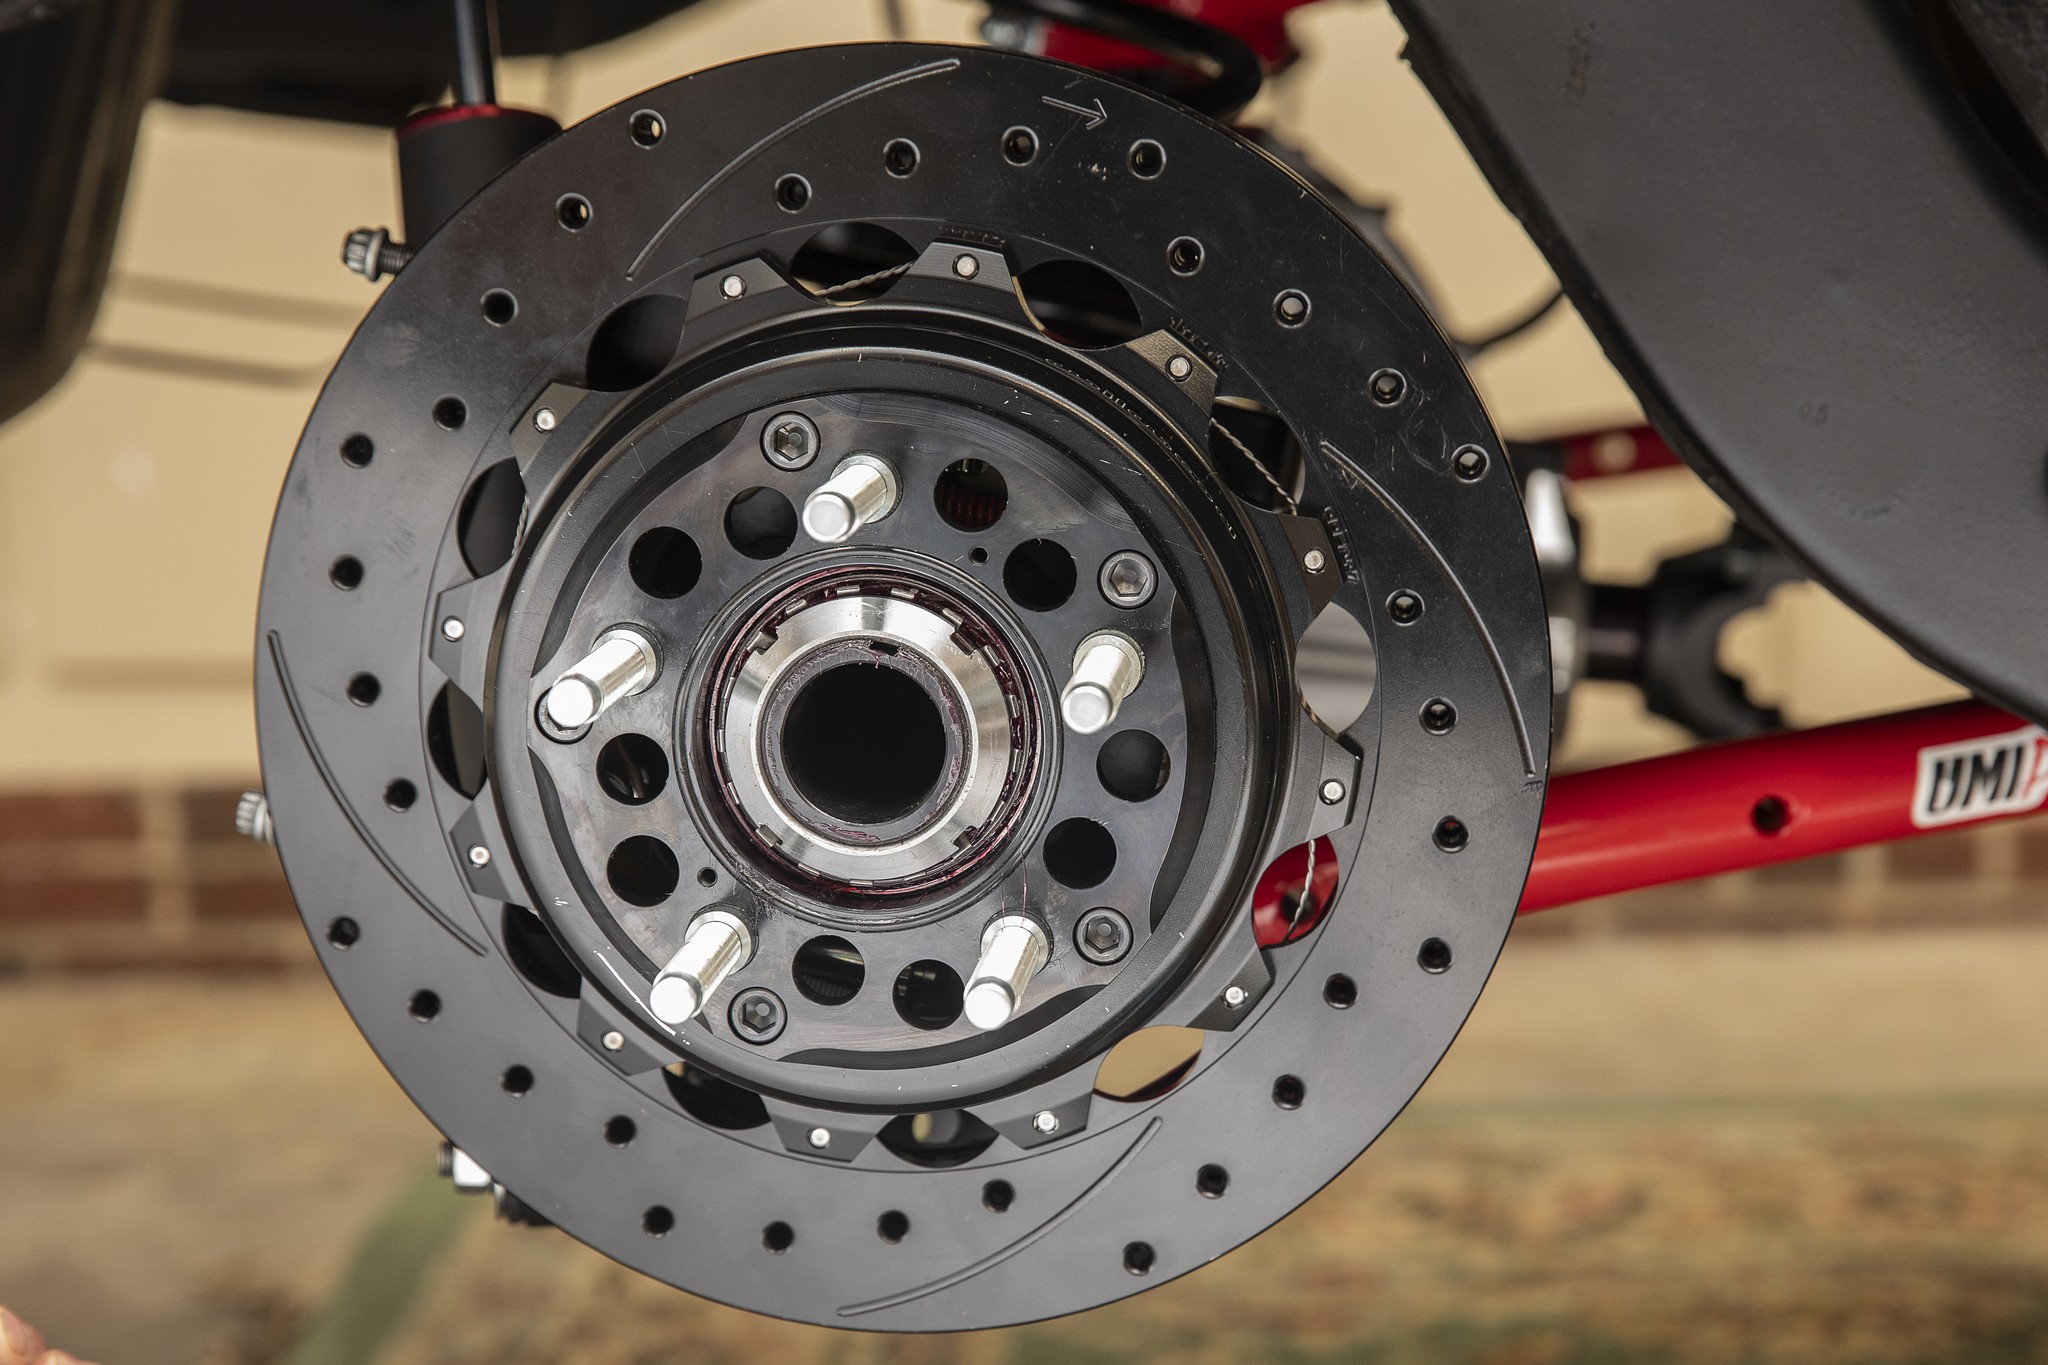
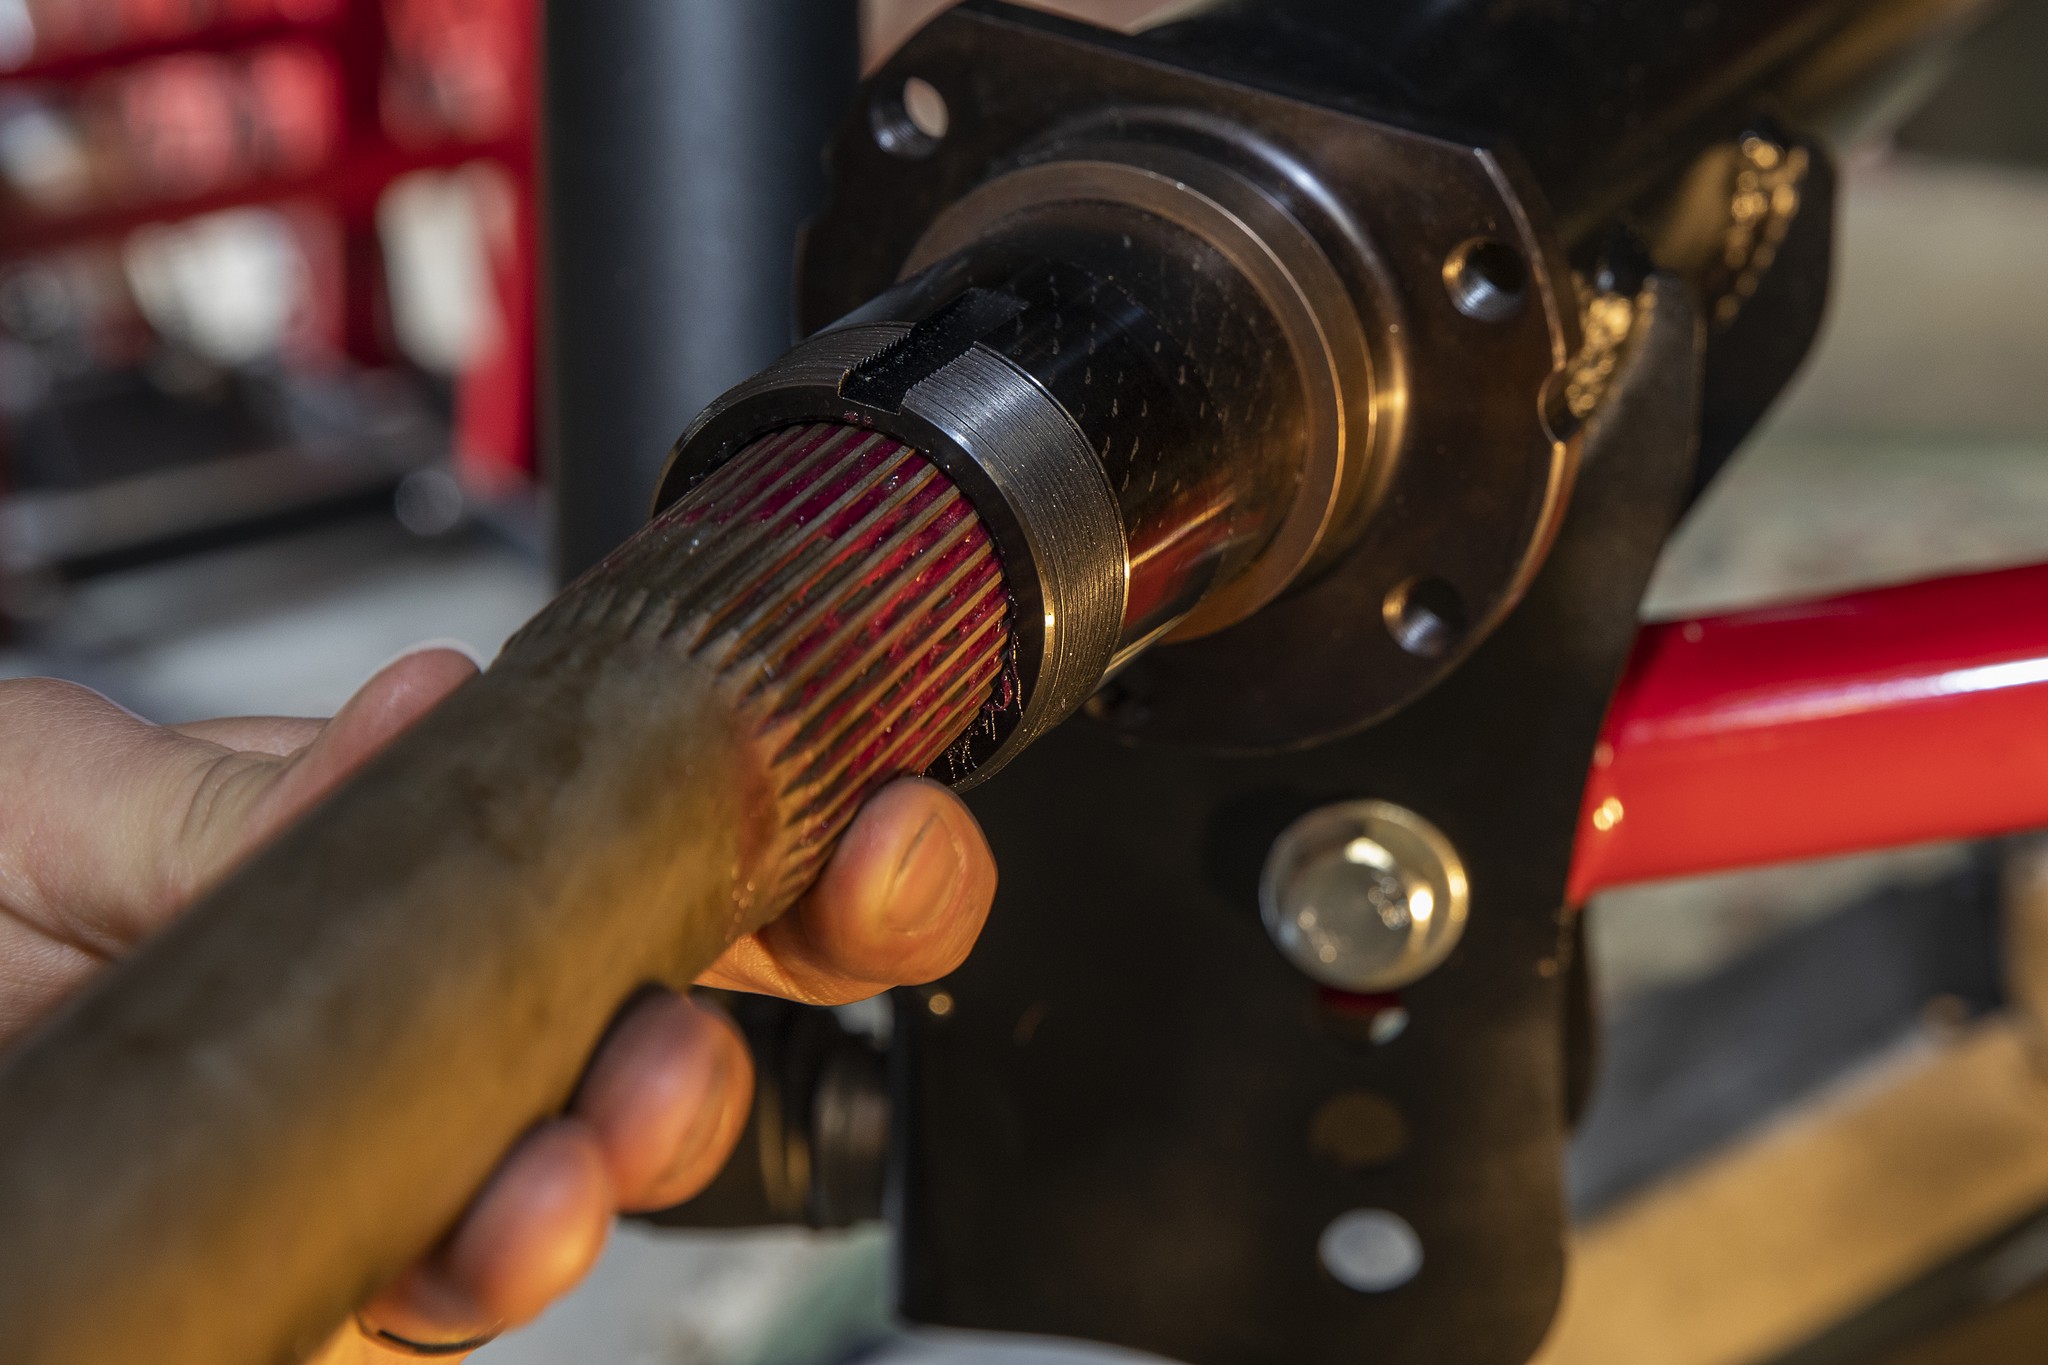
Finally, the axle easily slides into place, but it’ll take a few tries to align the outer splined-drive plate with the axle. The drive plate slips over the axle and studs. It’s held in place with two small, flush Allen bolts. The studs handle the torque. The Strange Engineering cap finishes off the assembly.

The housing and S-Trac have been proven in 1,000hp applications and the HD Pro 9, even more. This set-up allows us plenty of room to grow into when we crank up the boost. Now all that’s left are dreams of big drifts and monster burnouts.
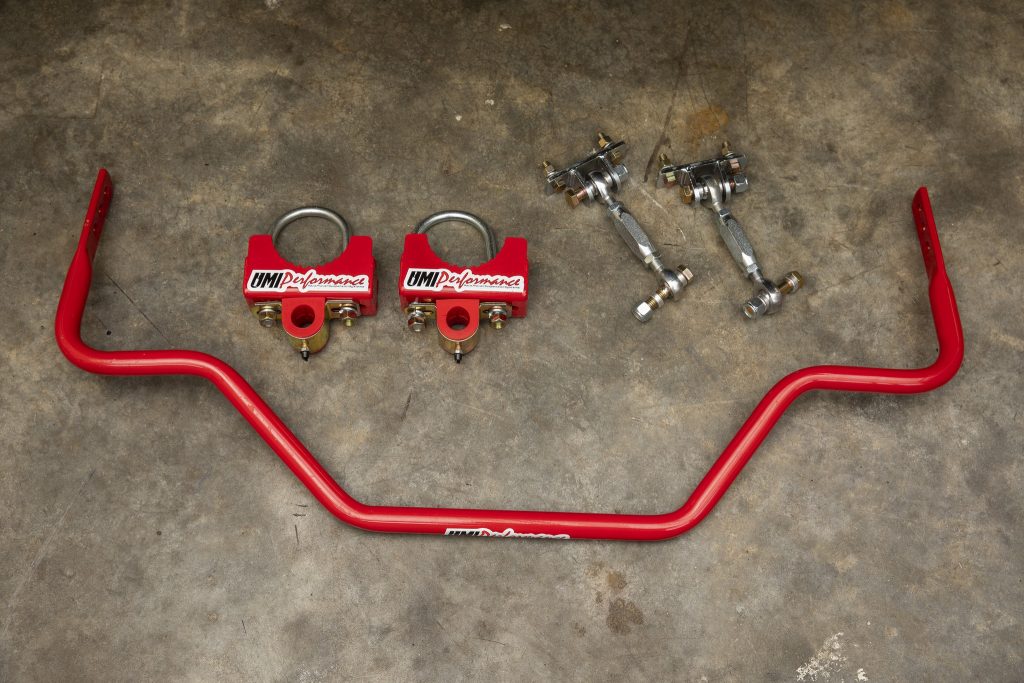
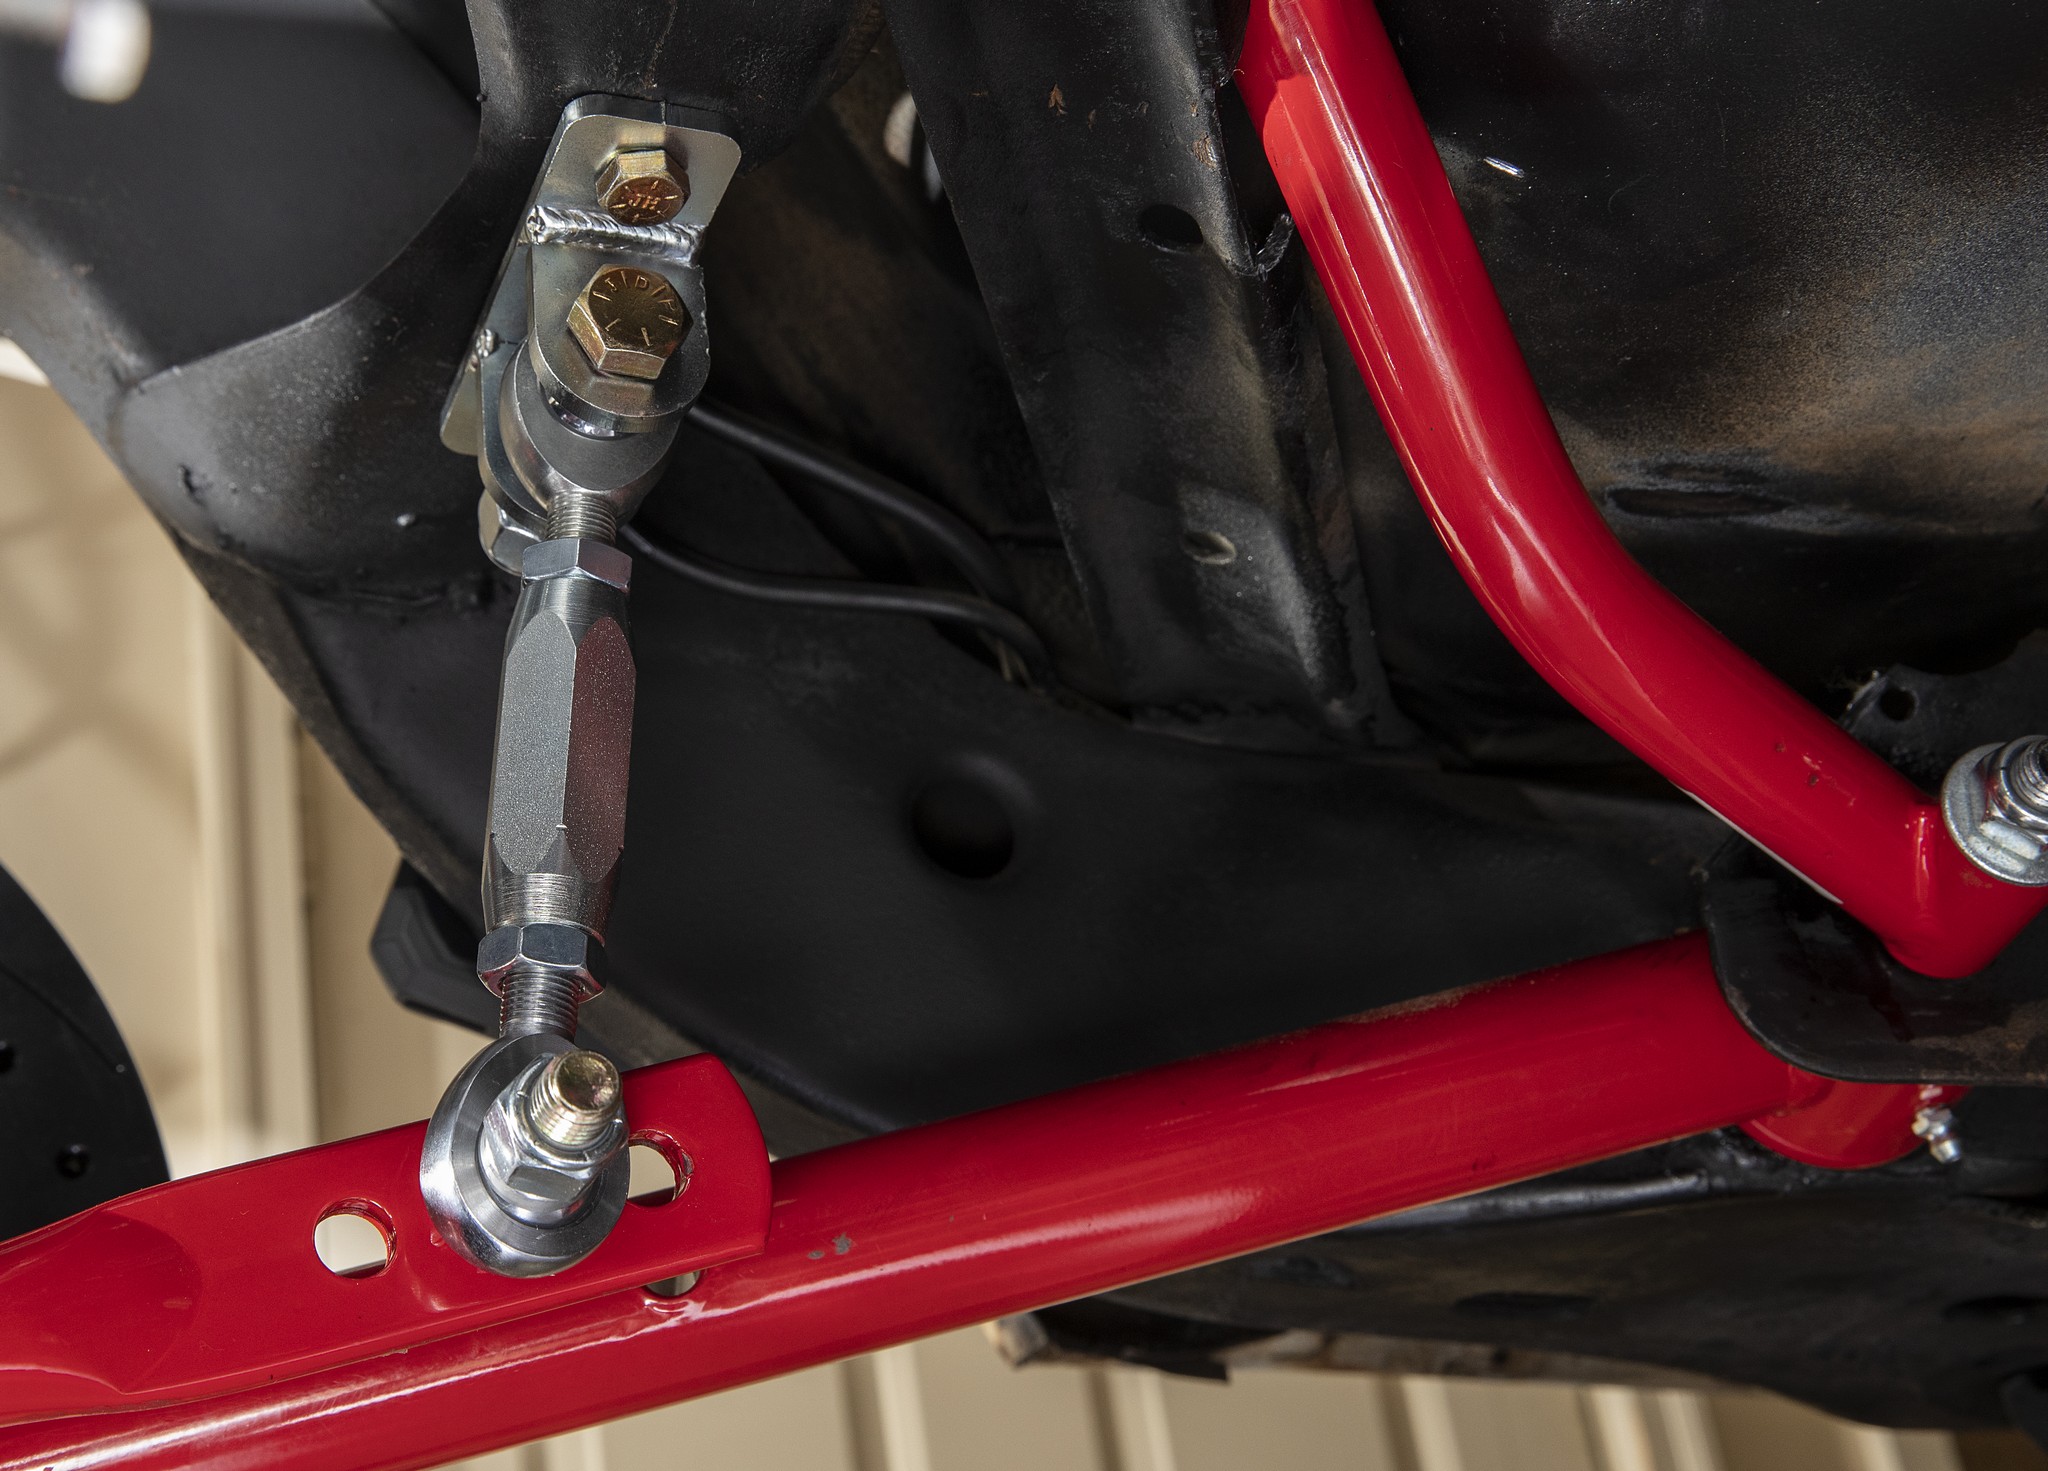
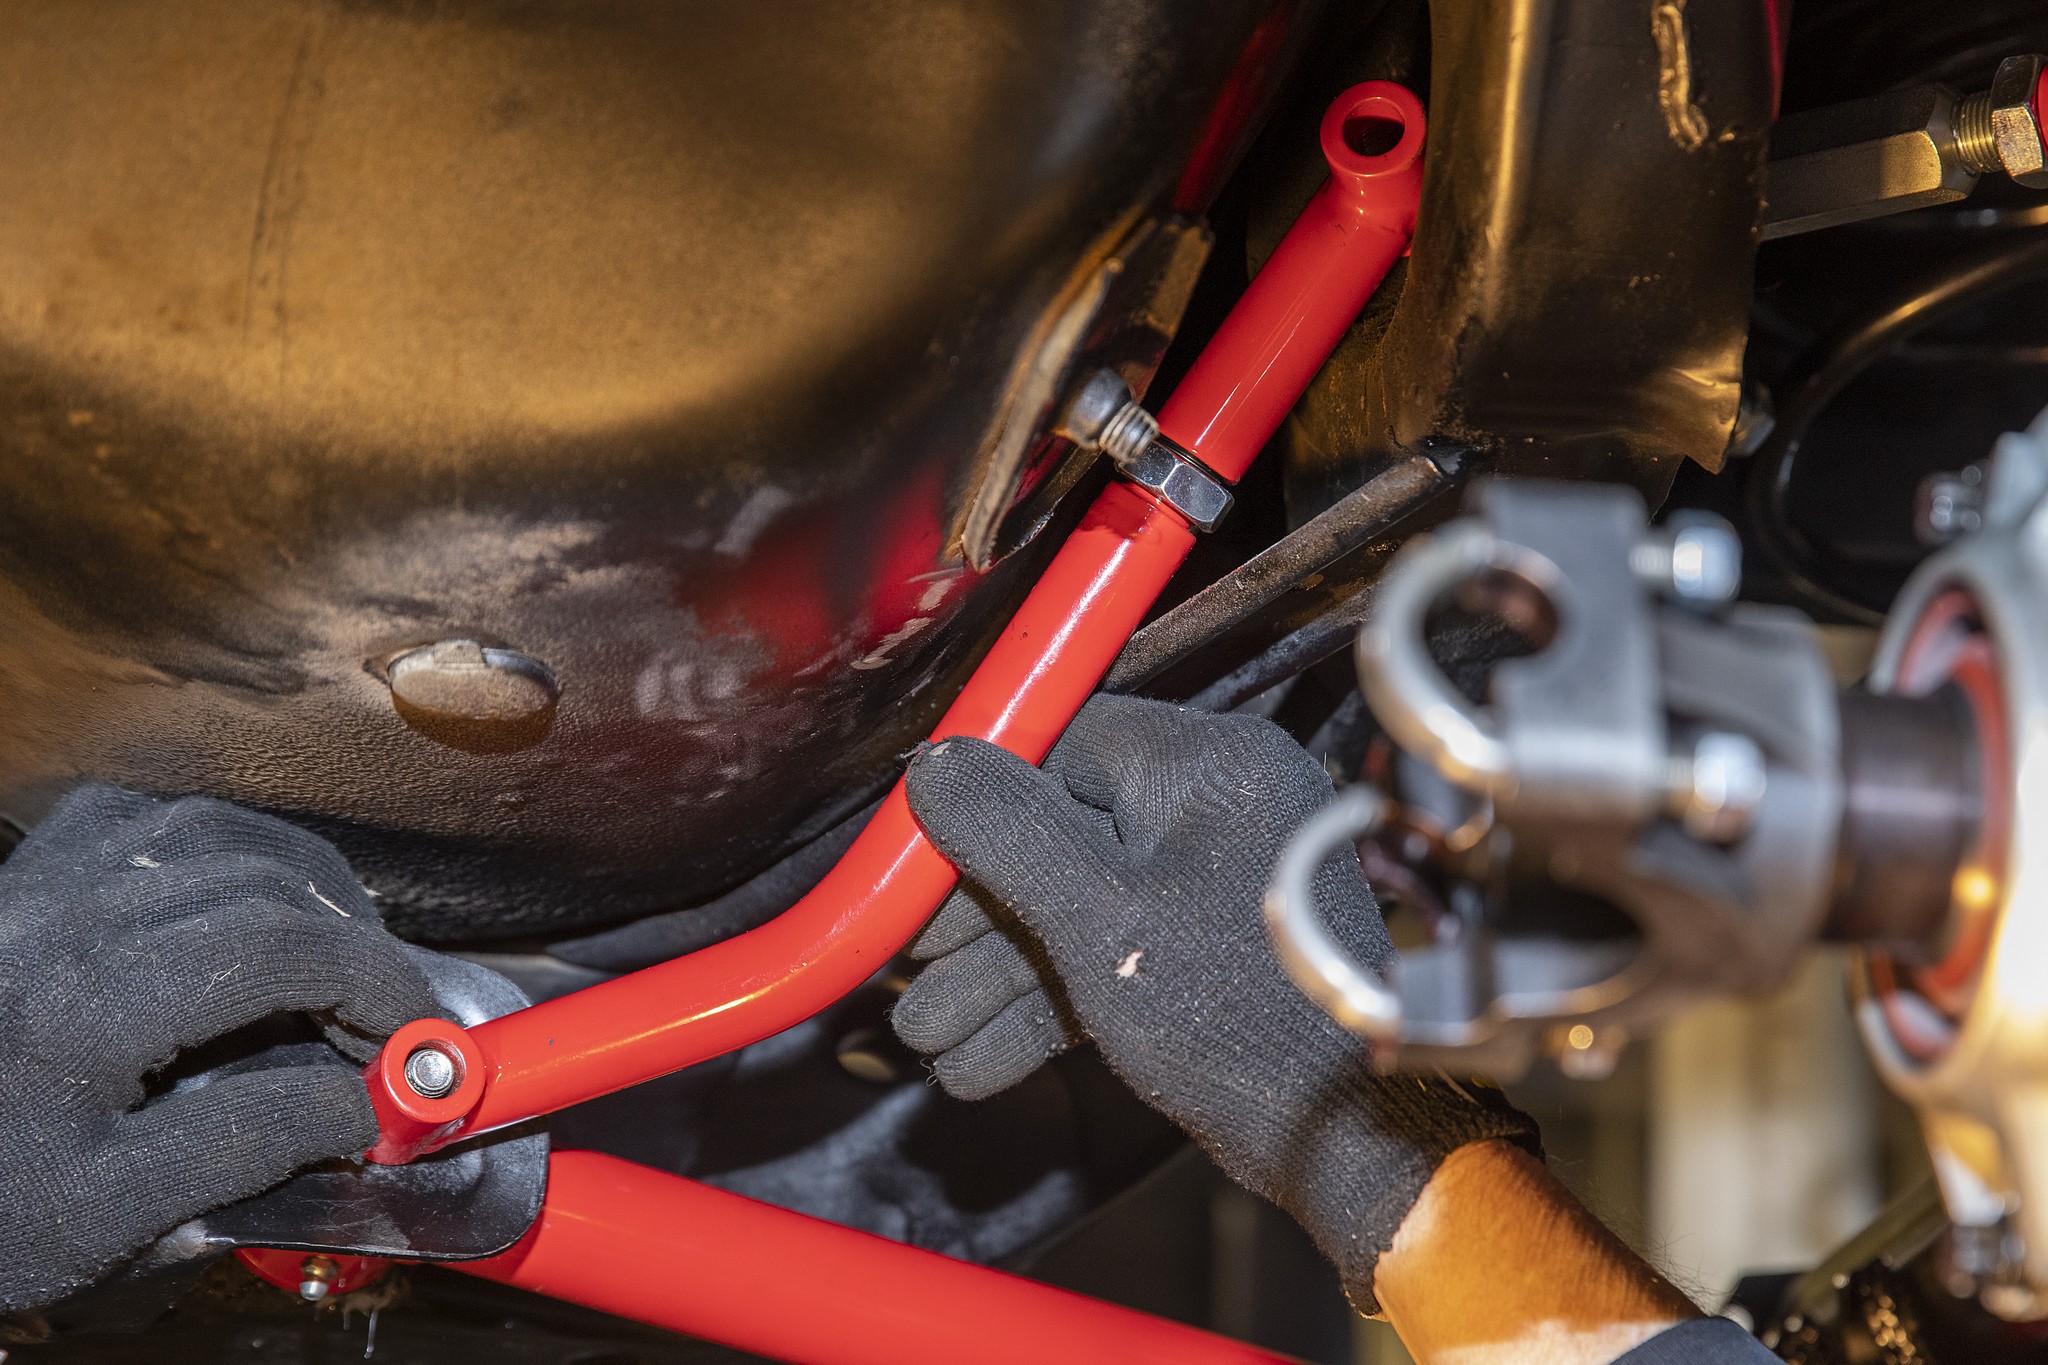
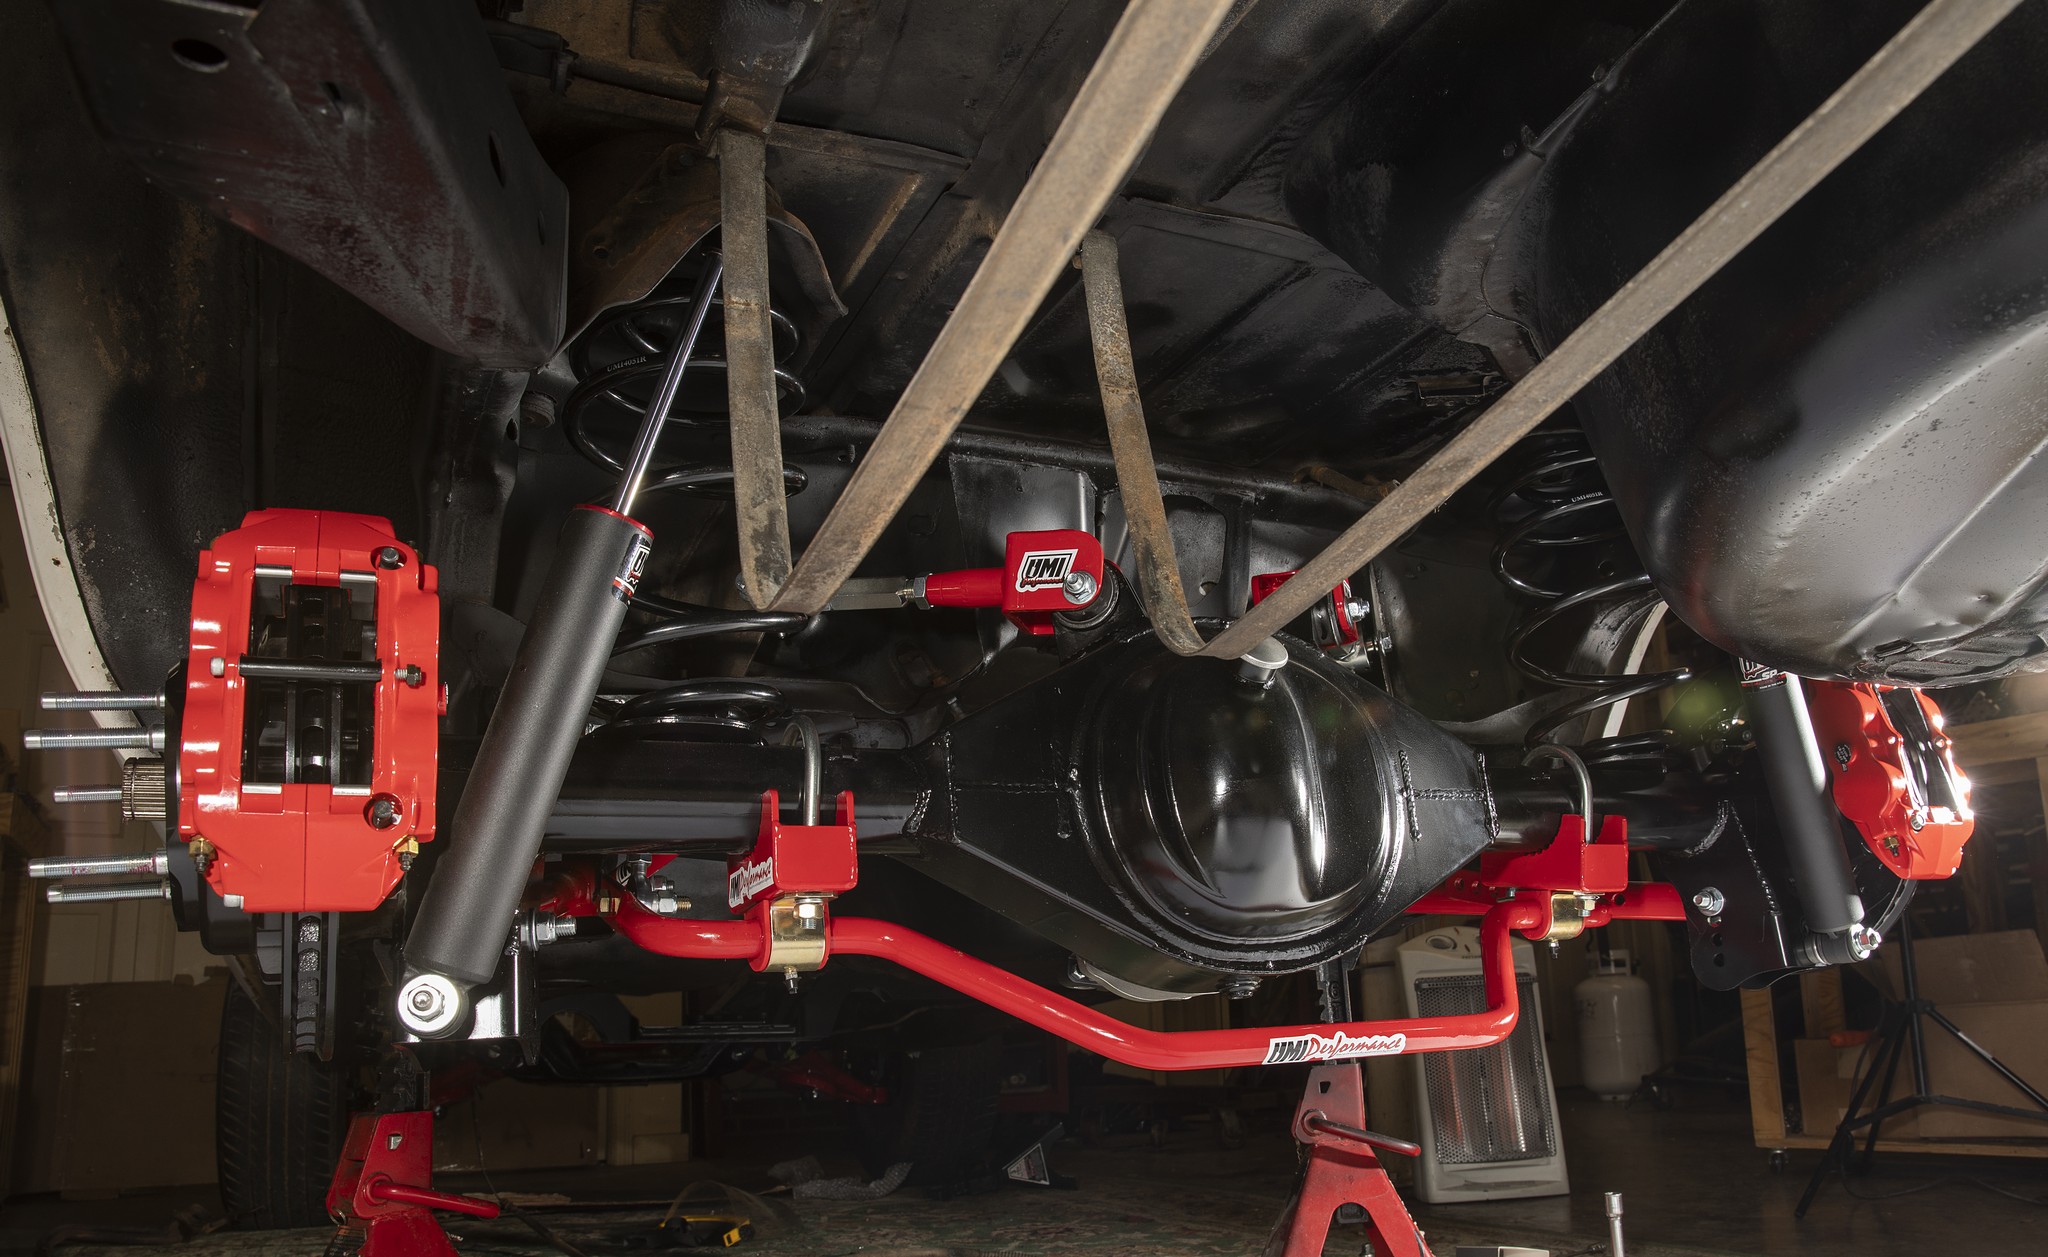
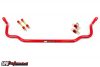
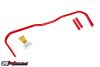
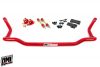
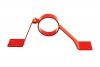
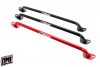
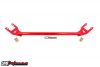
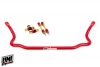
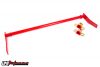
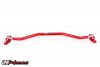
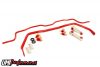
When one rear wheel travels differently from the other, such as during banking, bumping, or aggressive cornering, the suspension will want to bind. The purpose of a sway bar is to take that bind out of the suspension and transfer it to the bar and to the body/frame. This frees up the suspension to perform properly.
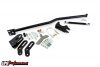
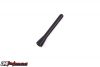
We’re running a 1-inch bar, but UMI offers 3/4- and 1 3/8-inch diameter sway bars. The larger bar is designed for drag racing, where you want both wheels to experience suspension travel together. The 3/4-inch is ideal for quick transitions in autocross. The 1-inch is a good compromise for street, road course, and autocross.
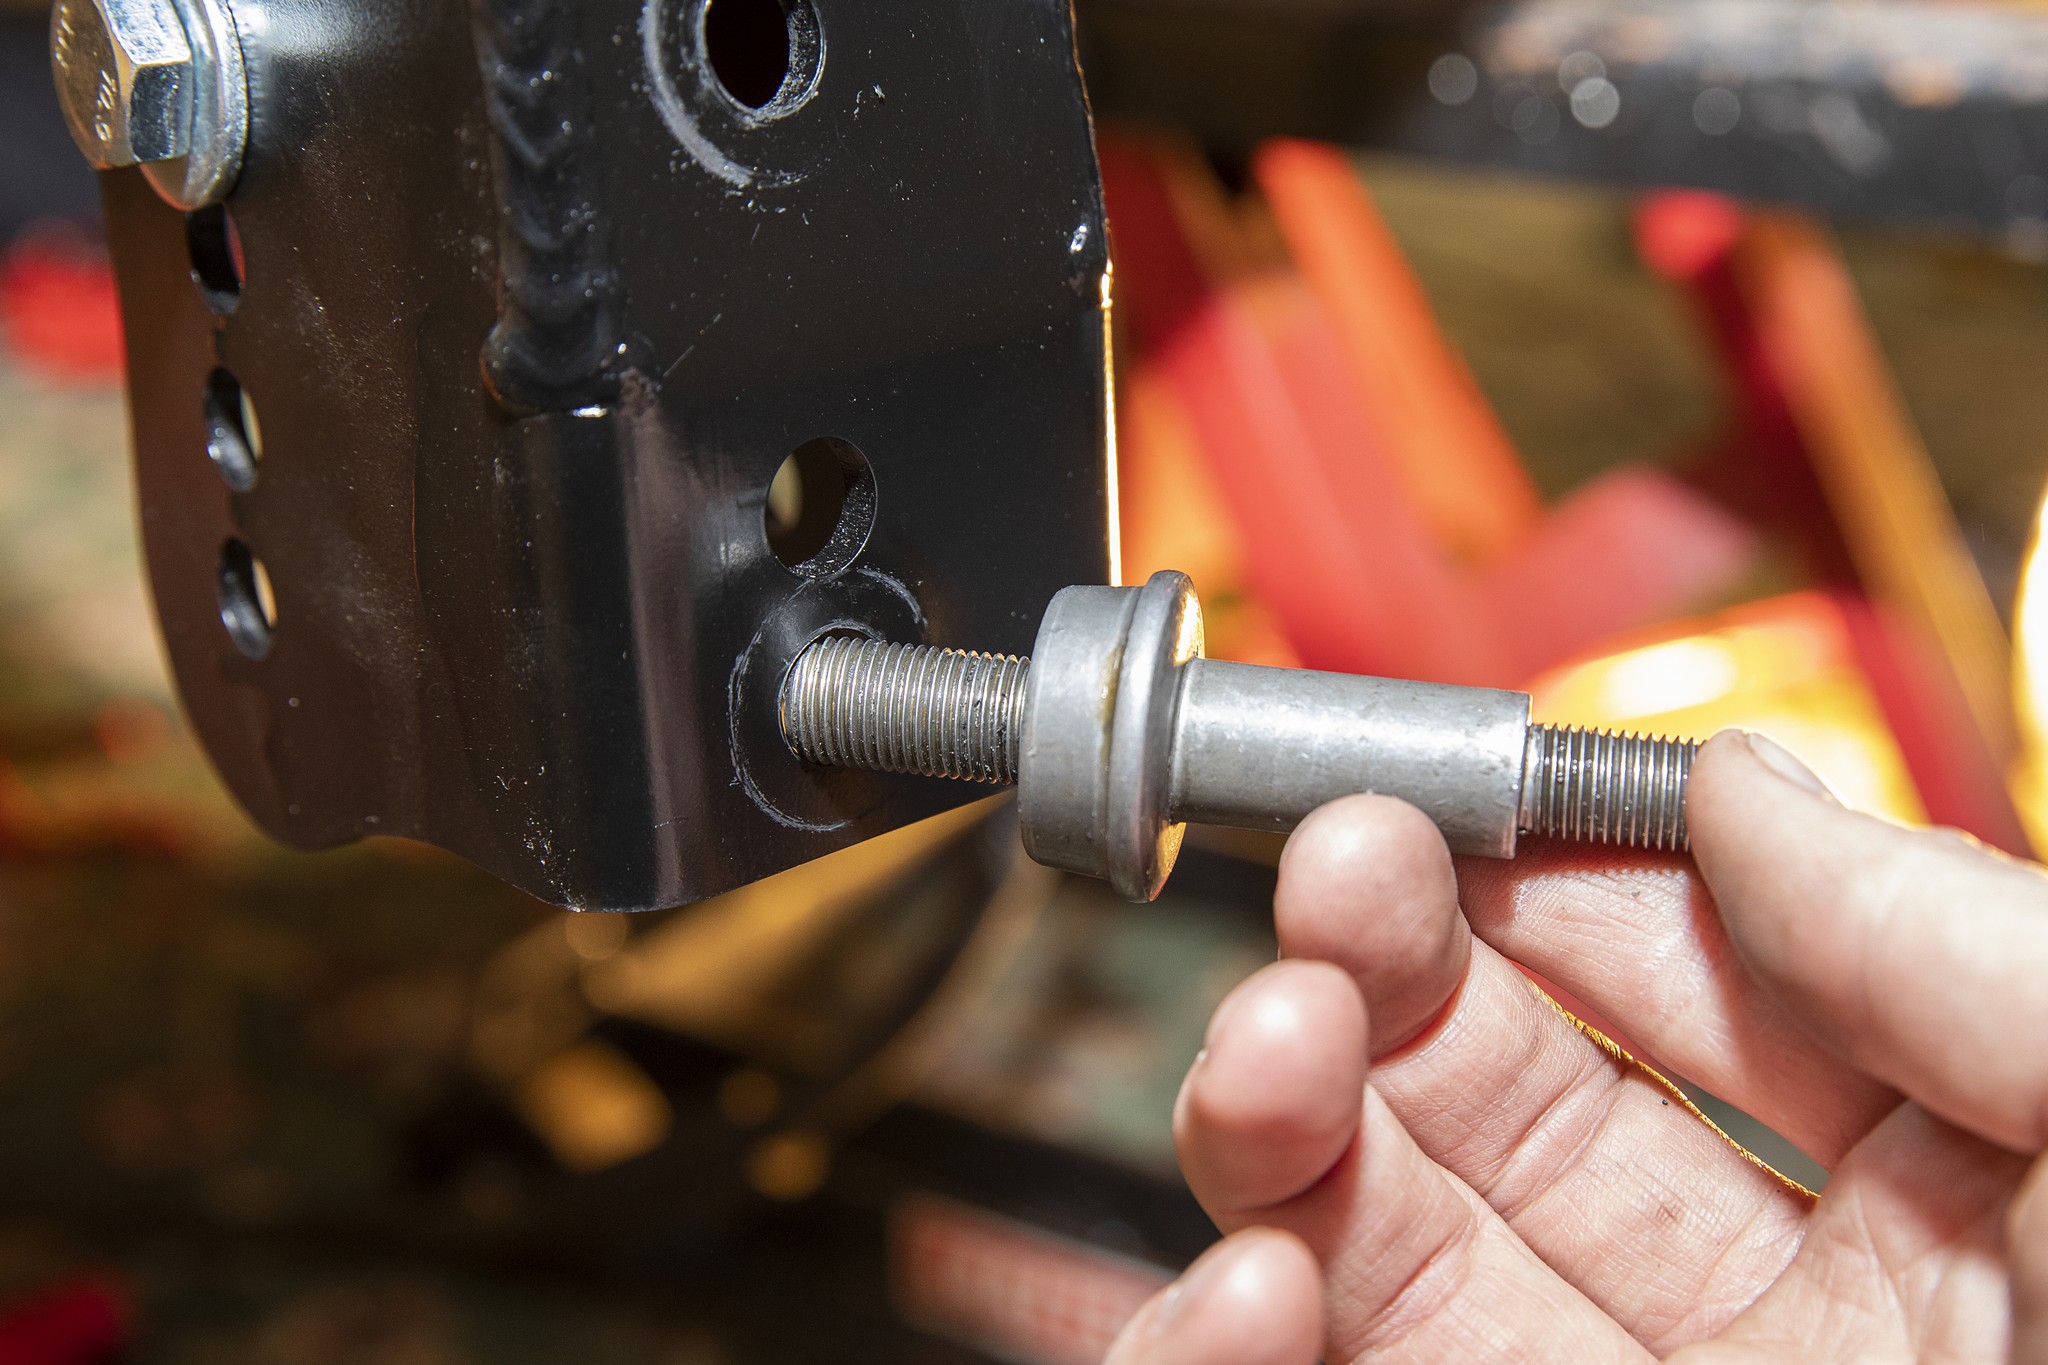
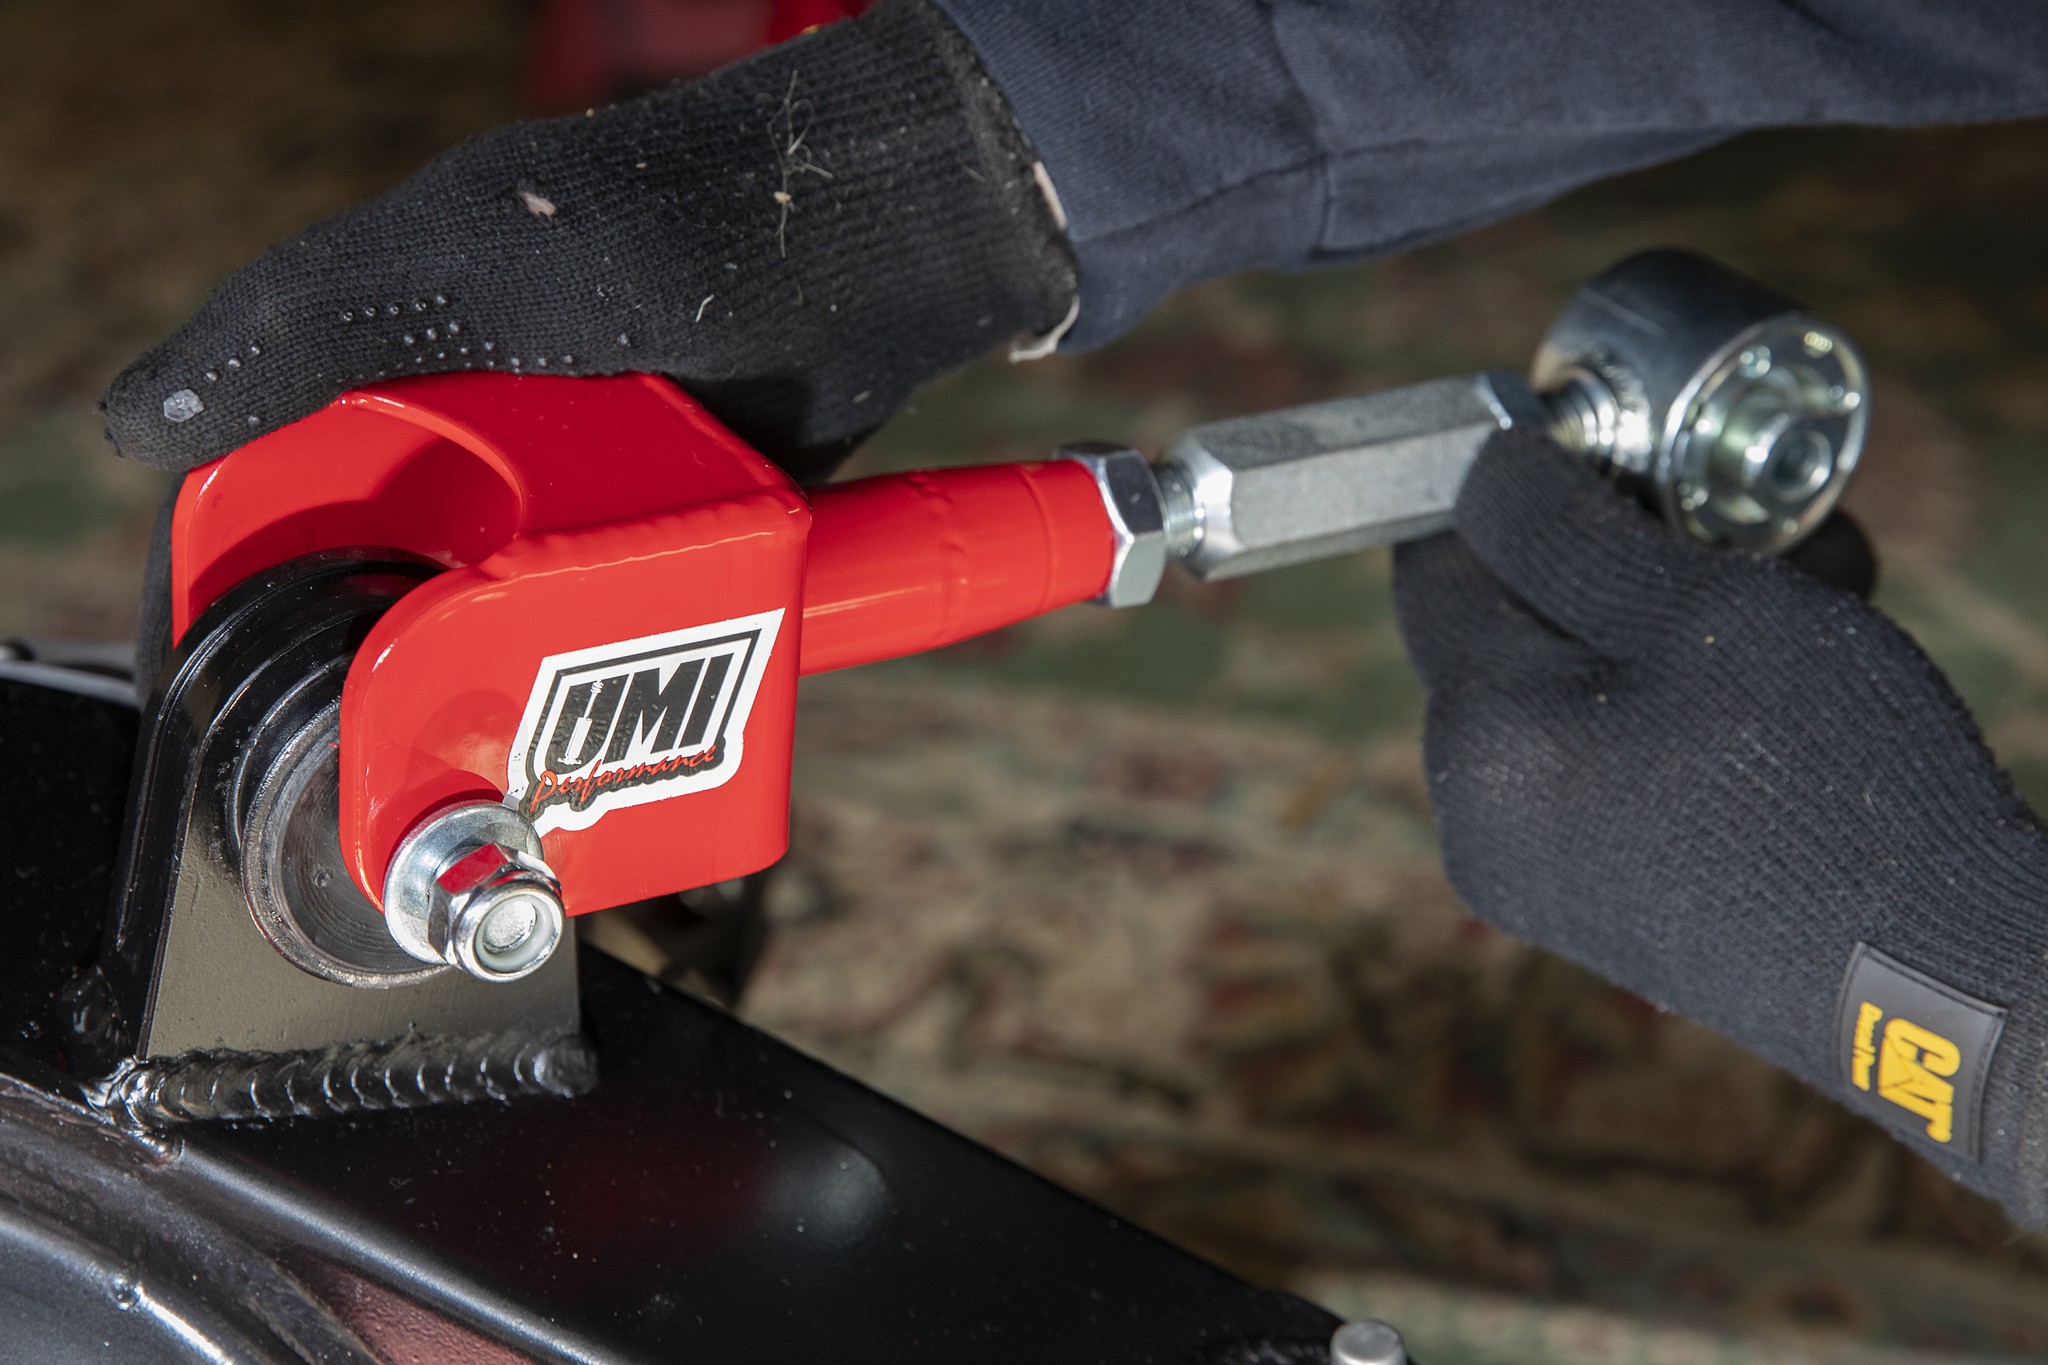
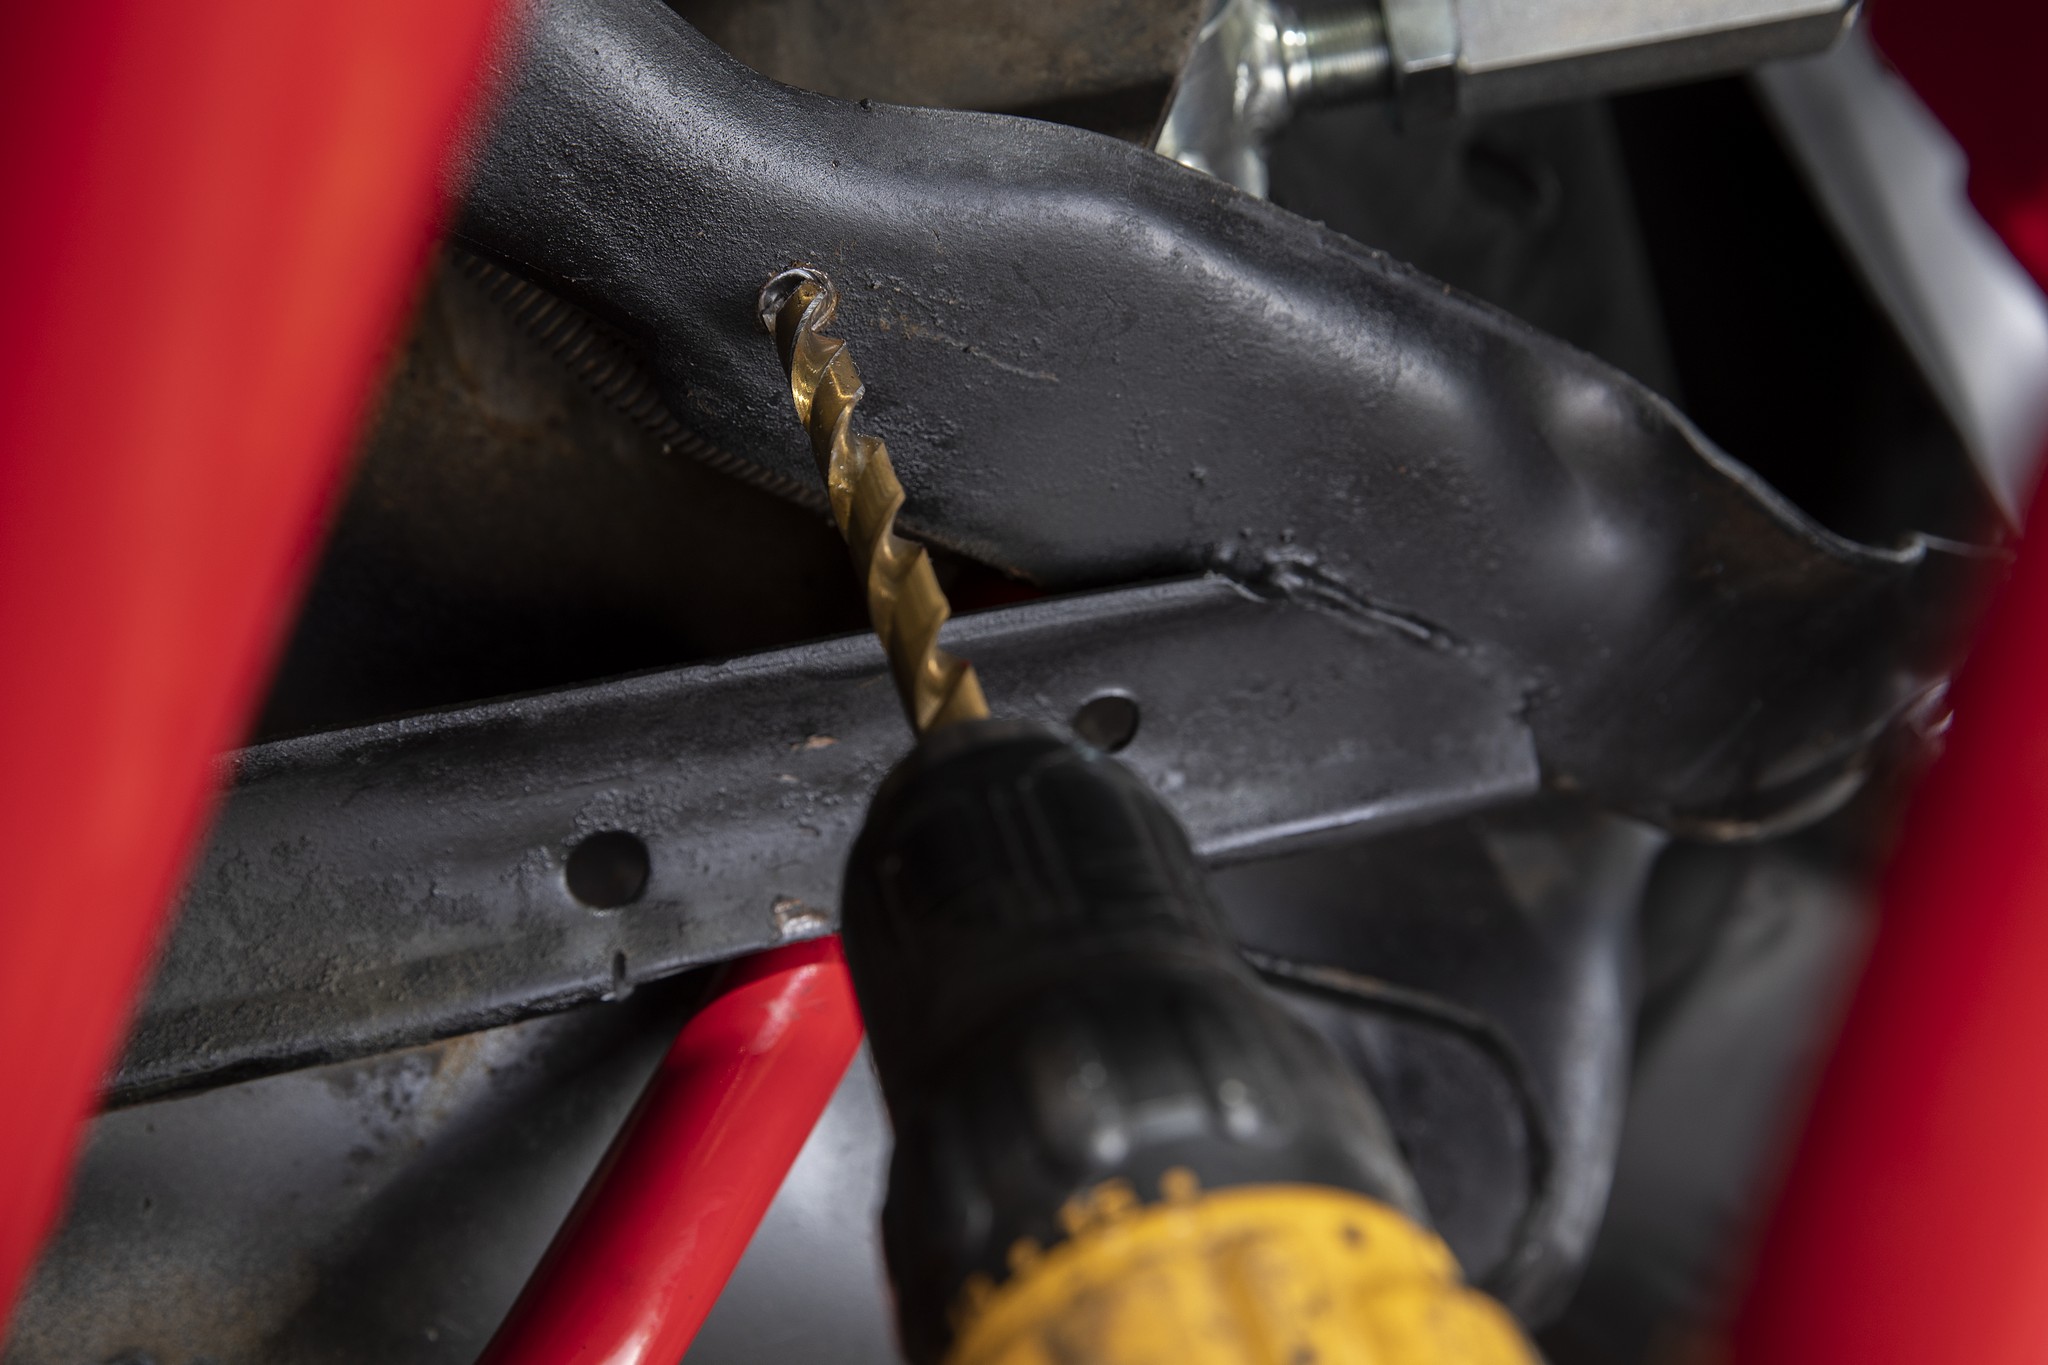
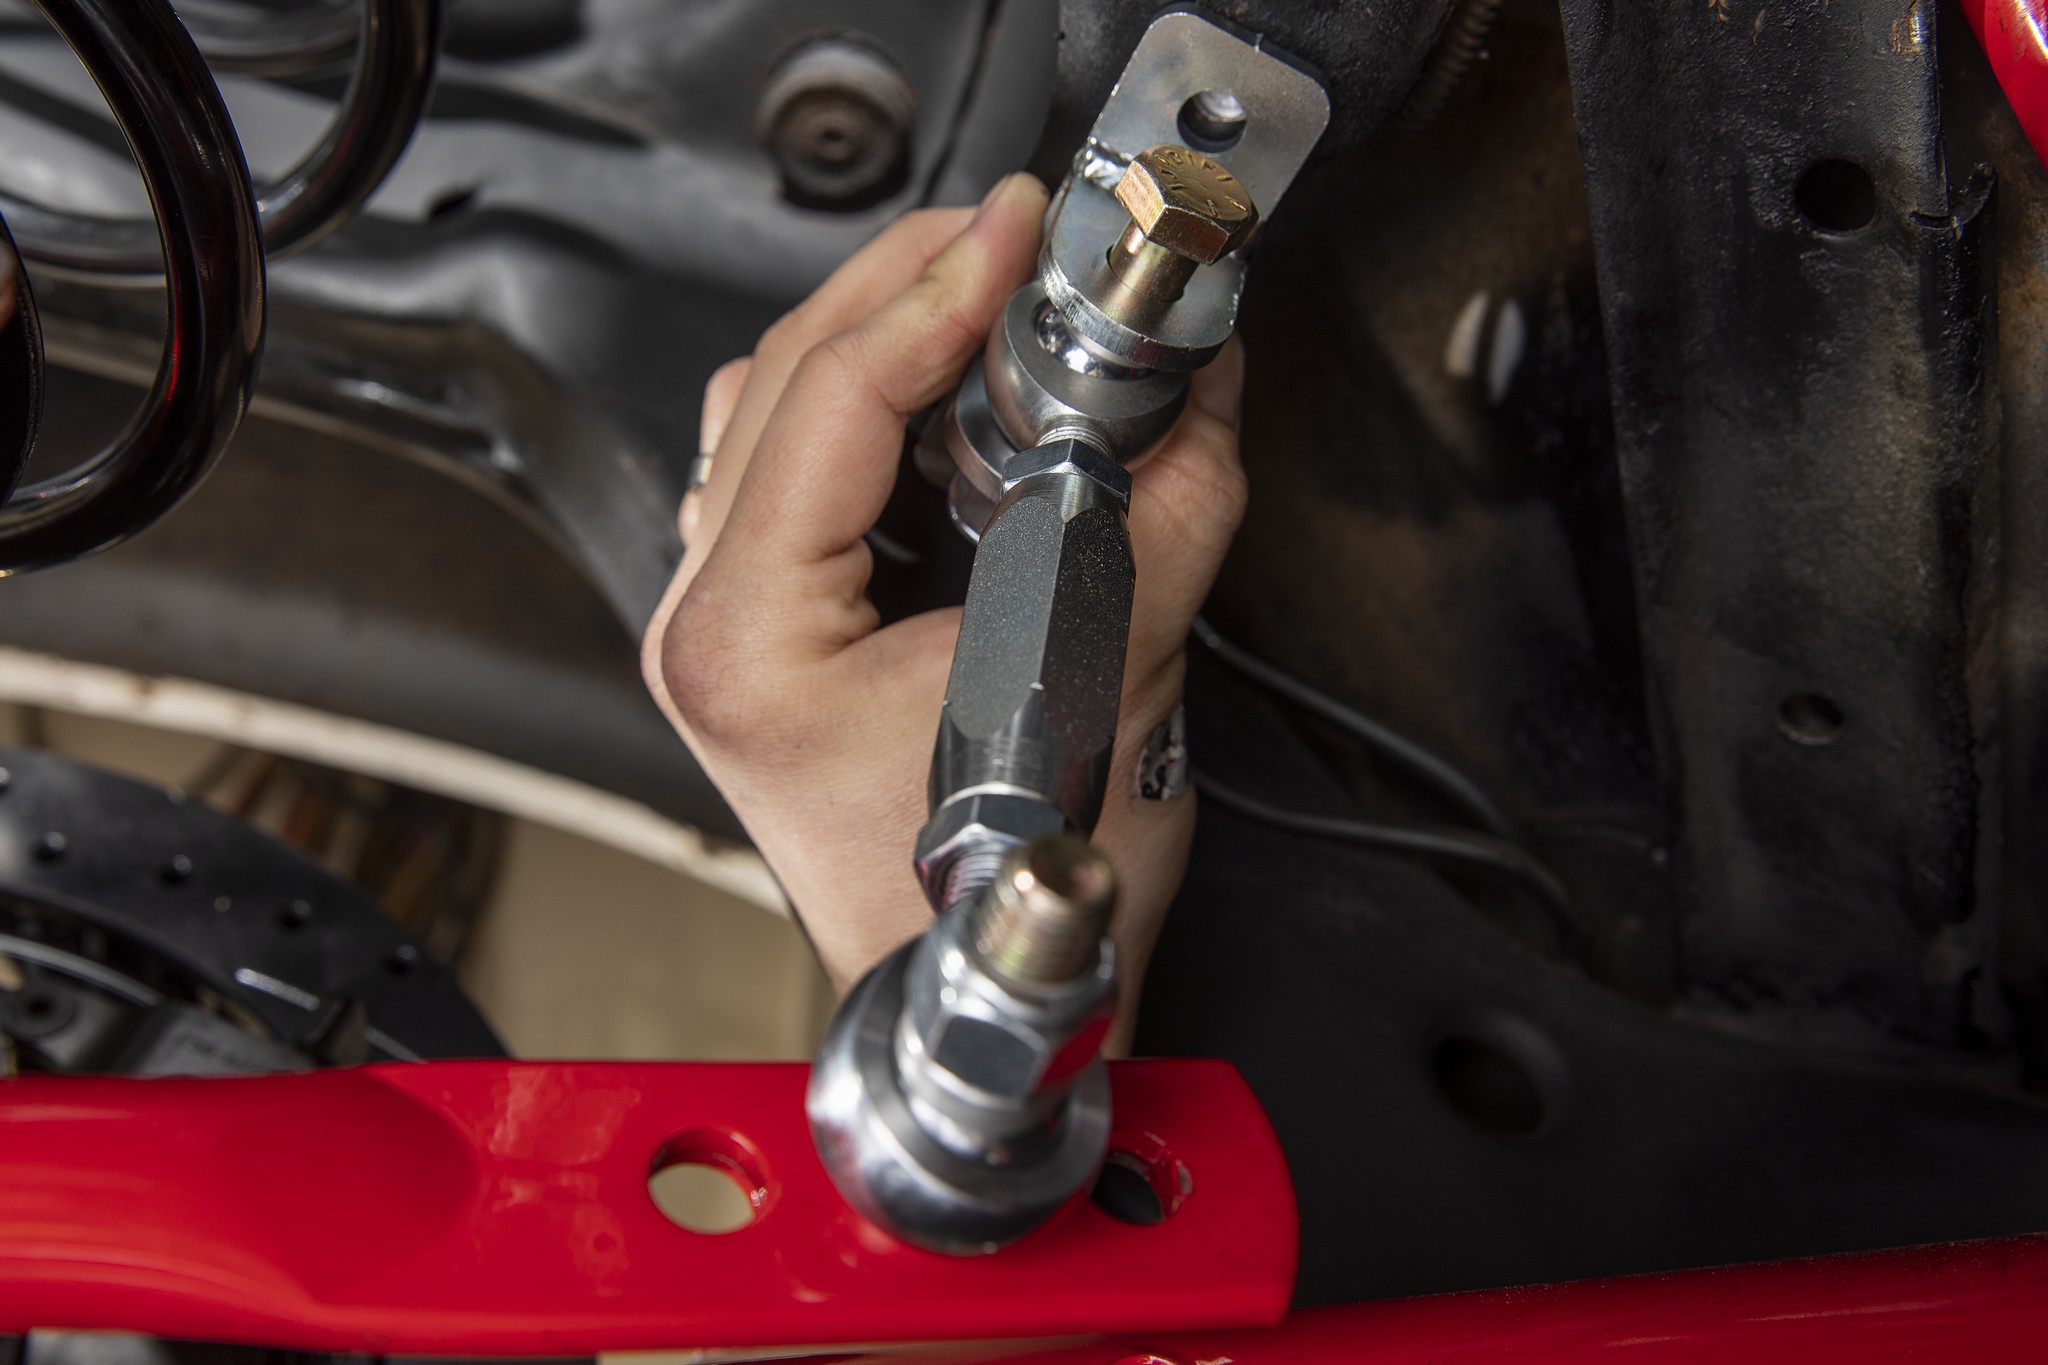
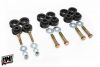
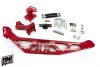
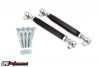
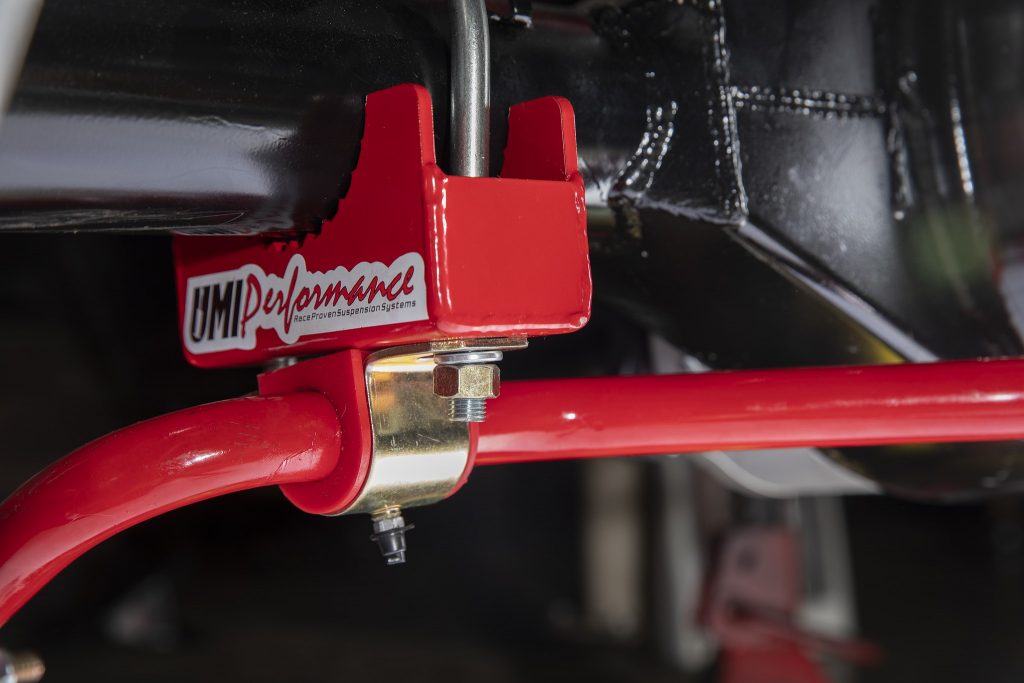
The install is straightforward. Center the sway bar on the axle and assemble the adjustable rod ends on the front. Lay them against the frame crossmember, then mark and drill the holes.
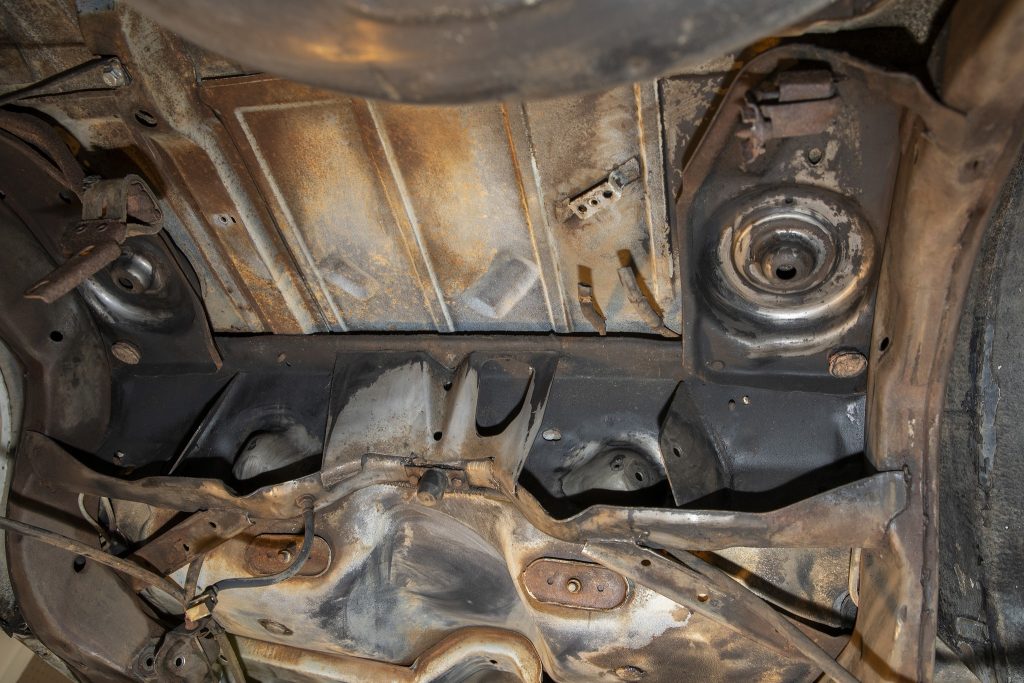
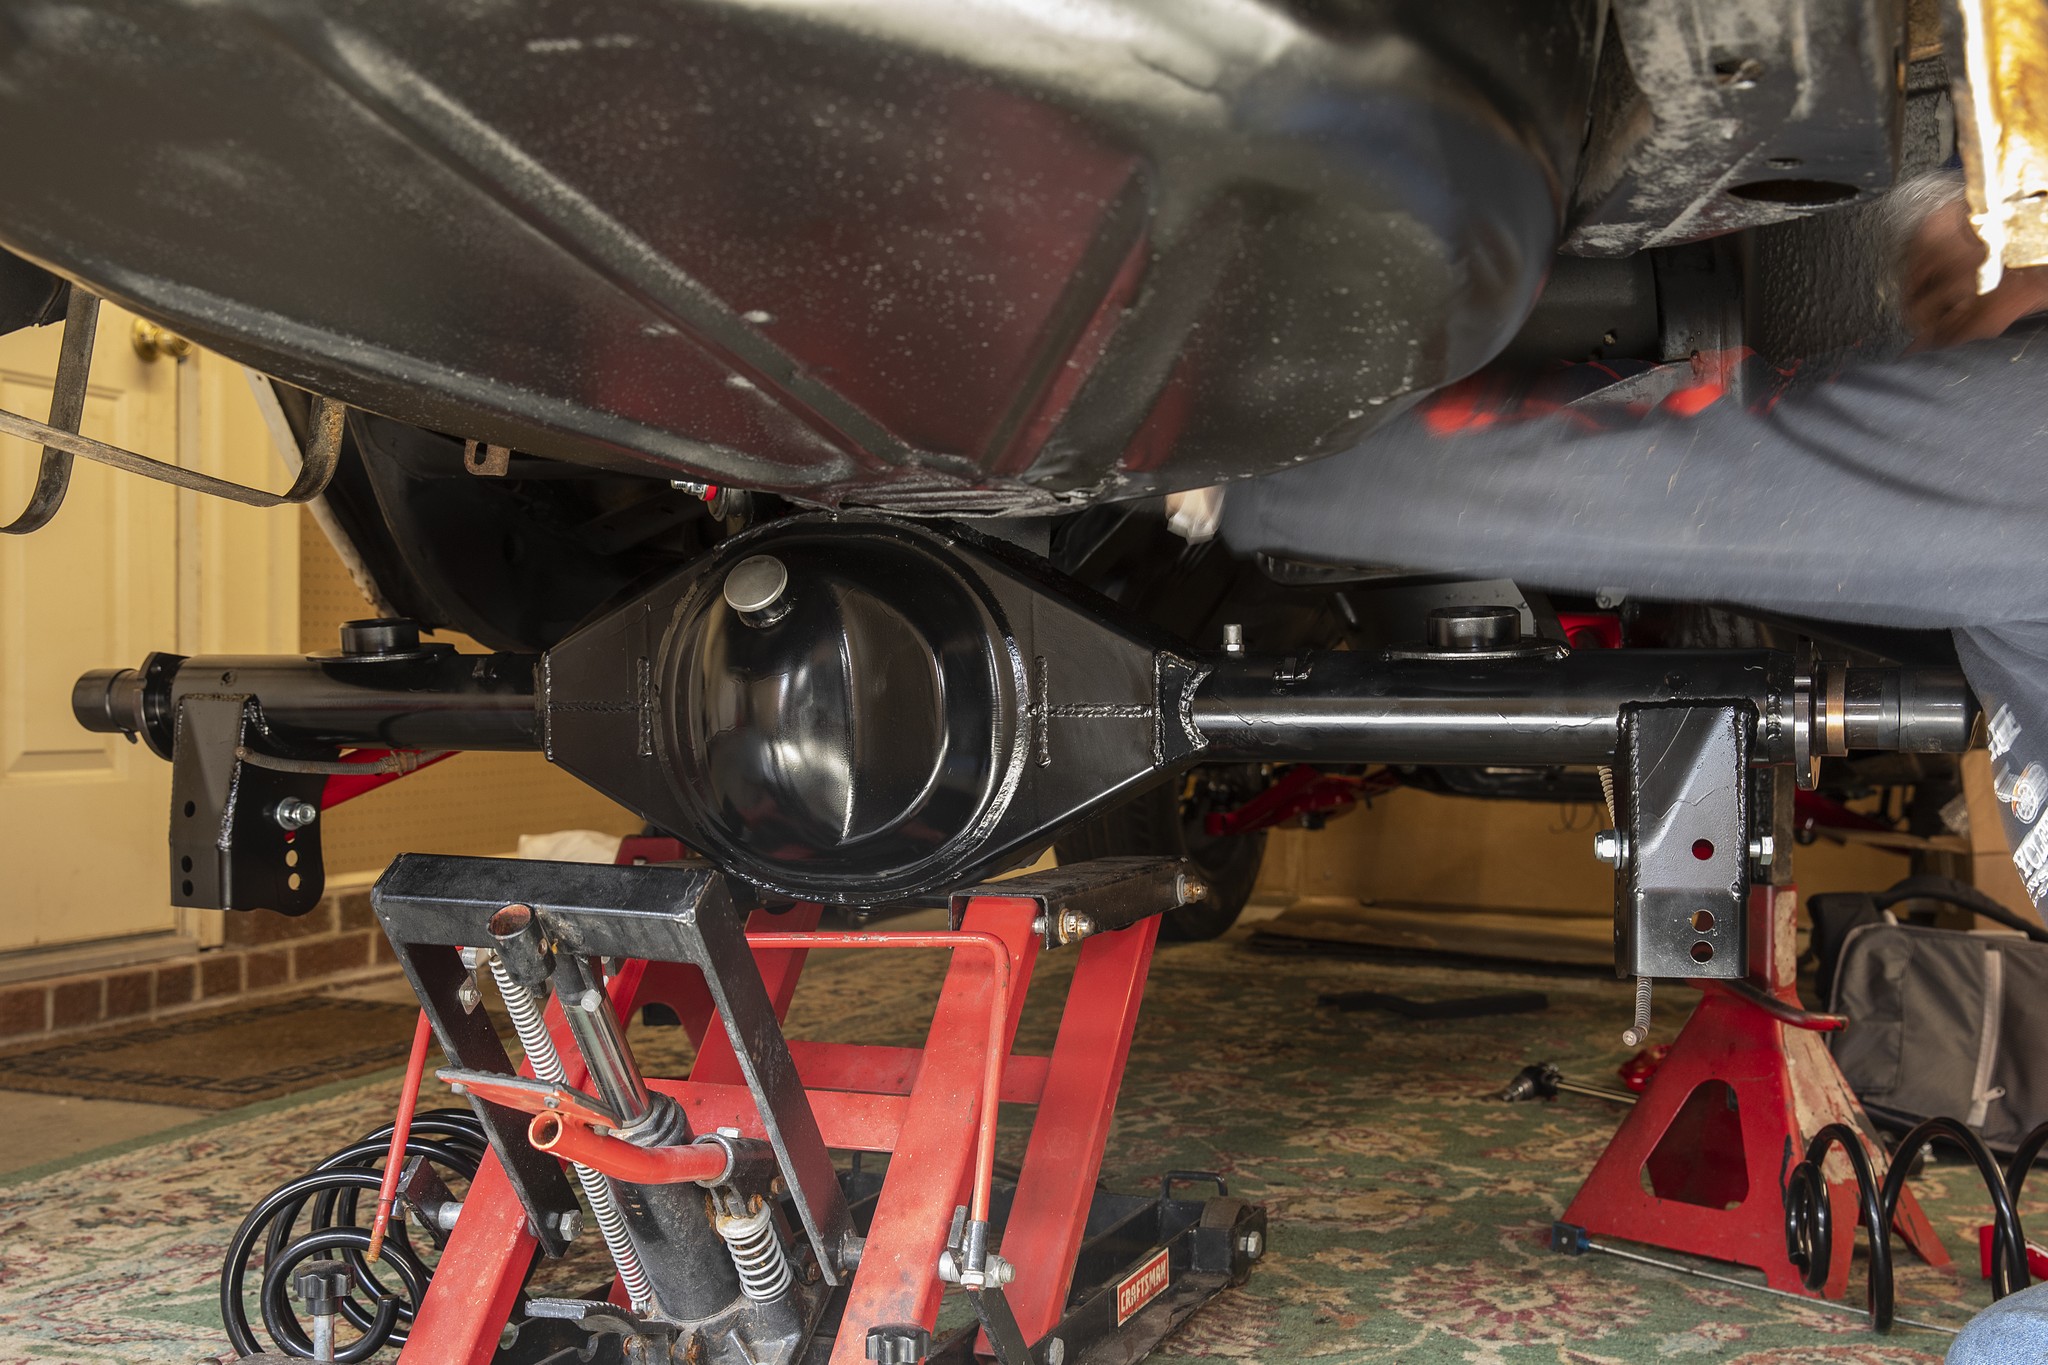
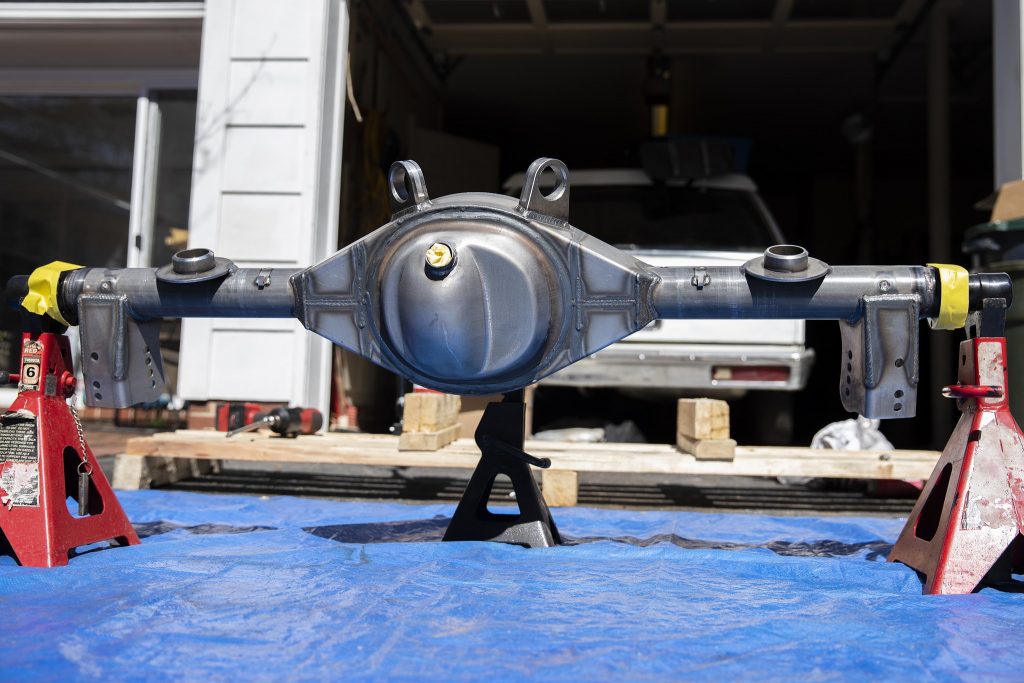
Despite the wagon having lived in a field, it’s mostly rust free. We took an extra two hours to perform a quick cleaning with a wire brush. We used Summit Racing Wax & Grease Remover followed by Surface Cleaner left over from our Paint Prep Combo kit. We finished it off with Eastwood Extreme Chassis Black spray paint (PN 11175Z; $19.99) and Rubberized Undercoating (PN 13651Z; $24.99) in the wheel wells.
Without the axles in the housing, it’s light enough for a couple of friends to help lift it, but we used a Craftsman motorcycle jack. The housing features Strange Engineering’s new adjustable lower-control arm brackets with optional mounting holes.